
Your First Workflow
Workflows are the core of Tala. Each workflow is a visual pipeline where you connect nodes together — each node does one thing (generate an image, create a video, add captions, etc.) and passes its output to the next. Once everything is connected, you hit Run and Tala handles the rest automatically.
This guide walks you through building a complete workflow from scratch.
Use a Template
The fastest way to get started is to grab a ready-made workflow from the Templates library. Each template is a complete, working workflow — just click to copy it into your workspace and you're up and running immediately.
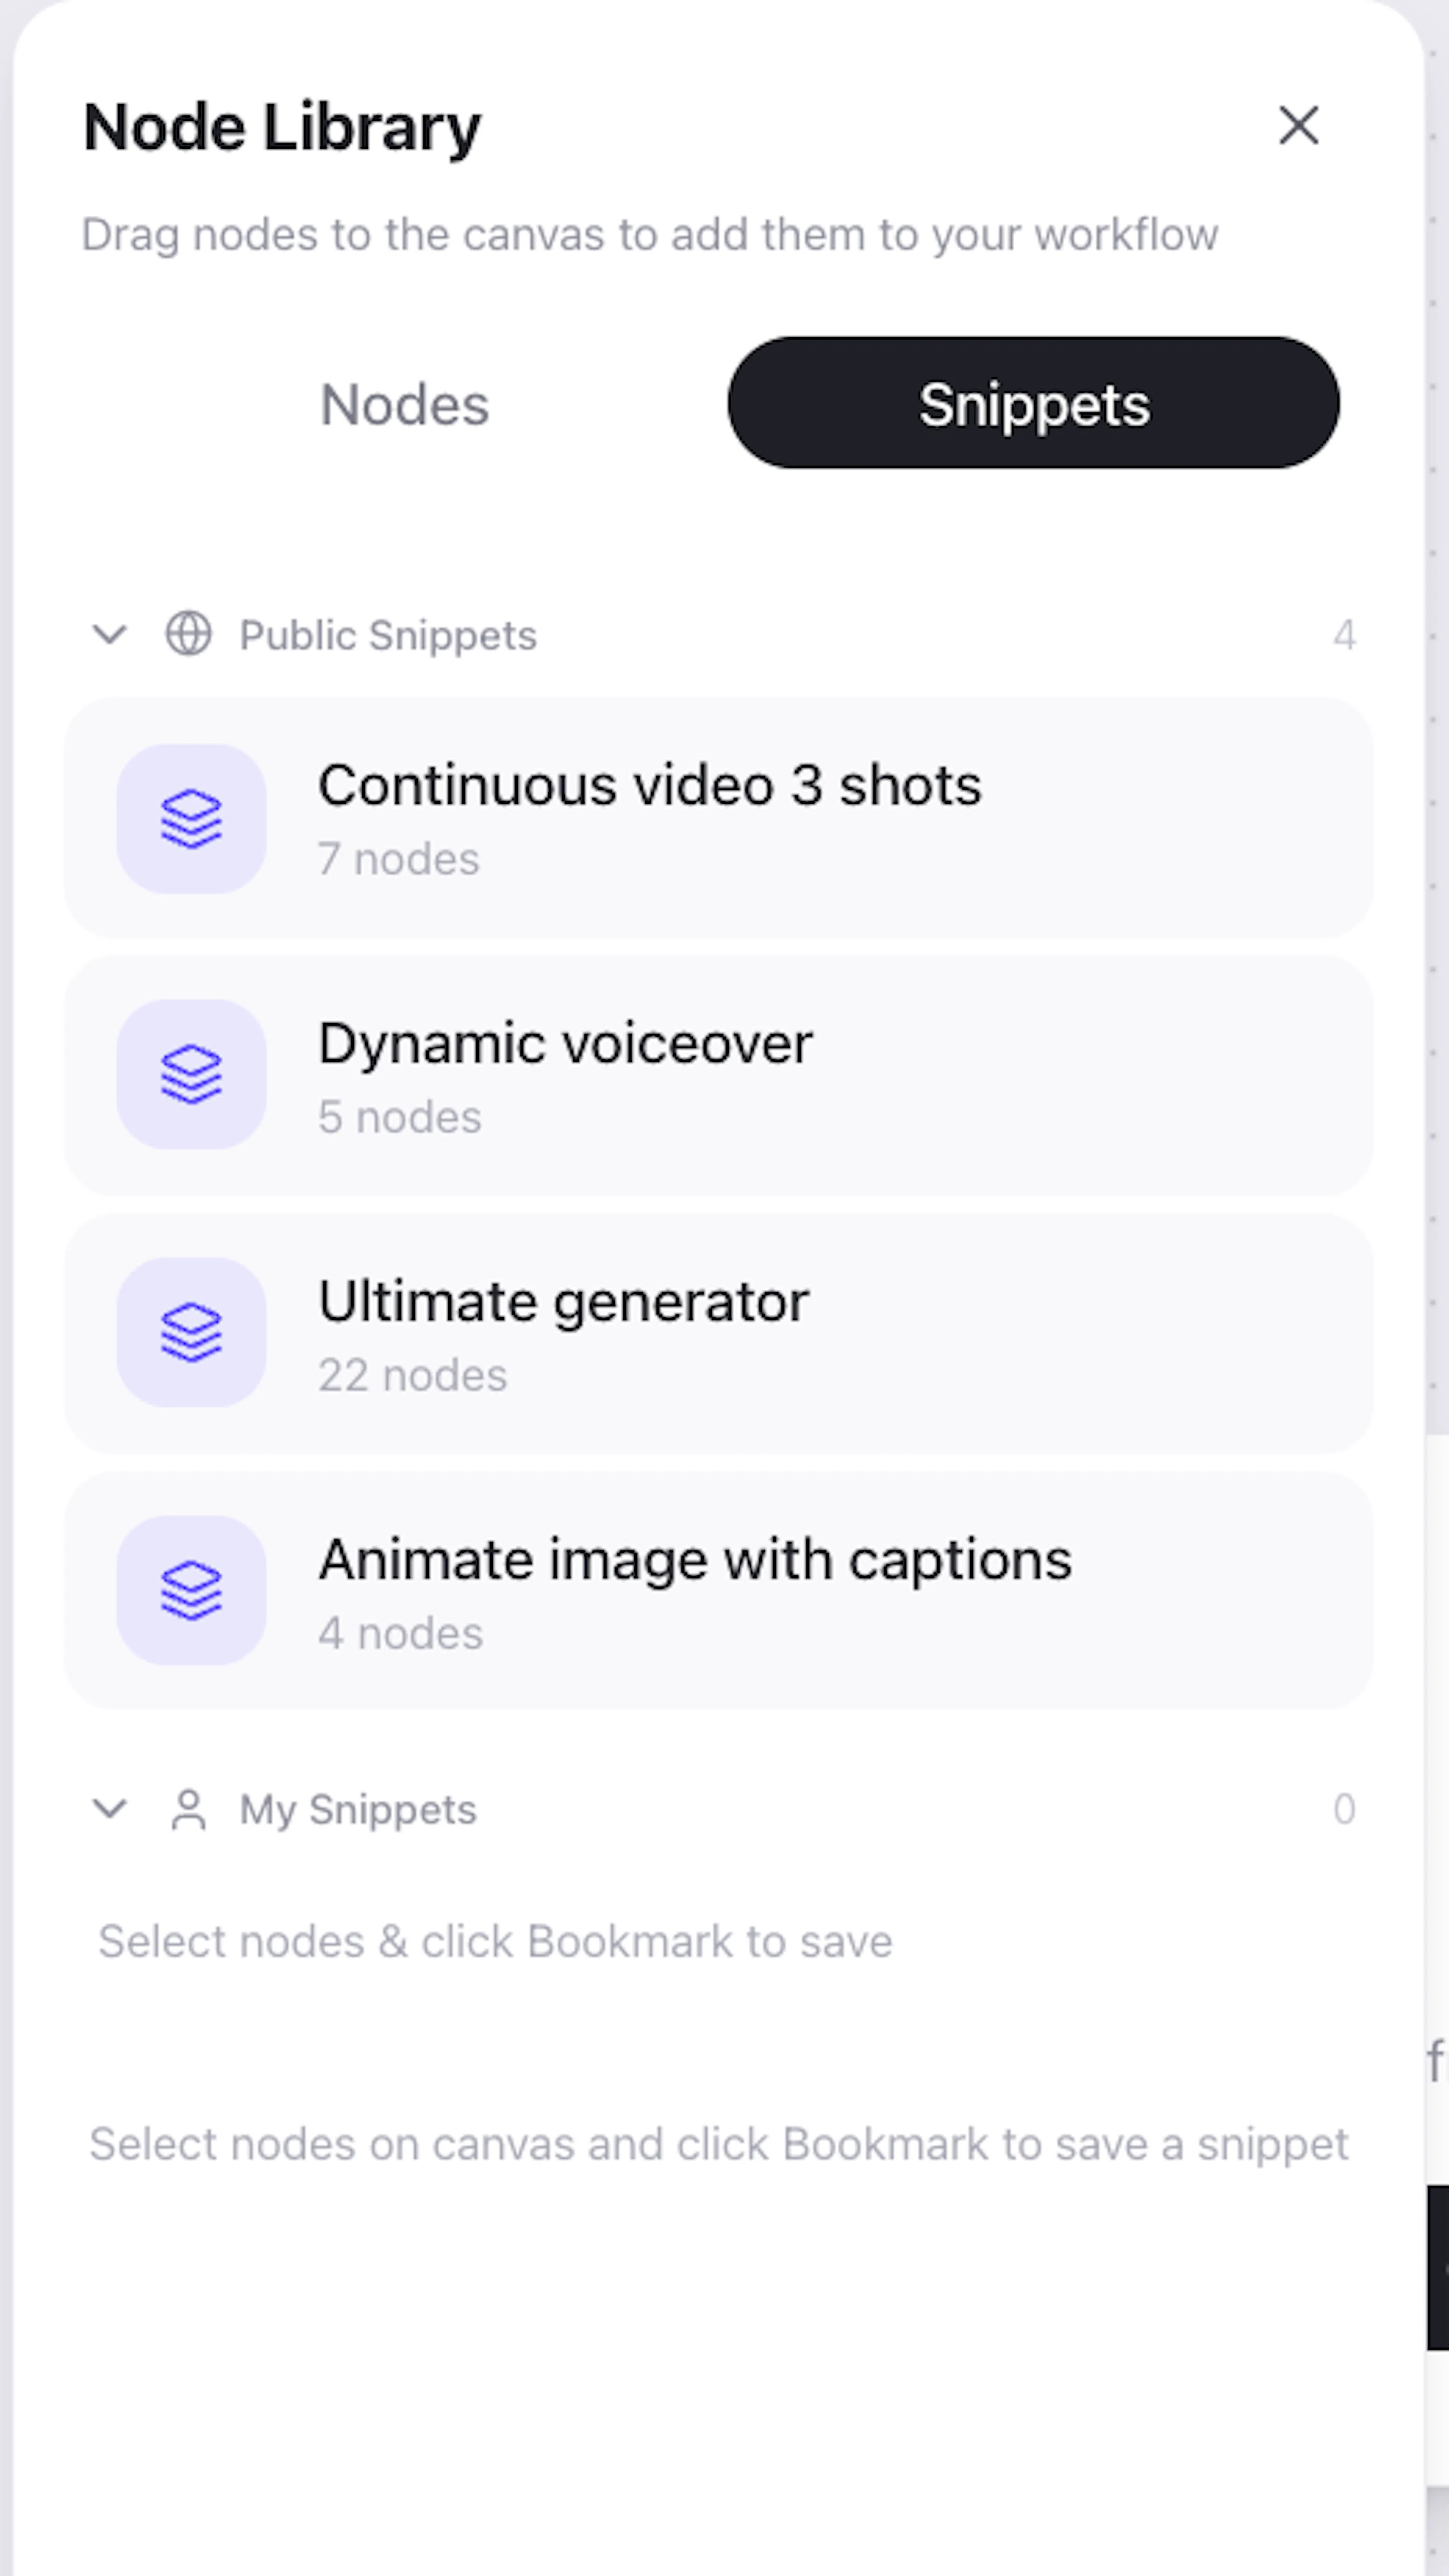
Browse templates by use case (product ads, talking heads, social clips, etc.) and pick one that's close to what you need. You can always customize it after copying.
AI Agent
If you'd rather describe what you want in plain language, use the AI Agent. Start a conversation, tell it what kind of video workflow you need, and it will build the workflow for you — selecting the right nodes, connecting them, and configuring settings based on your description.
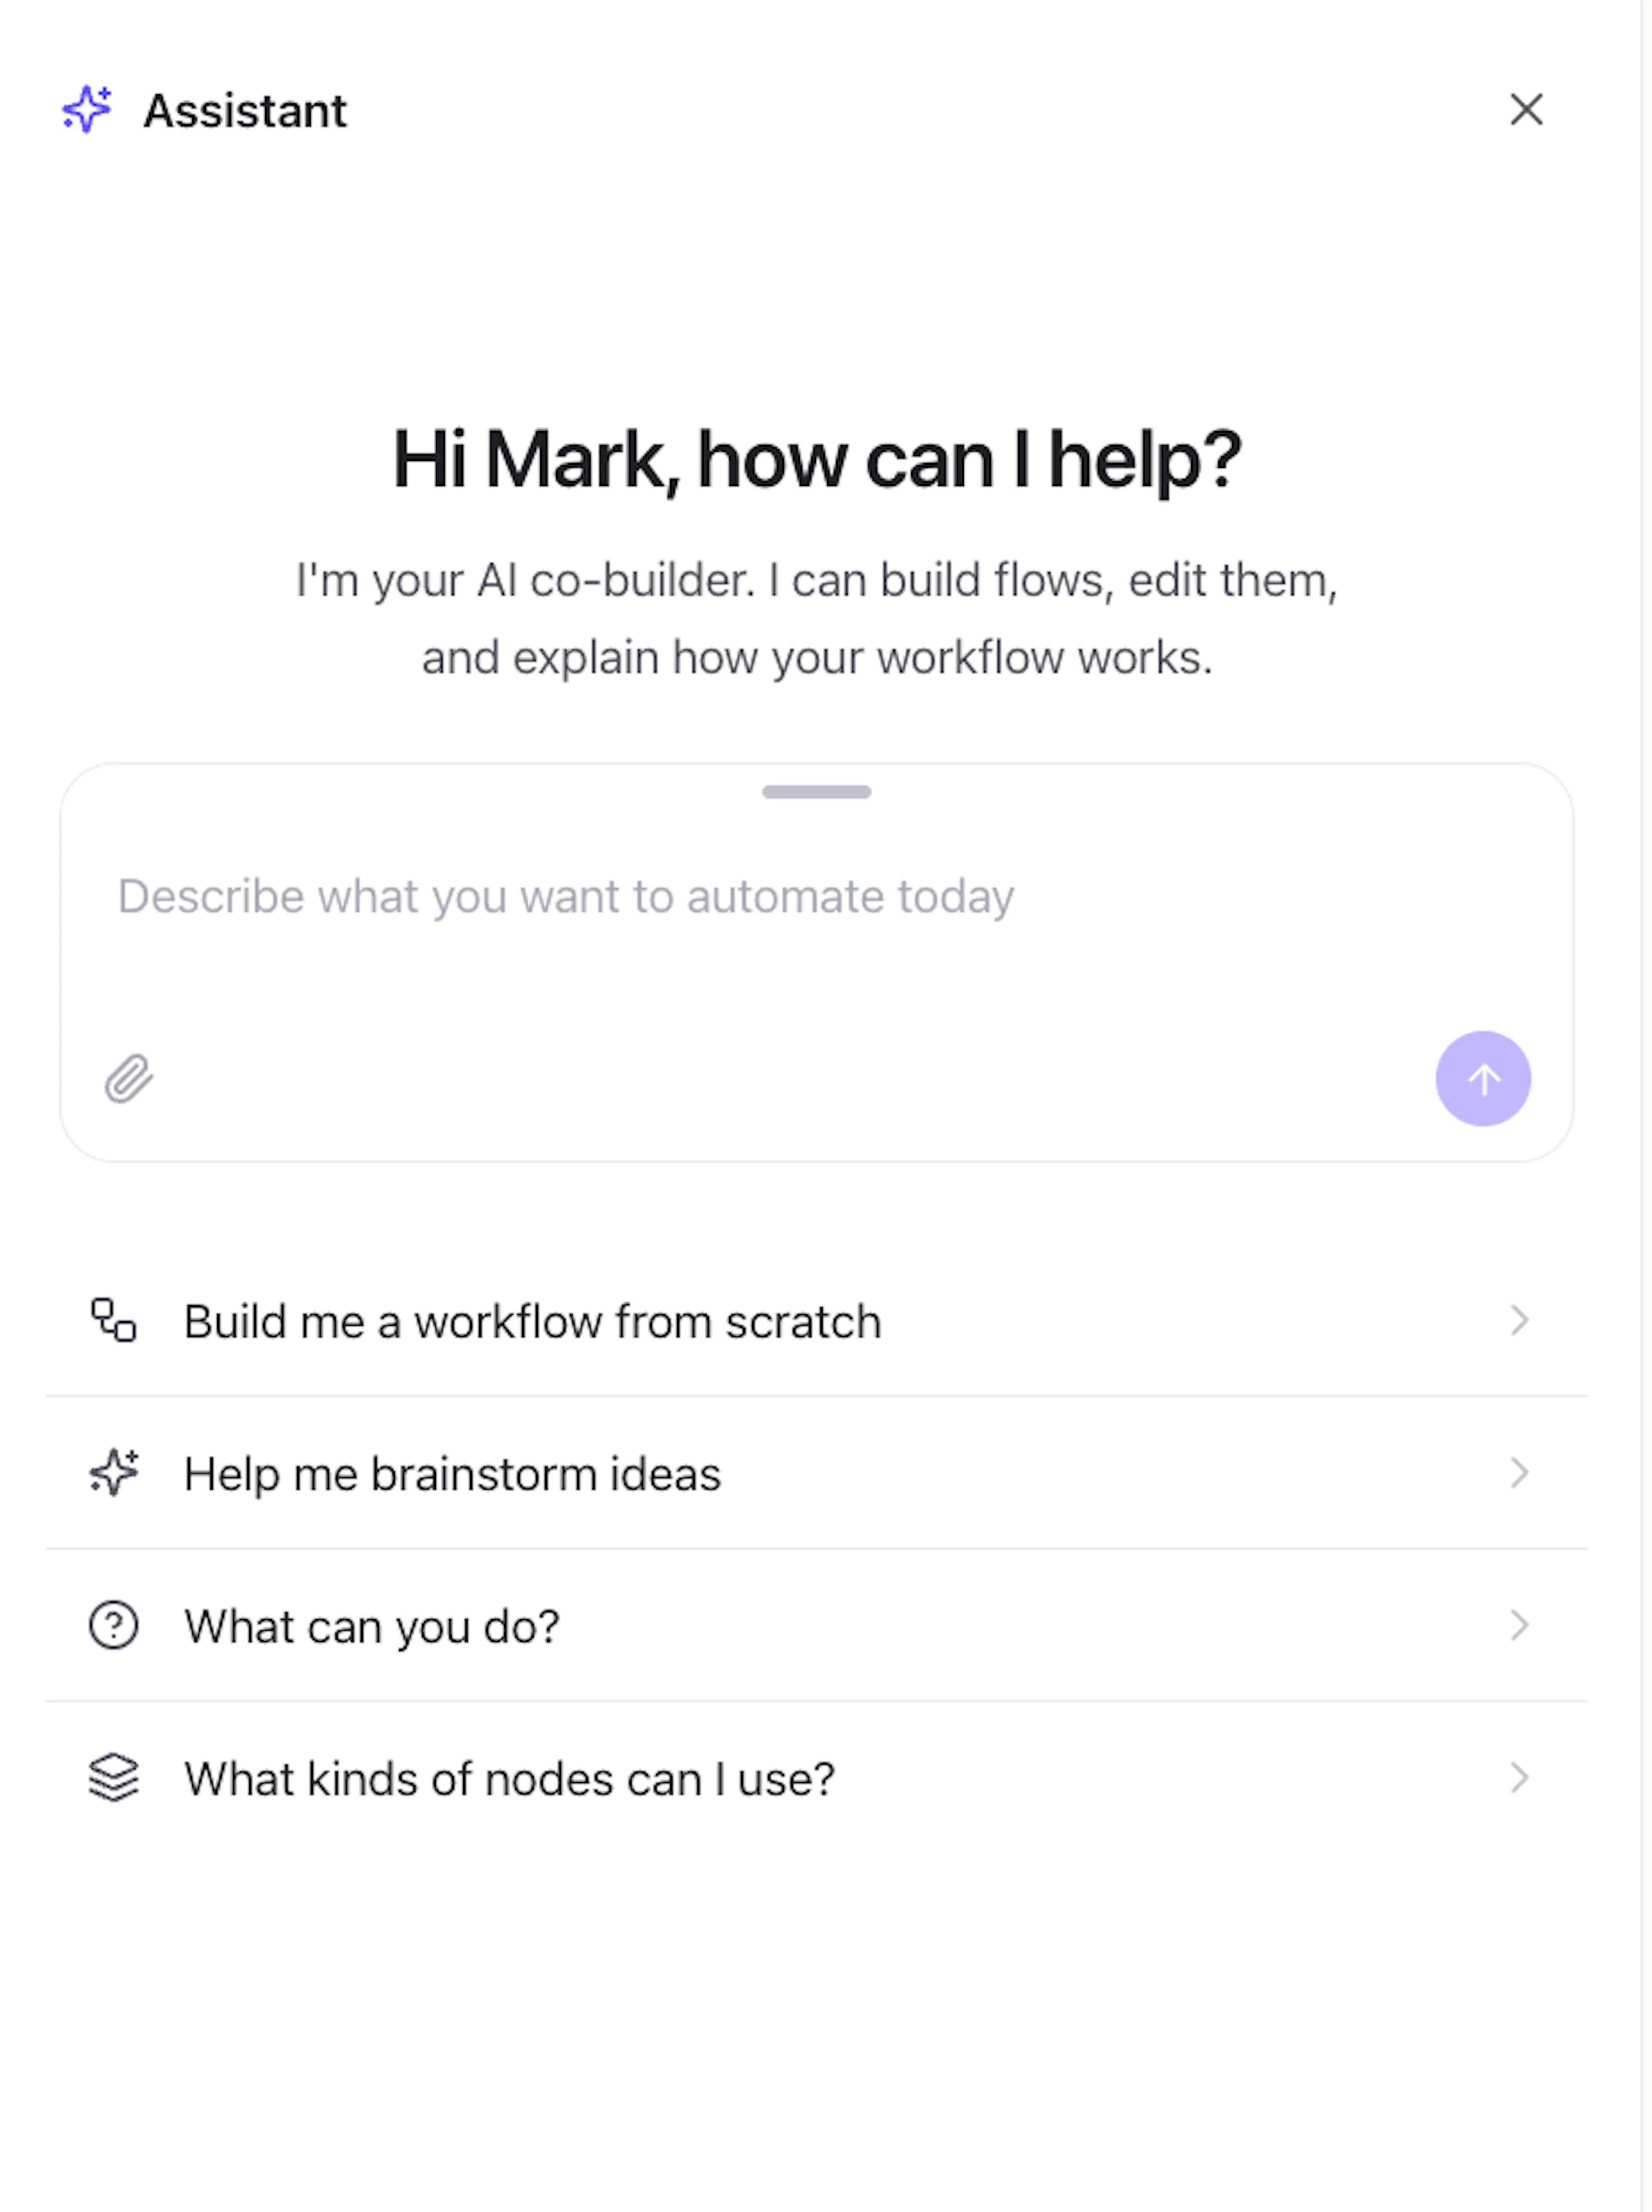
You can iterate with the agent: ask it to adjust prompts, add nodes, or change the structure until the workflow matches your vision.
Build Manually
If you prefer full control, follow the step-by-step guide below to build a workflow from scratch.
Overview
Here's what a typical video generation workflow looks like:
-
Generate an image from a prompt
-
Turn that image into a video clip
-
Extract the last frame of the clip
-
Generate a second (and third) video clip from that frame
-
Assemble all clips in the Editor
-
Add captions

By the end, you'll have a polished, seamlessly stitched video — generated entirely on autopilot.
Step 1: Create a New Workflow
Go to the Workflows tab in the left sidebar. Click New Workflow and give it a name.

Step 2: Understanding Nodes
Nodes are the building blocks of your workflow. To add a node, click the + button (or right-click on the canvas) to open the node menu.
Nodes are organized into categories:
| Category | What it does |
|---|---|
| Static Data | Upload files or provide fixed text as input |
| fal.ai | Core AI integrations — image generation, image editing, image-to-video, and video utilities |
| 11 Labs | Voice generation, dubbing, and text-to-speech |
| Captions | Add subtitles to any video |
| Editor | Assemble multiple clips and layers into a final video |
| Animation Editor | Generate animated overlays and UI elements via AI chat |
| Playable Editor | Export interactive HTML creatives |
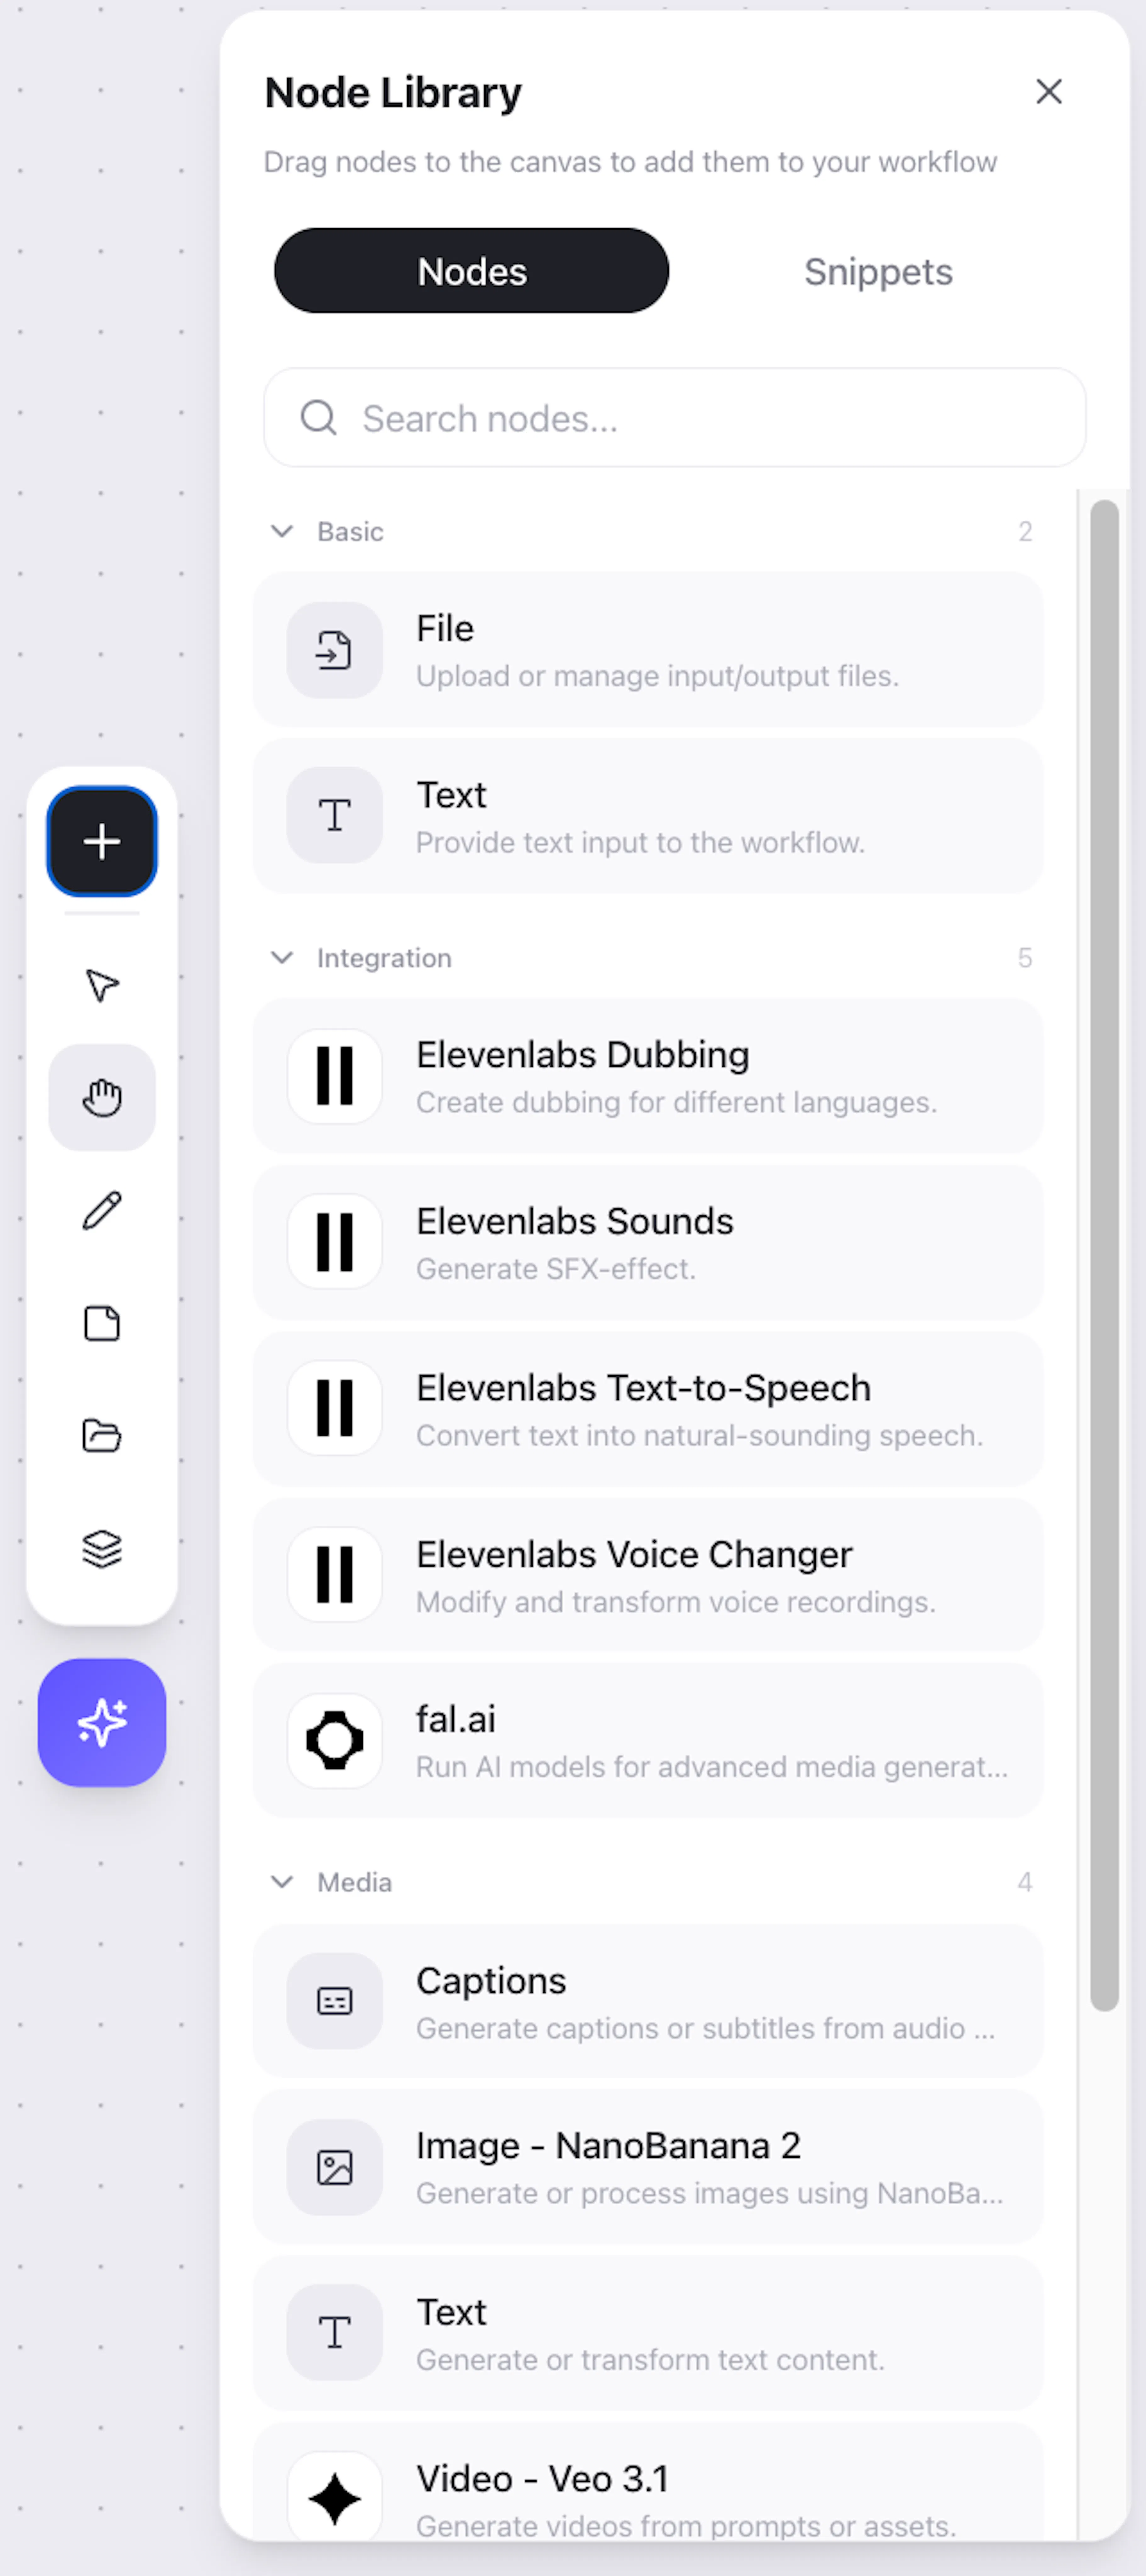
For most video generation workflows, you'll primarily use fal.ai and Editor nodes.
Step 3: Add Your First Node — Generate an Image
Open the node menu → fal.ai → Create Image. Click to place it on the canvas.
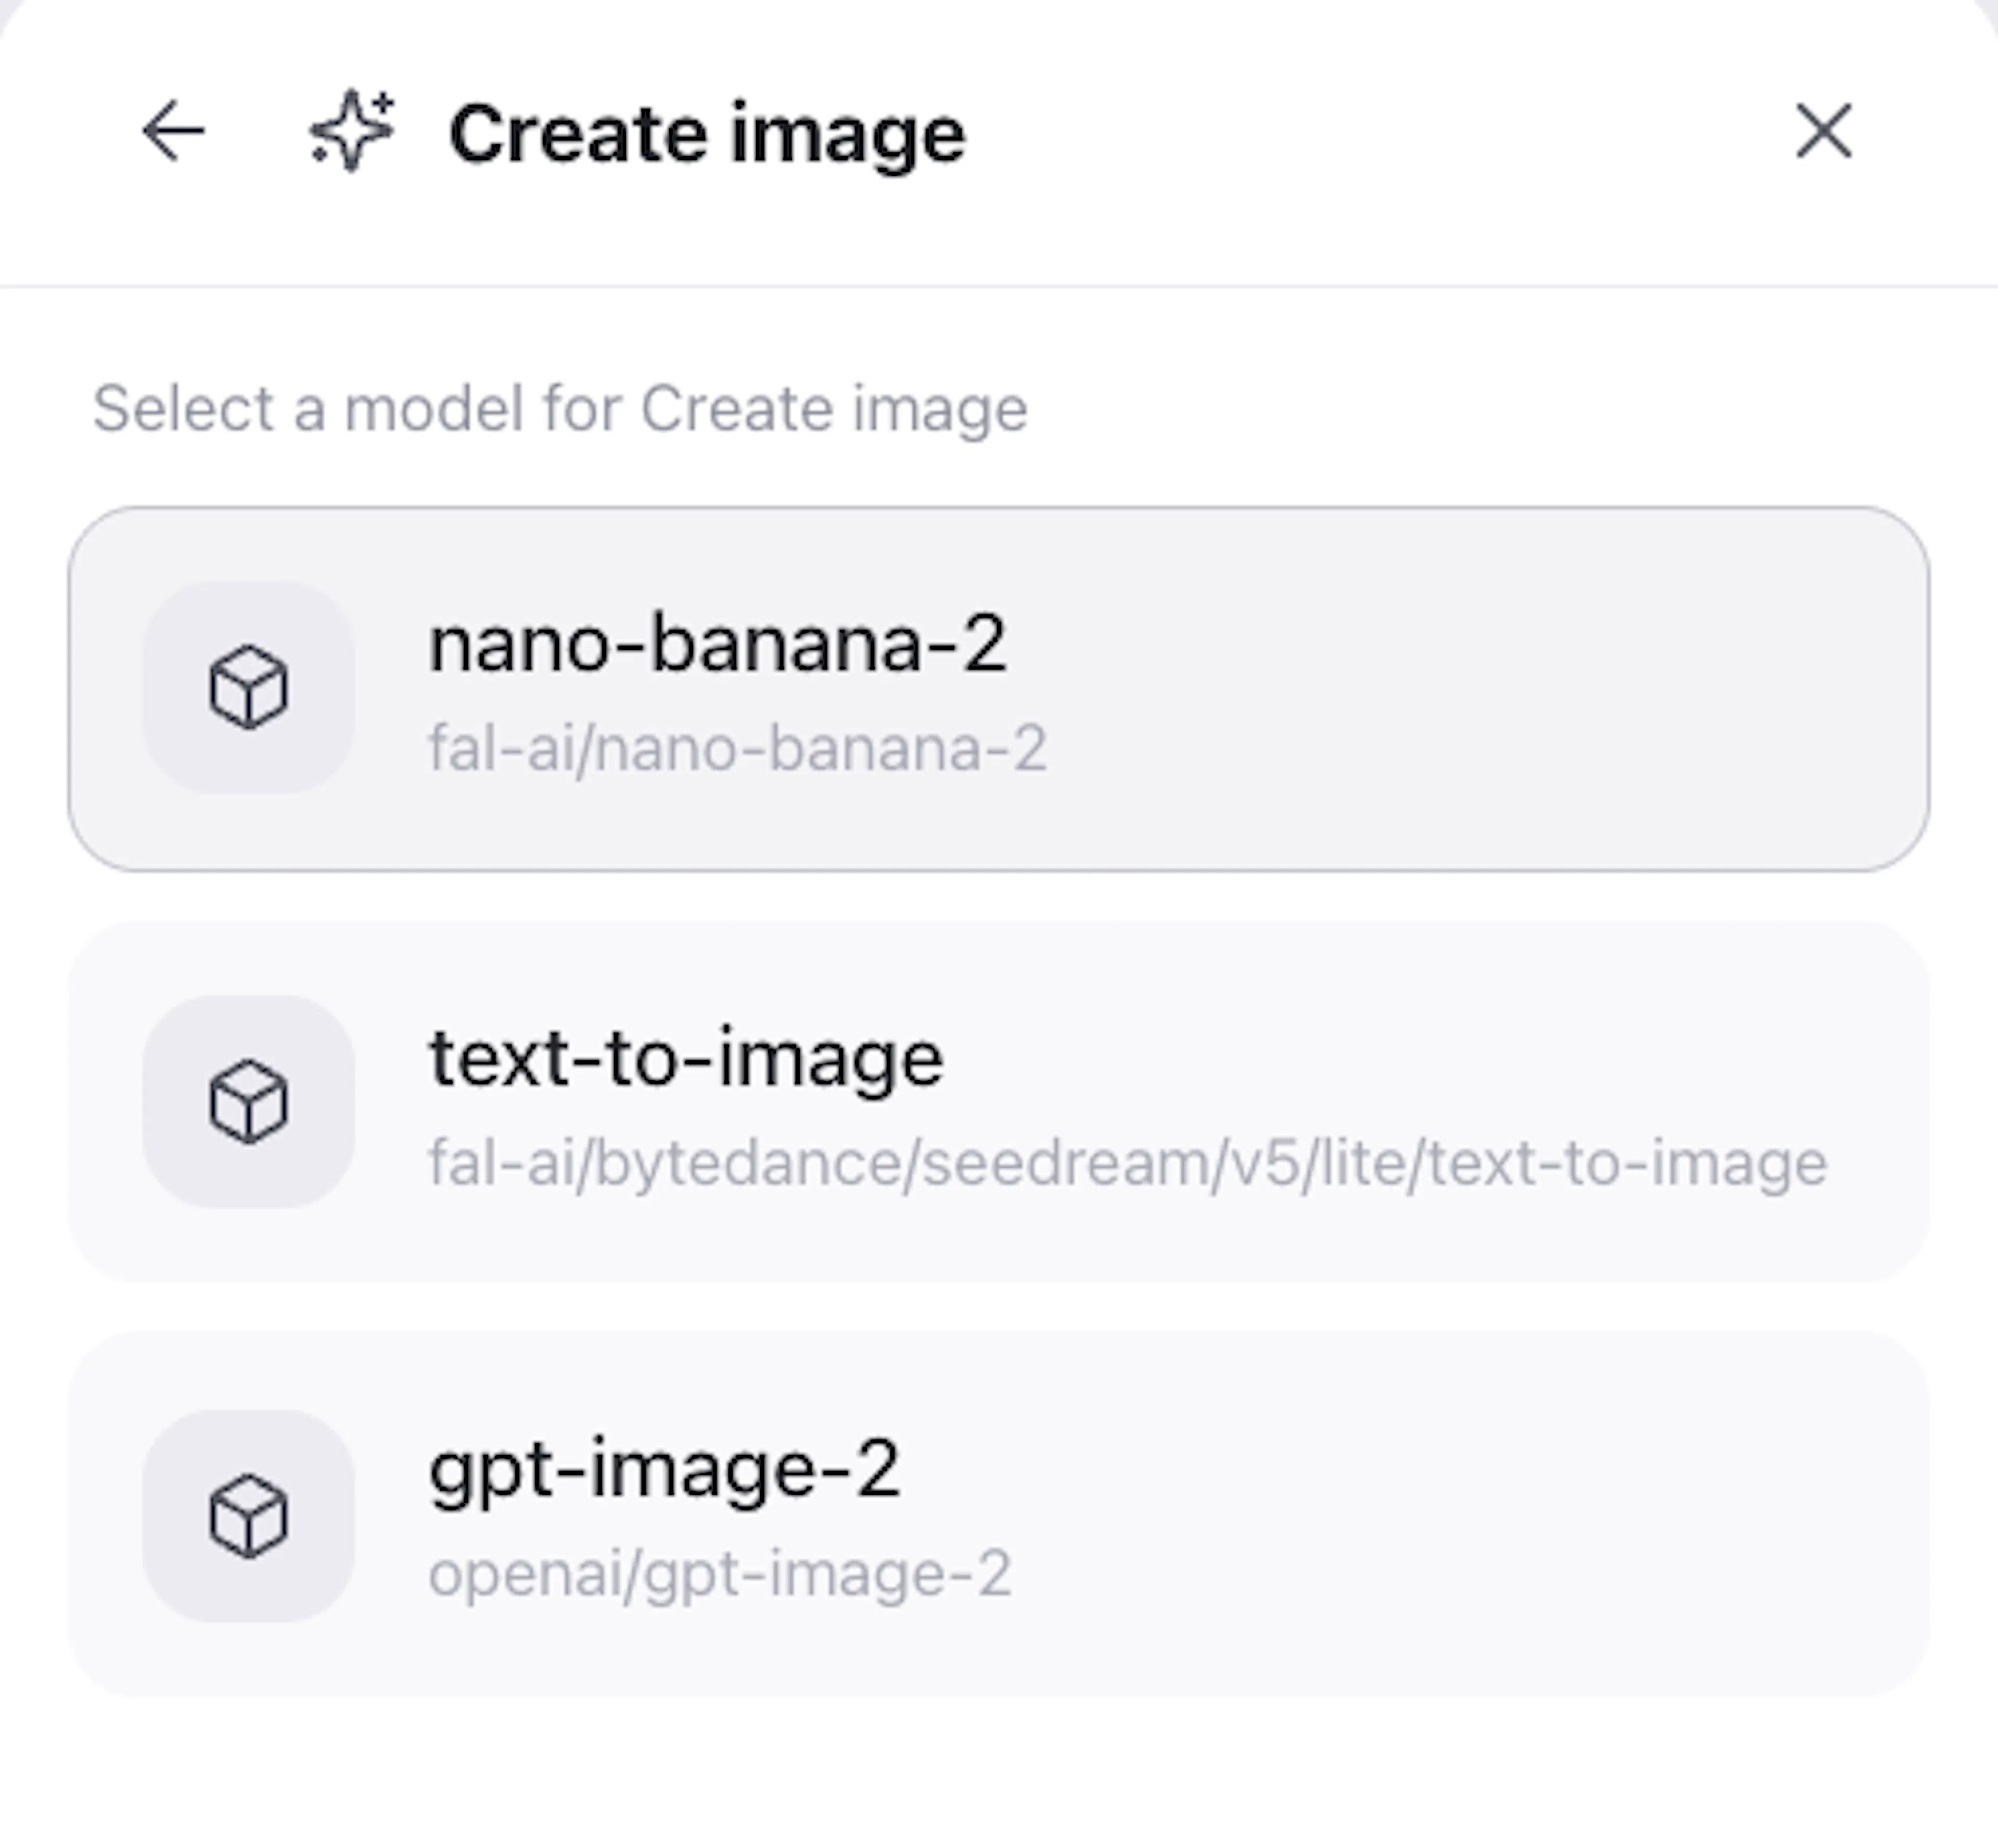
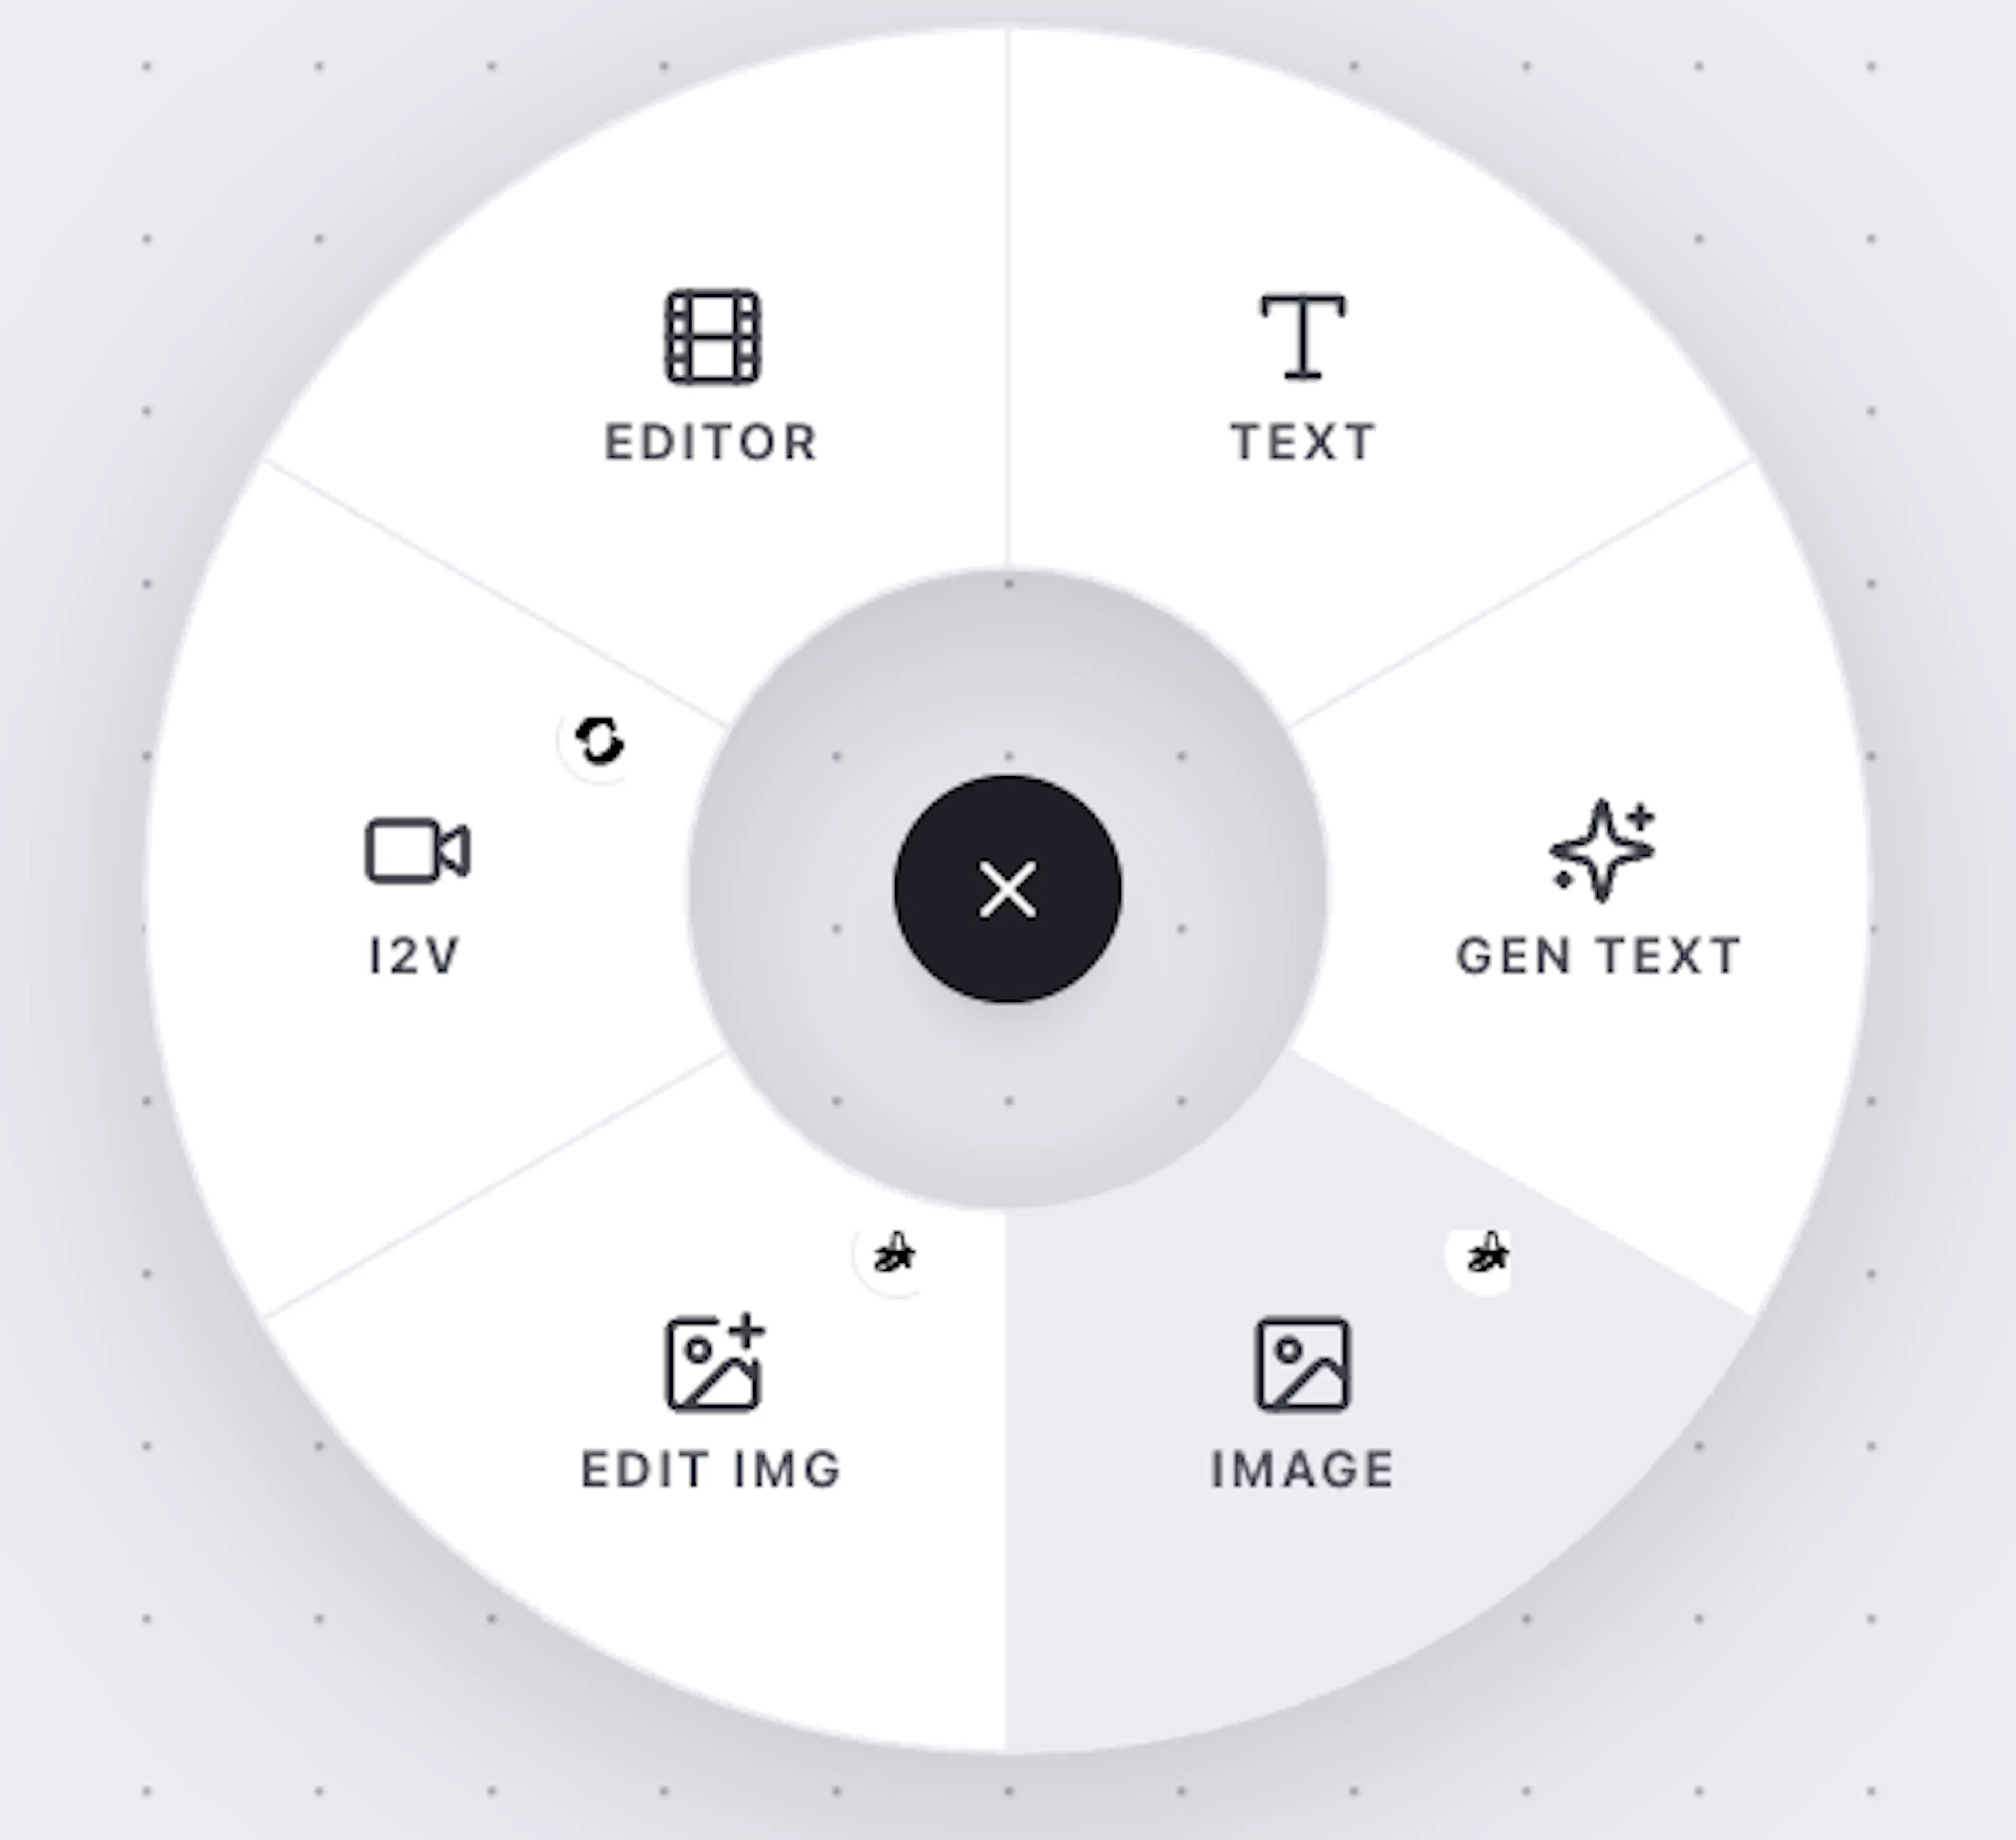
OR you can use left mouse button click on canvas to open fast radial menu.
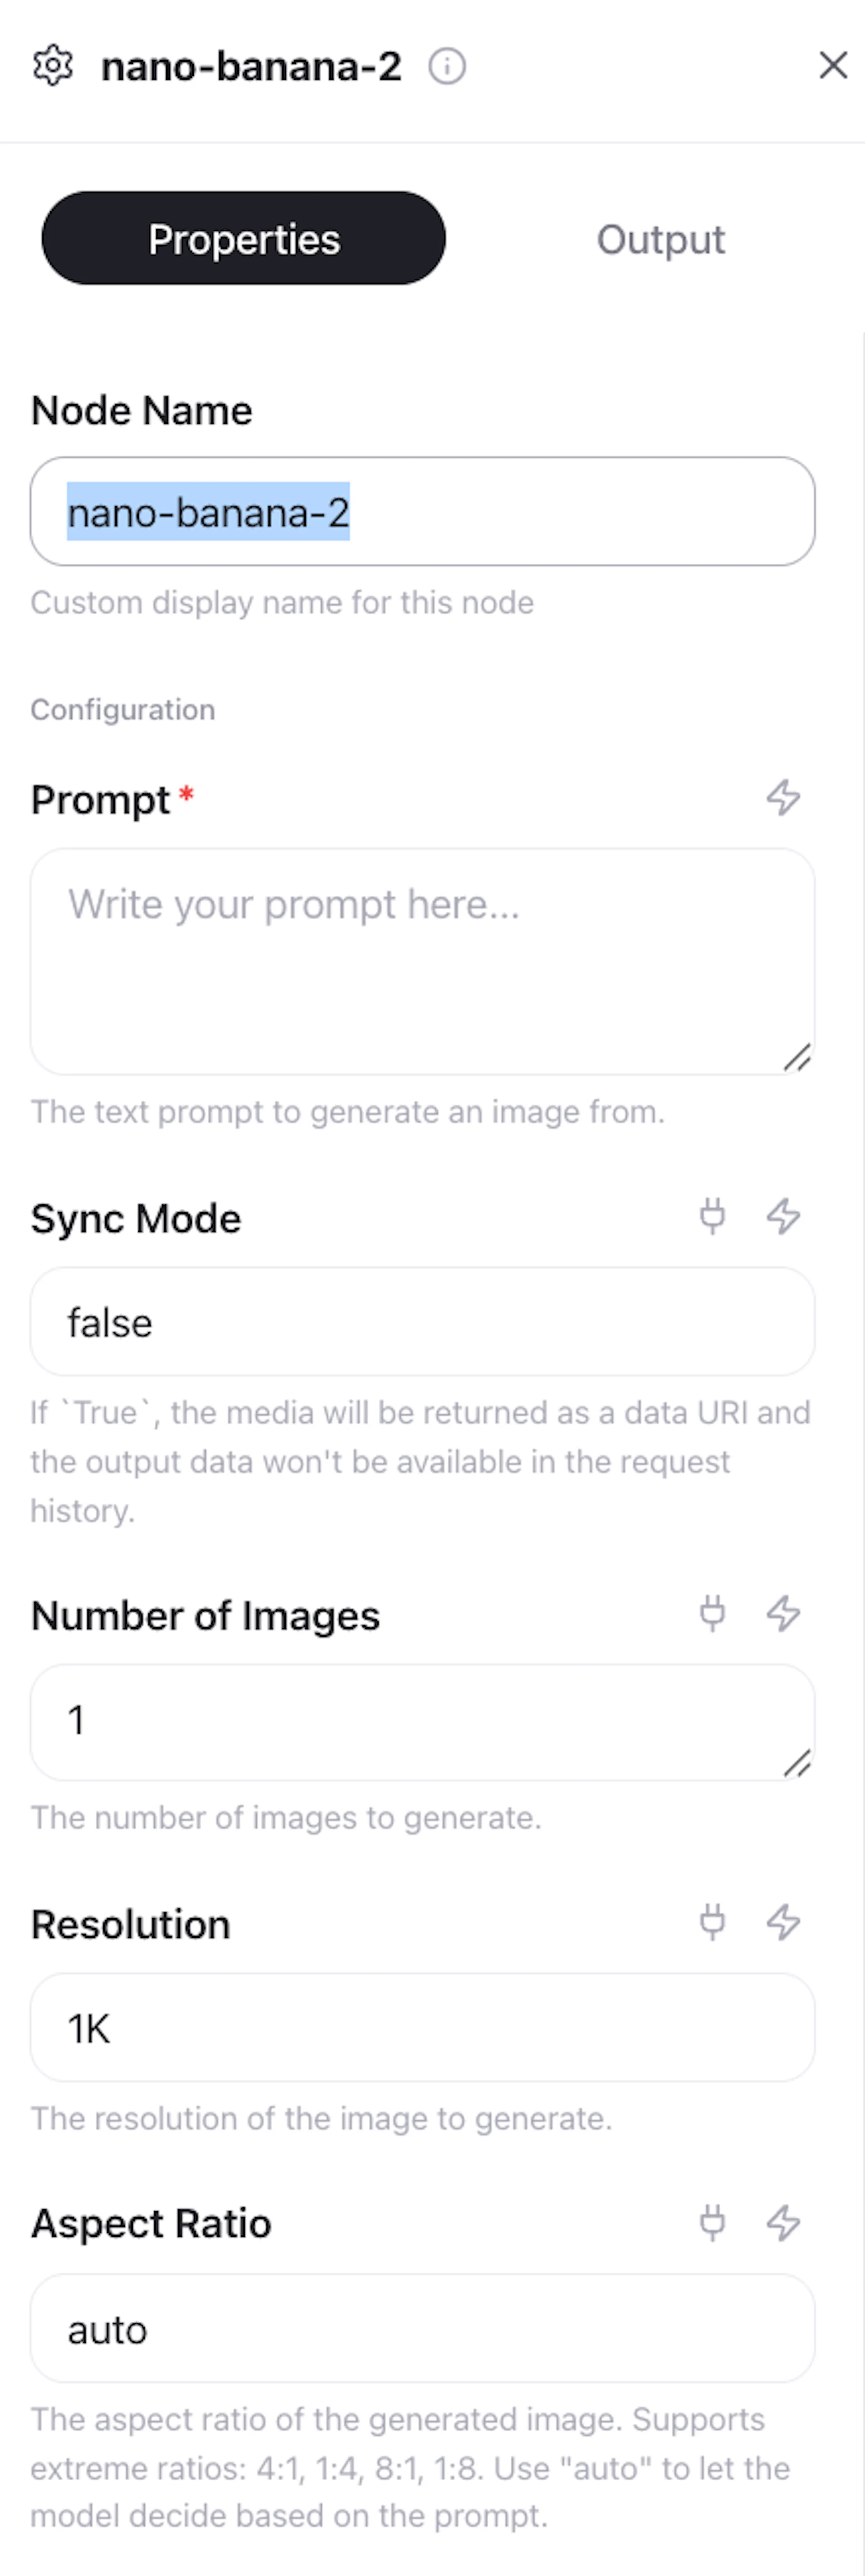
Each node has a panel on the right where you configure its settings. For Create Image, the key settings are:
-
Prompt — describe the image you want to generate
-
Aspect Ratio — set to
9:16for vertical video -
Resolution — choose your output quality
-
Model — pick from Banana, Dream, or GPT image models
Step 4: Add an Image-to-Video Node
Next, you want to turn that generated image into a video clip.
Open the node menu → fal.ai → Image to Video. Place it on the canvas to the right of your Create Image node.
Map the nodes together
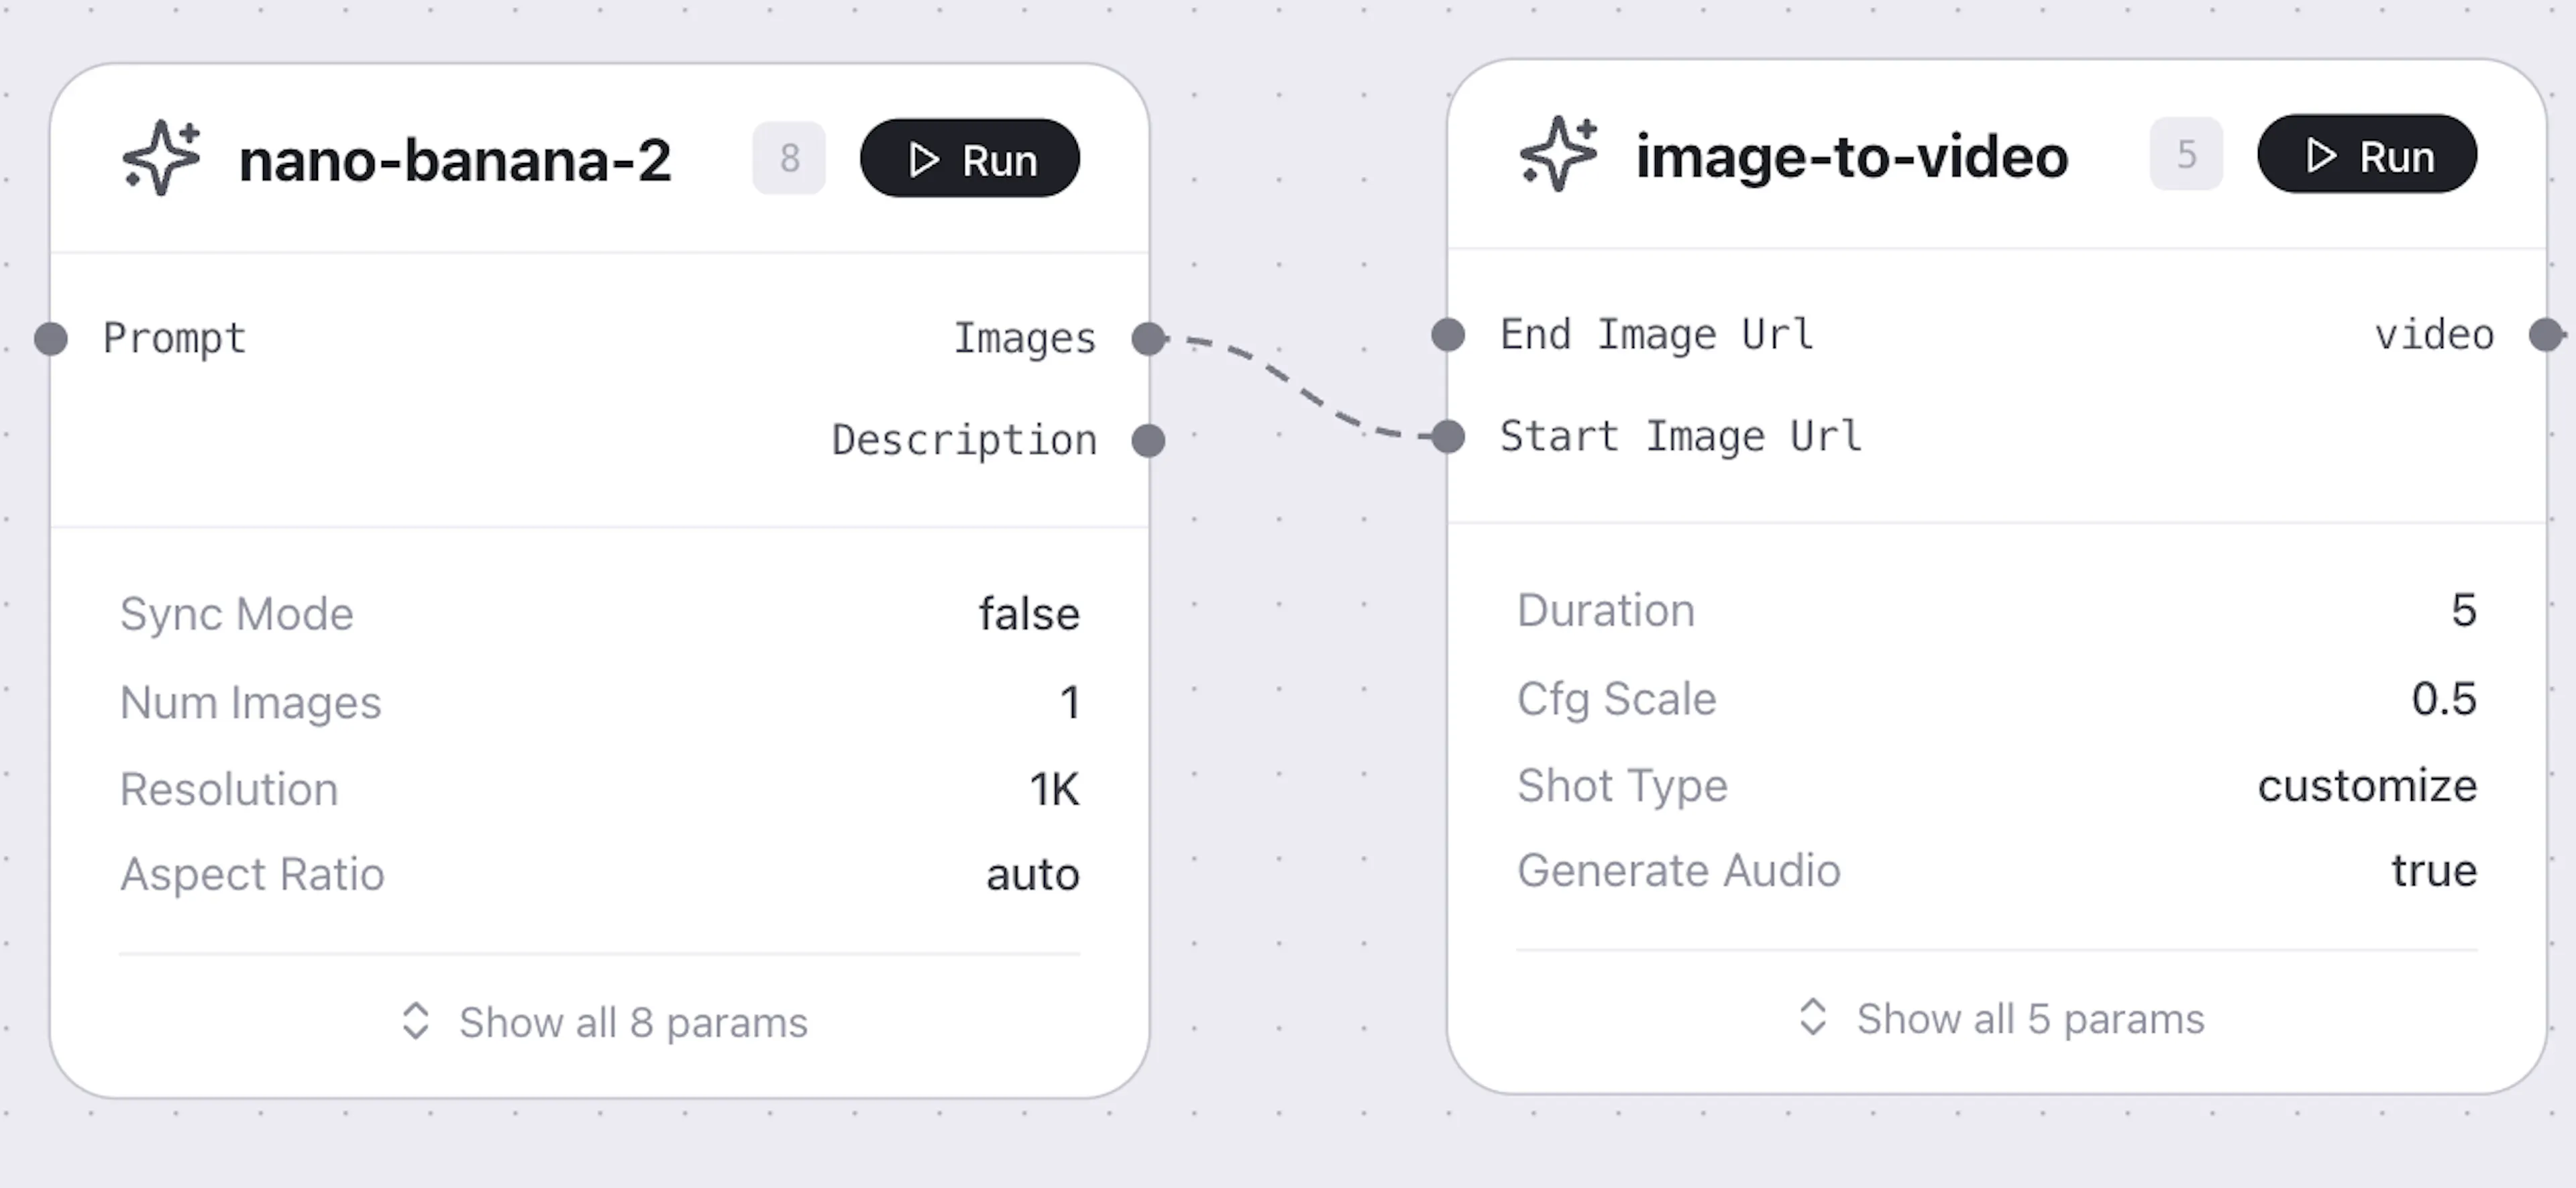
This is how you connect one node's output to another node's input — called mapping.
Hover on output Imagesof first node and pull line to Start Image Url input of second node. A line will appear connecting the two nodes on the canvas.
Now configure the Image to Video node:
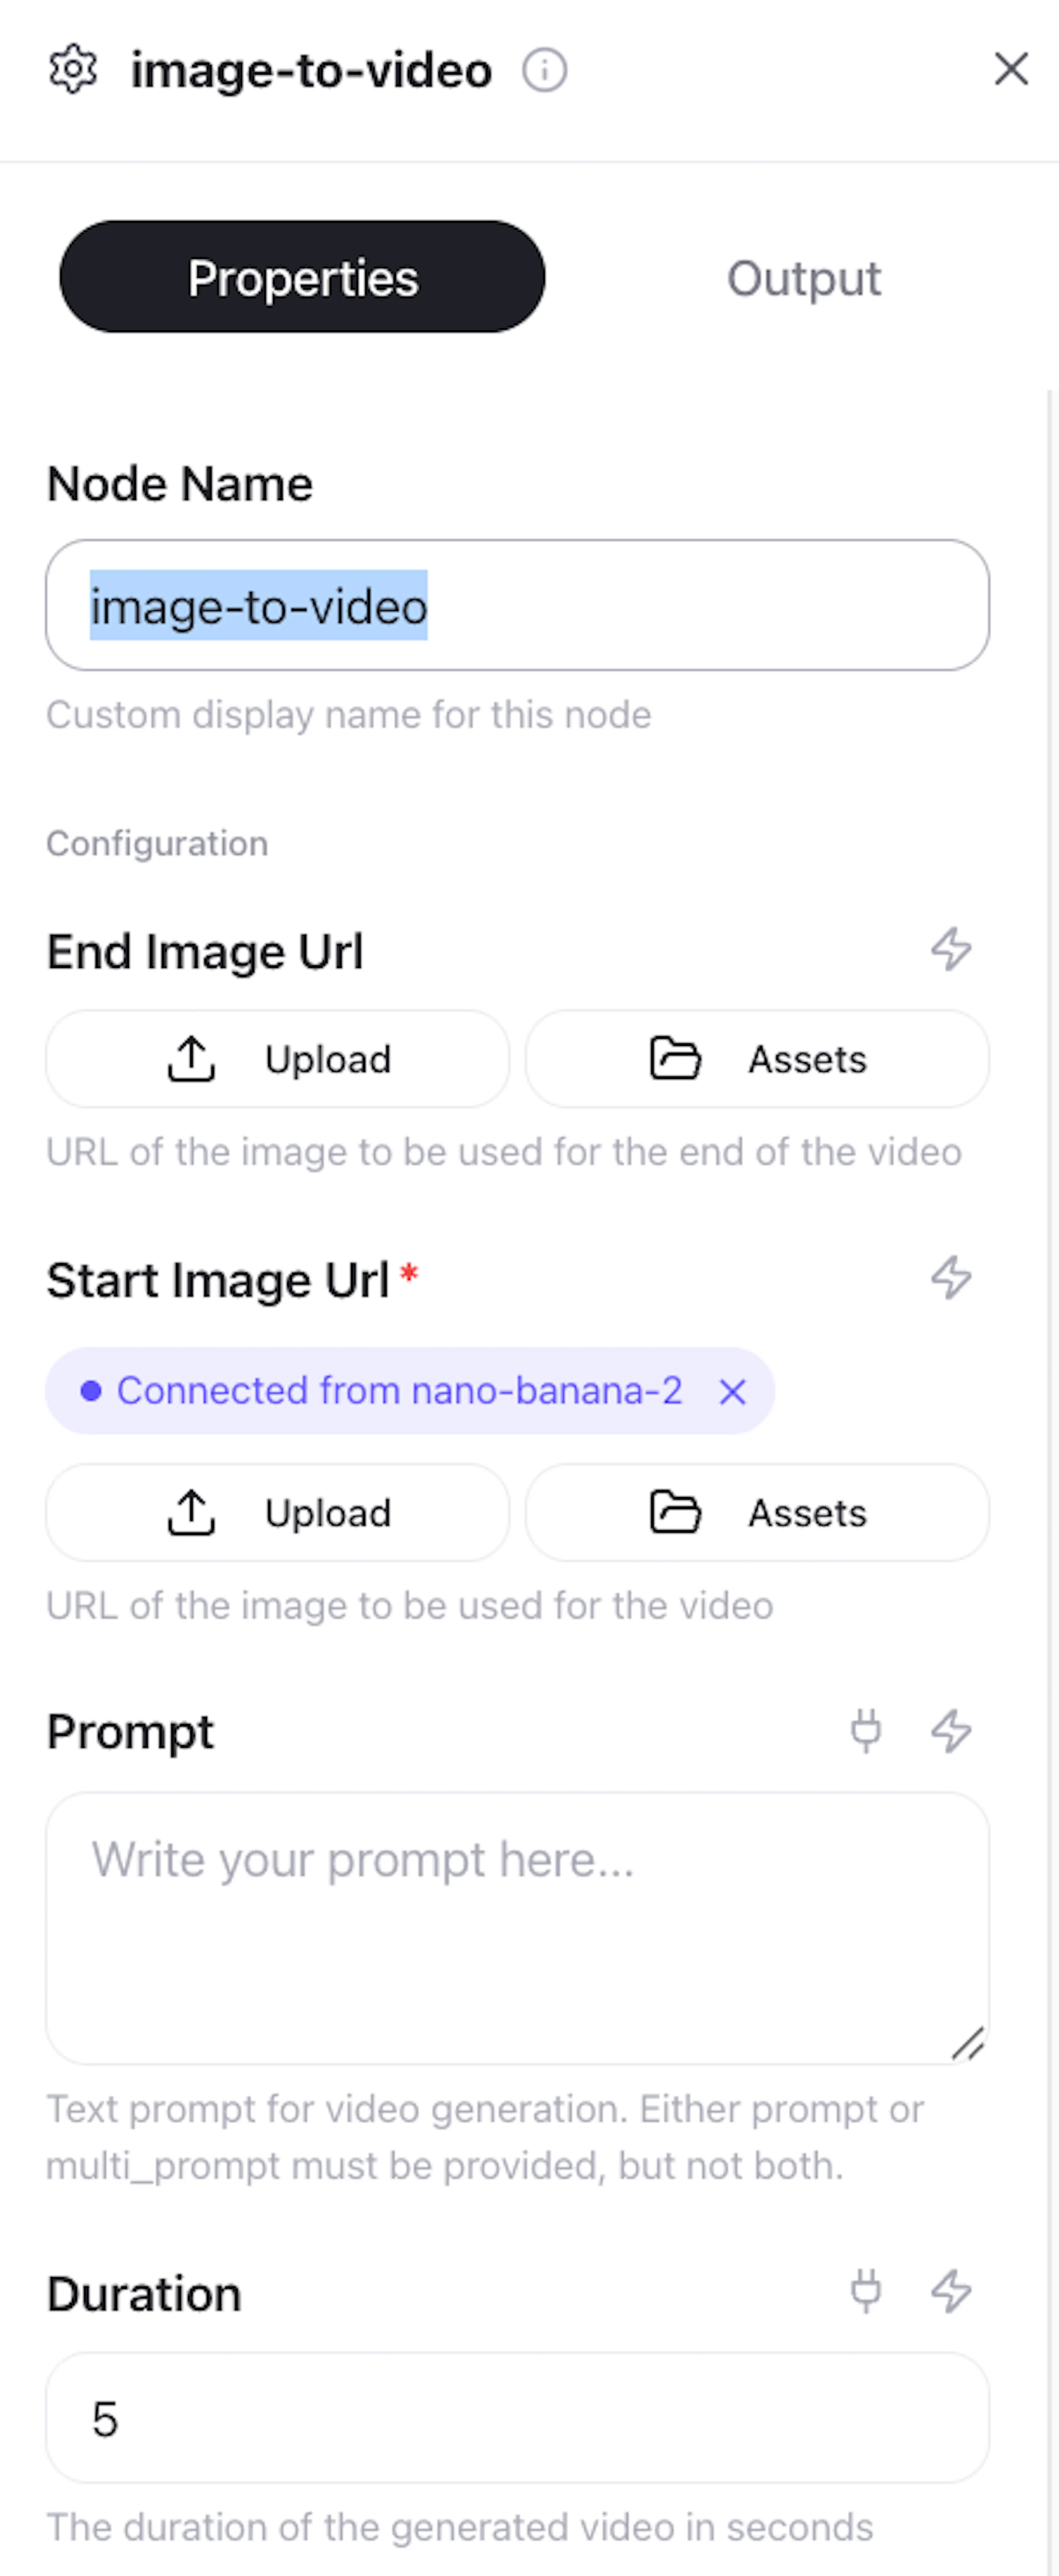
-
Prompt — describe the motion and action in the clip. For lip-sync videos, describe the character's expressions, emotions, and dialogue in detail.
-
Duration — keep clips at 10 seconds or under for best lip-sync quality. For longer videos, split them into multiple 10-second segments.
-
Generate Audio — toggle on if you want the model to generate audio alongside the video.
Step 5: Extract the Last Frame
To create a seamless continuation, you need the last frame of your first clip as the starting image for the next one.
Open the node menu → fal.ai → Extract Frame. Connect it after your Image to Video node:
-
Input → the video output from Image to Video
-
Frame → set to Last
The output of this node is an image — the final frame of your clip — ready to feed into the next Image to Video node.
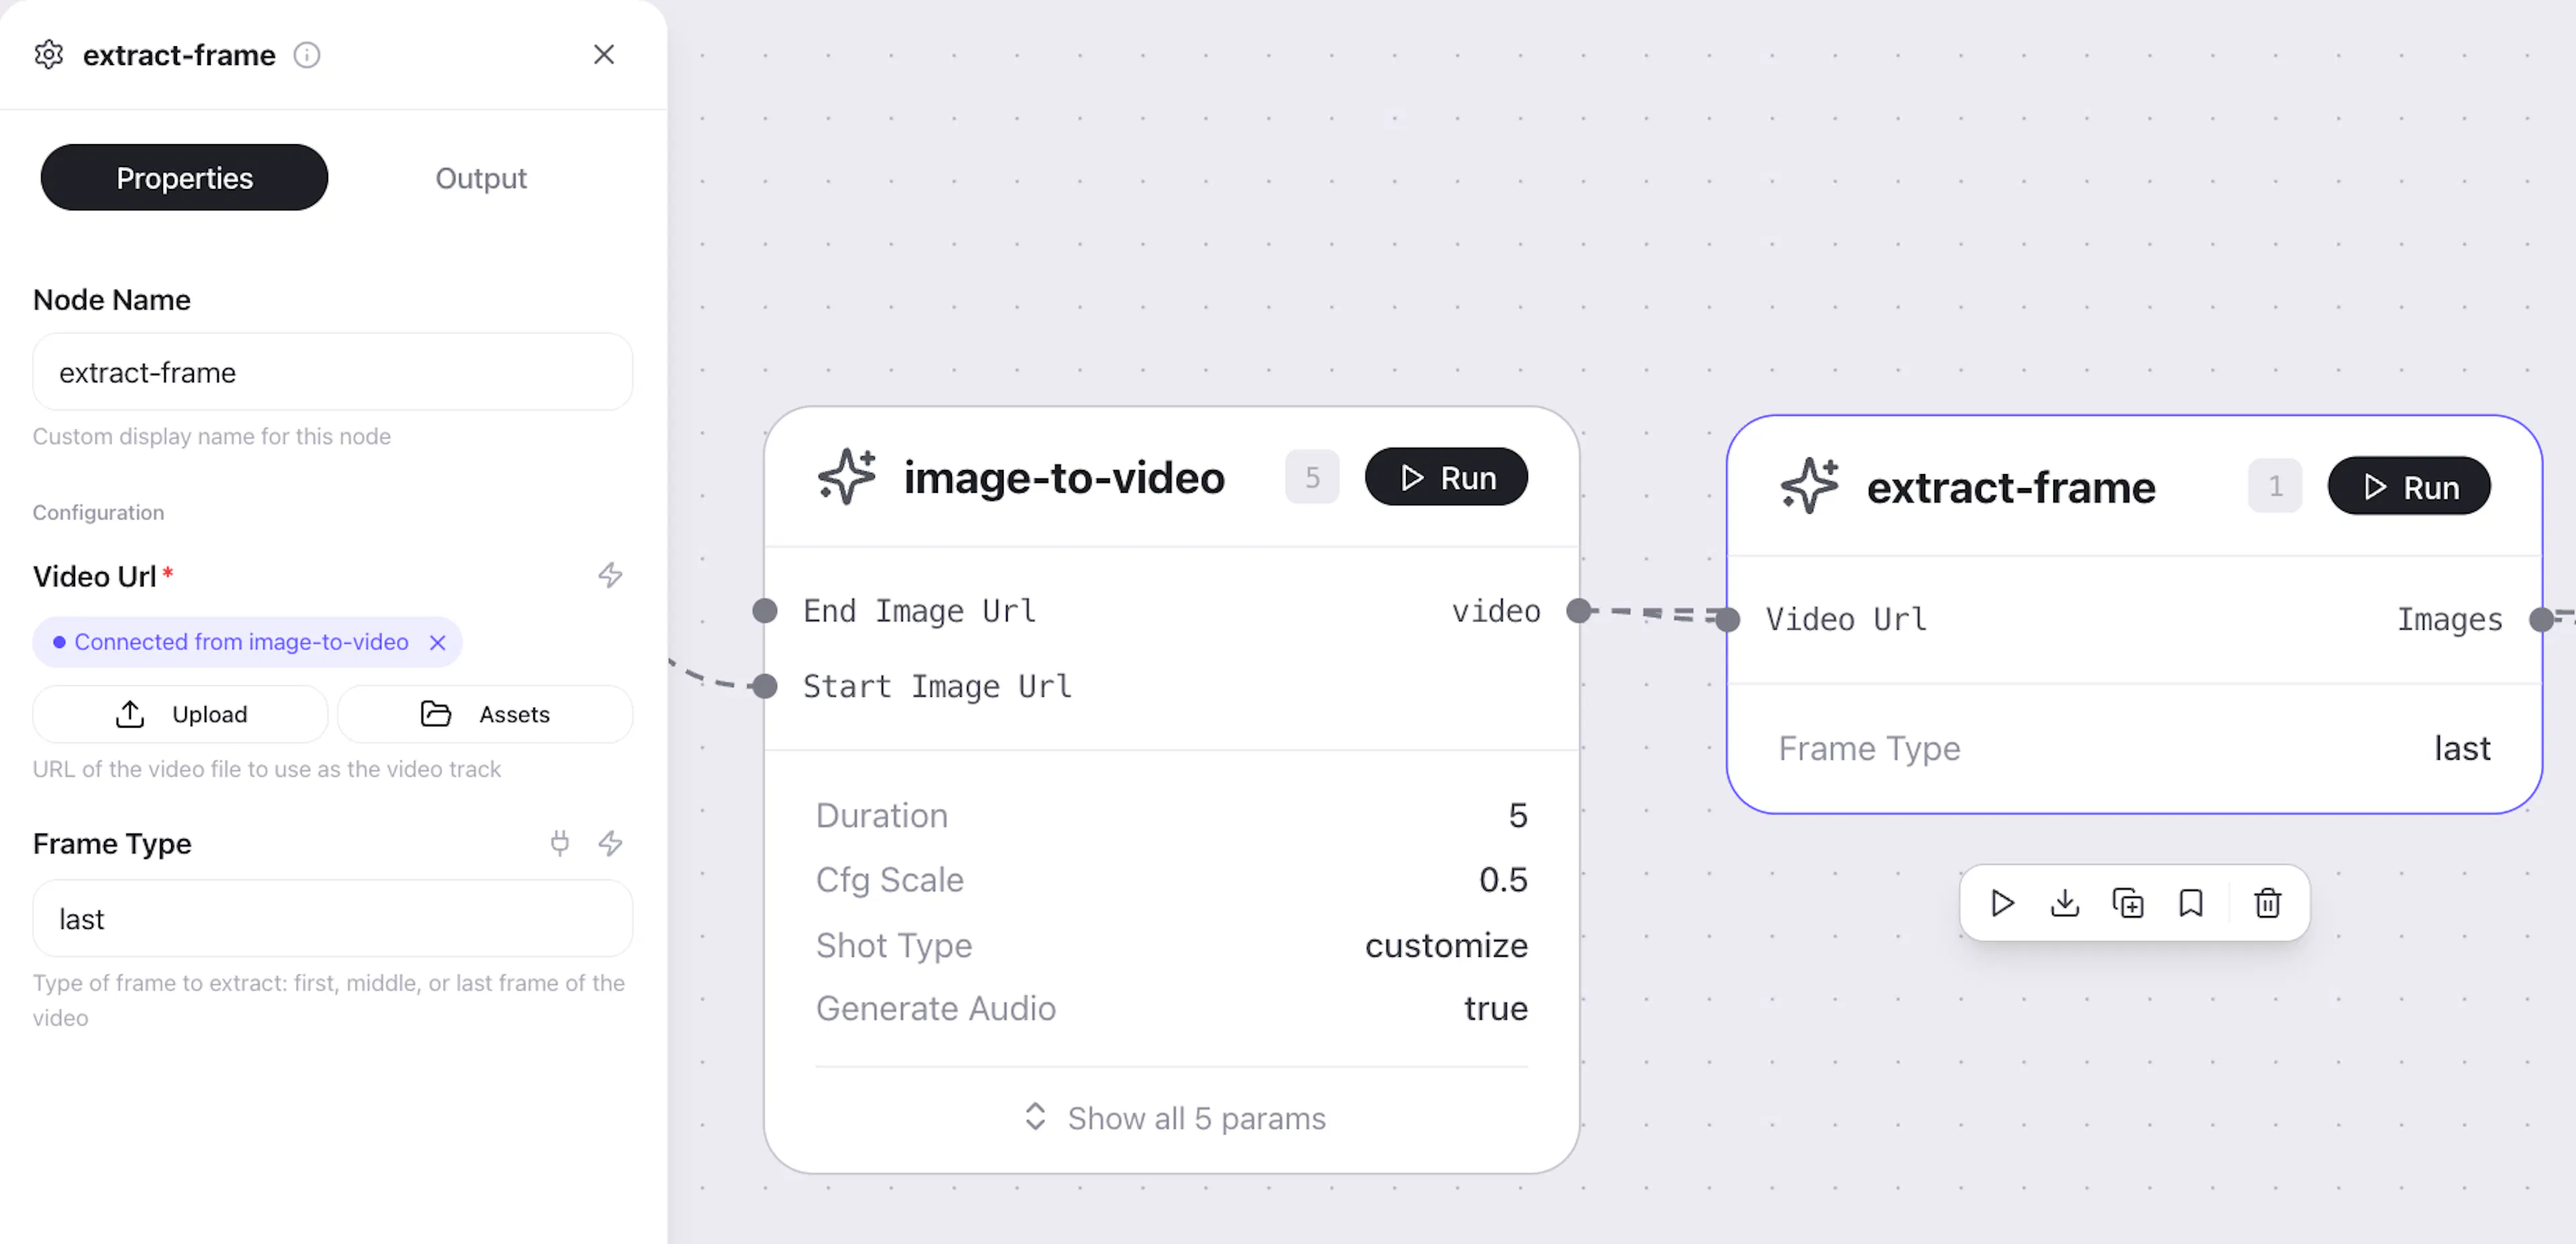
Repeat steps 4–5 to generate your second and third clips, each starting from the last frame of the previous one.
Step 6: Assemble Clips in the Editor
Once you have all your video clips, it's time to stitch them together.
Open the node menu → Editor. The Editor node works differently from other nodes — it has no inputs by default. You define its inputs from inside the Editor itself using Placeholders.
Add Placeholders
-
Click Open Editor on the Editor node to enter the timeline view
-
Click Placeholder icon of needed type
-
Add one placeholder per video clip (e.g. three placeholders for three clips)
-
Arrange them in order on the timeline
-
Set the Duration for each placeholder to match the expected clip length (e.g. 10 seconds)
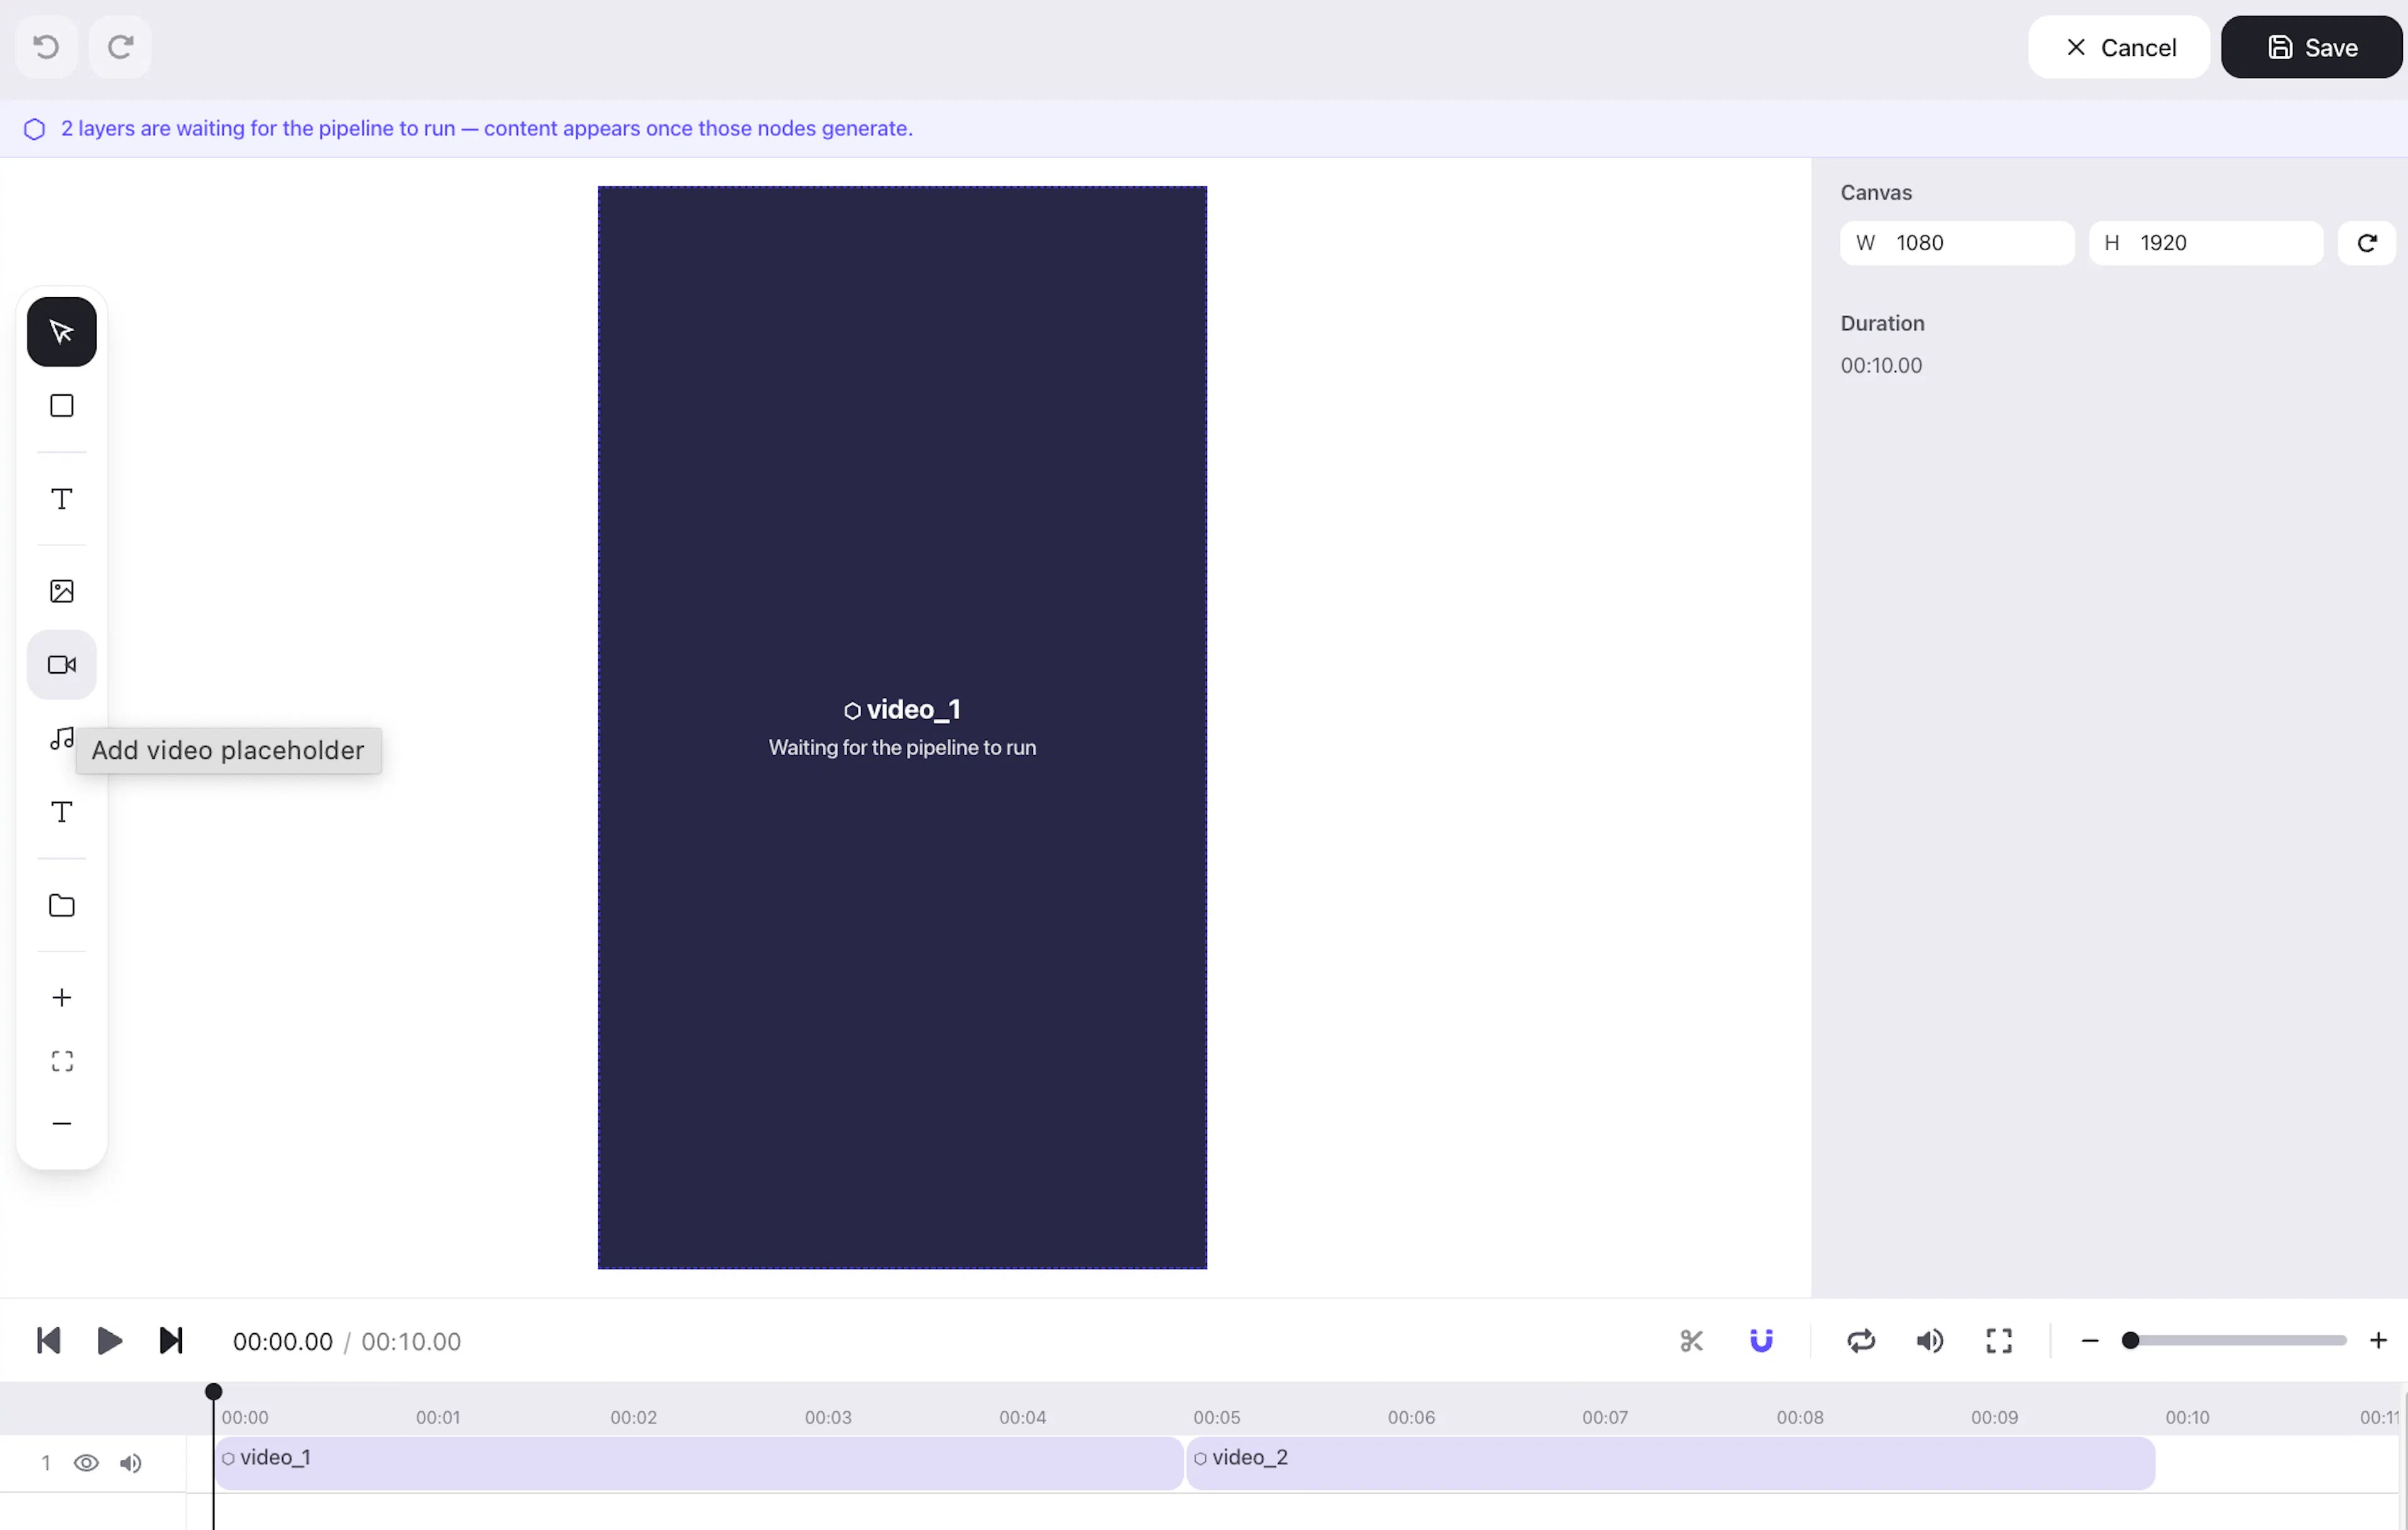
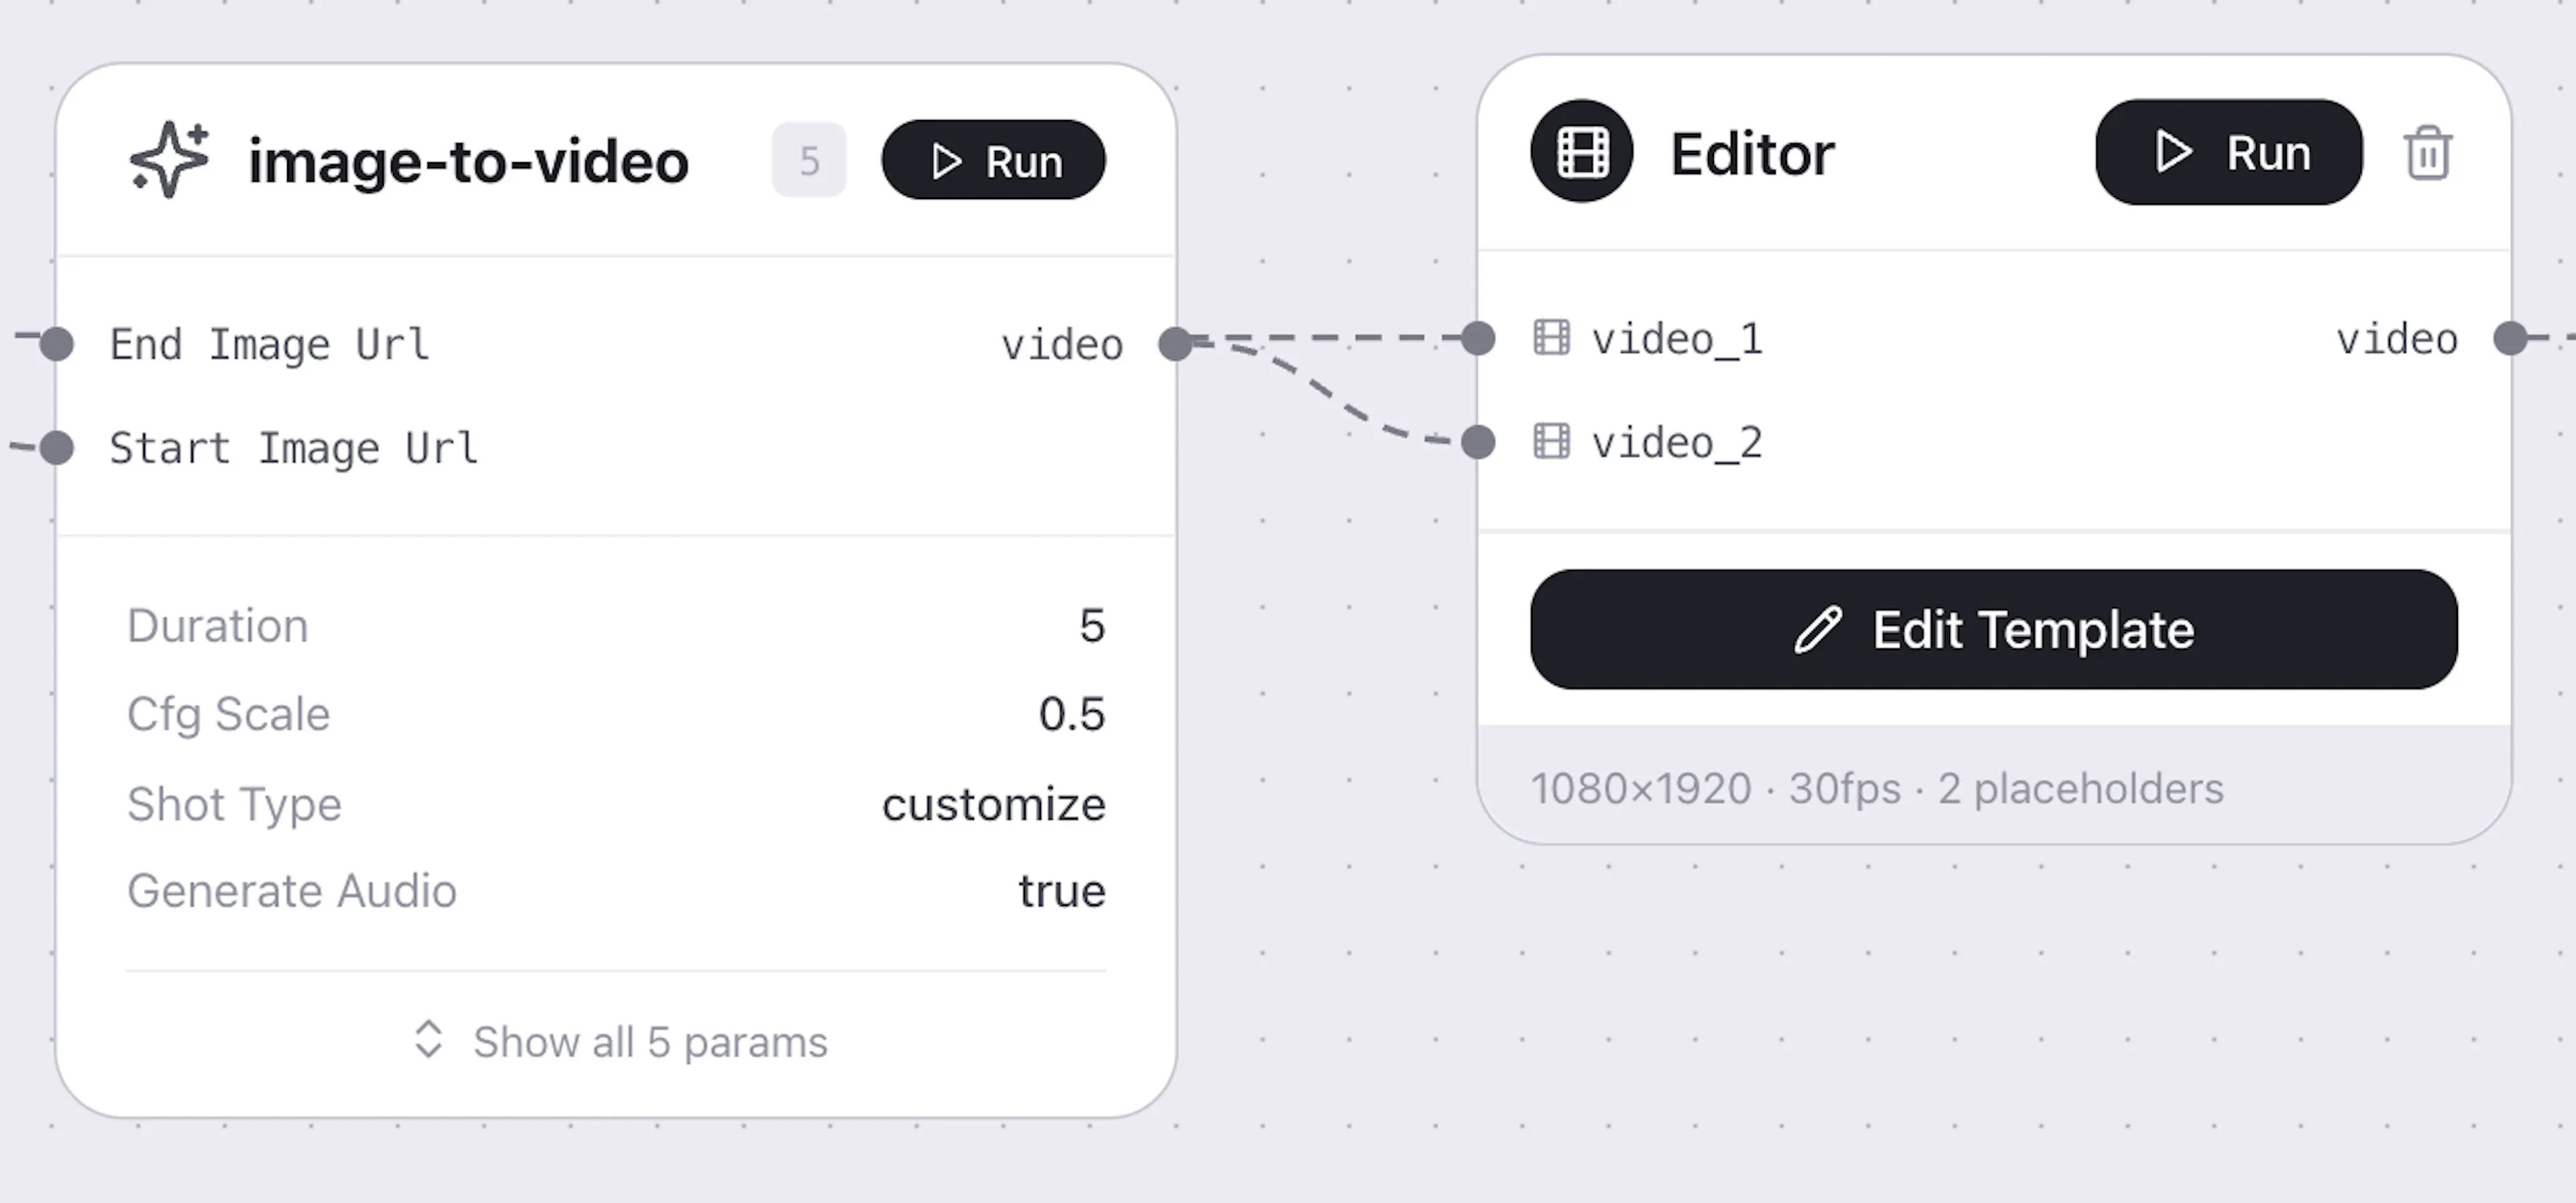
Once you save and return to the canvas, the Editor node will now show input handles for each placeholder you created.
Map your clips
Connect each video output (from your Image to Video nodes) to the corresponding placeholder input on the Editor node.
Add static layers
You can also add static elements directly inside the Editor (no placeholder needed):
-
Logo or watermark — upload an image and position it on top
-
End card / body — add a static image or video at the end of the timeline
-
Use the layer order to control what appears on top: higher layers overlay lower ones
Step 7: Add Captions (Optional)
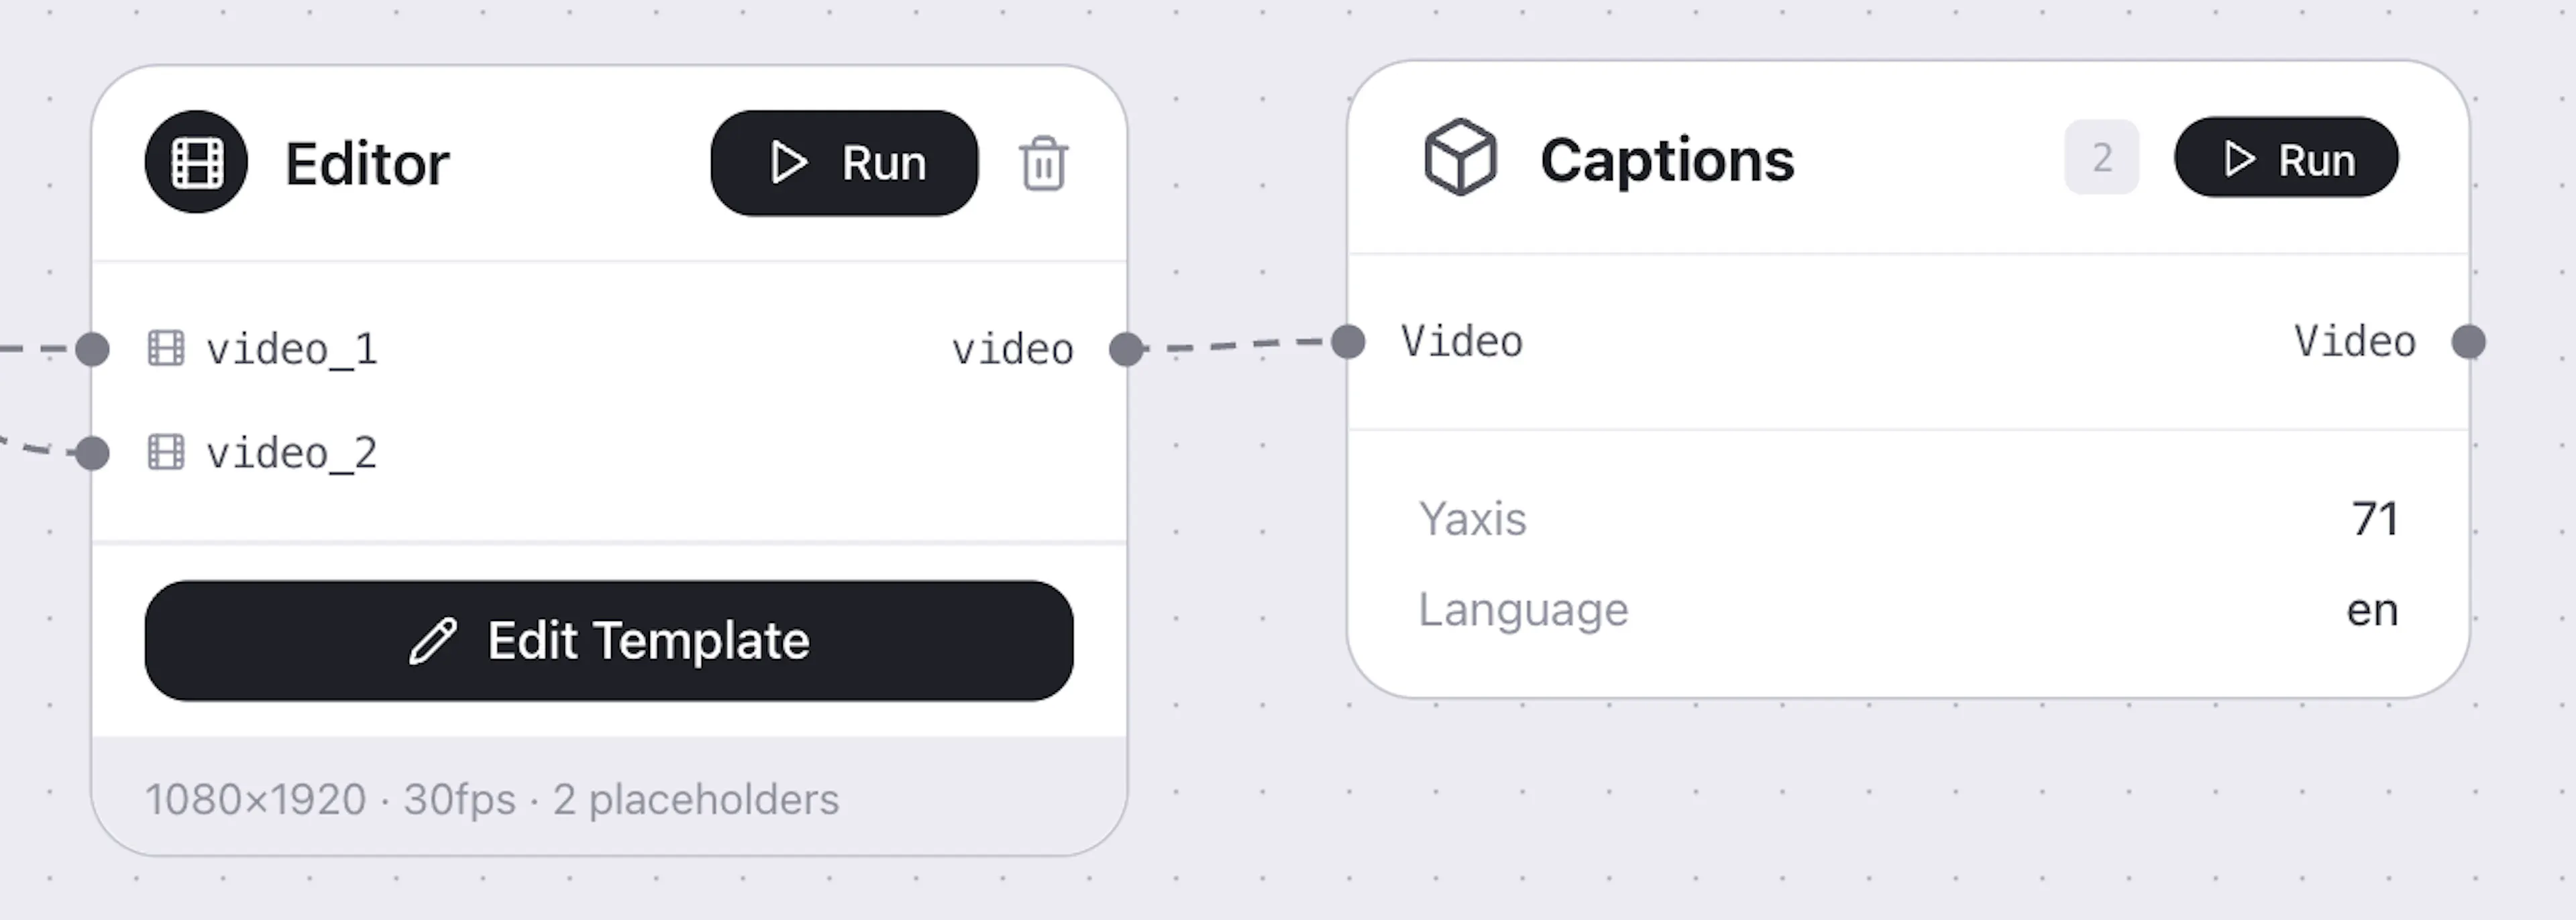
If you want subtitles, add a Captions node after the Editor.
Open the node menu → Captions. Connect the Editor's video output to the Captions input, then configure:
-
Language — select the correct language for accurate transcription
-
Position — set how high the subtitles appear relative to the safe zone
-
Template — choose from multiple subtitle style presets
Step 8: Run Your Workflow
Test individual nodes
While building, you can test any single node without running the whole workflow. Click the Run button on a specific node — it will execute just that step and show you the output immediately.
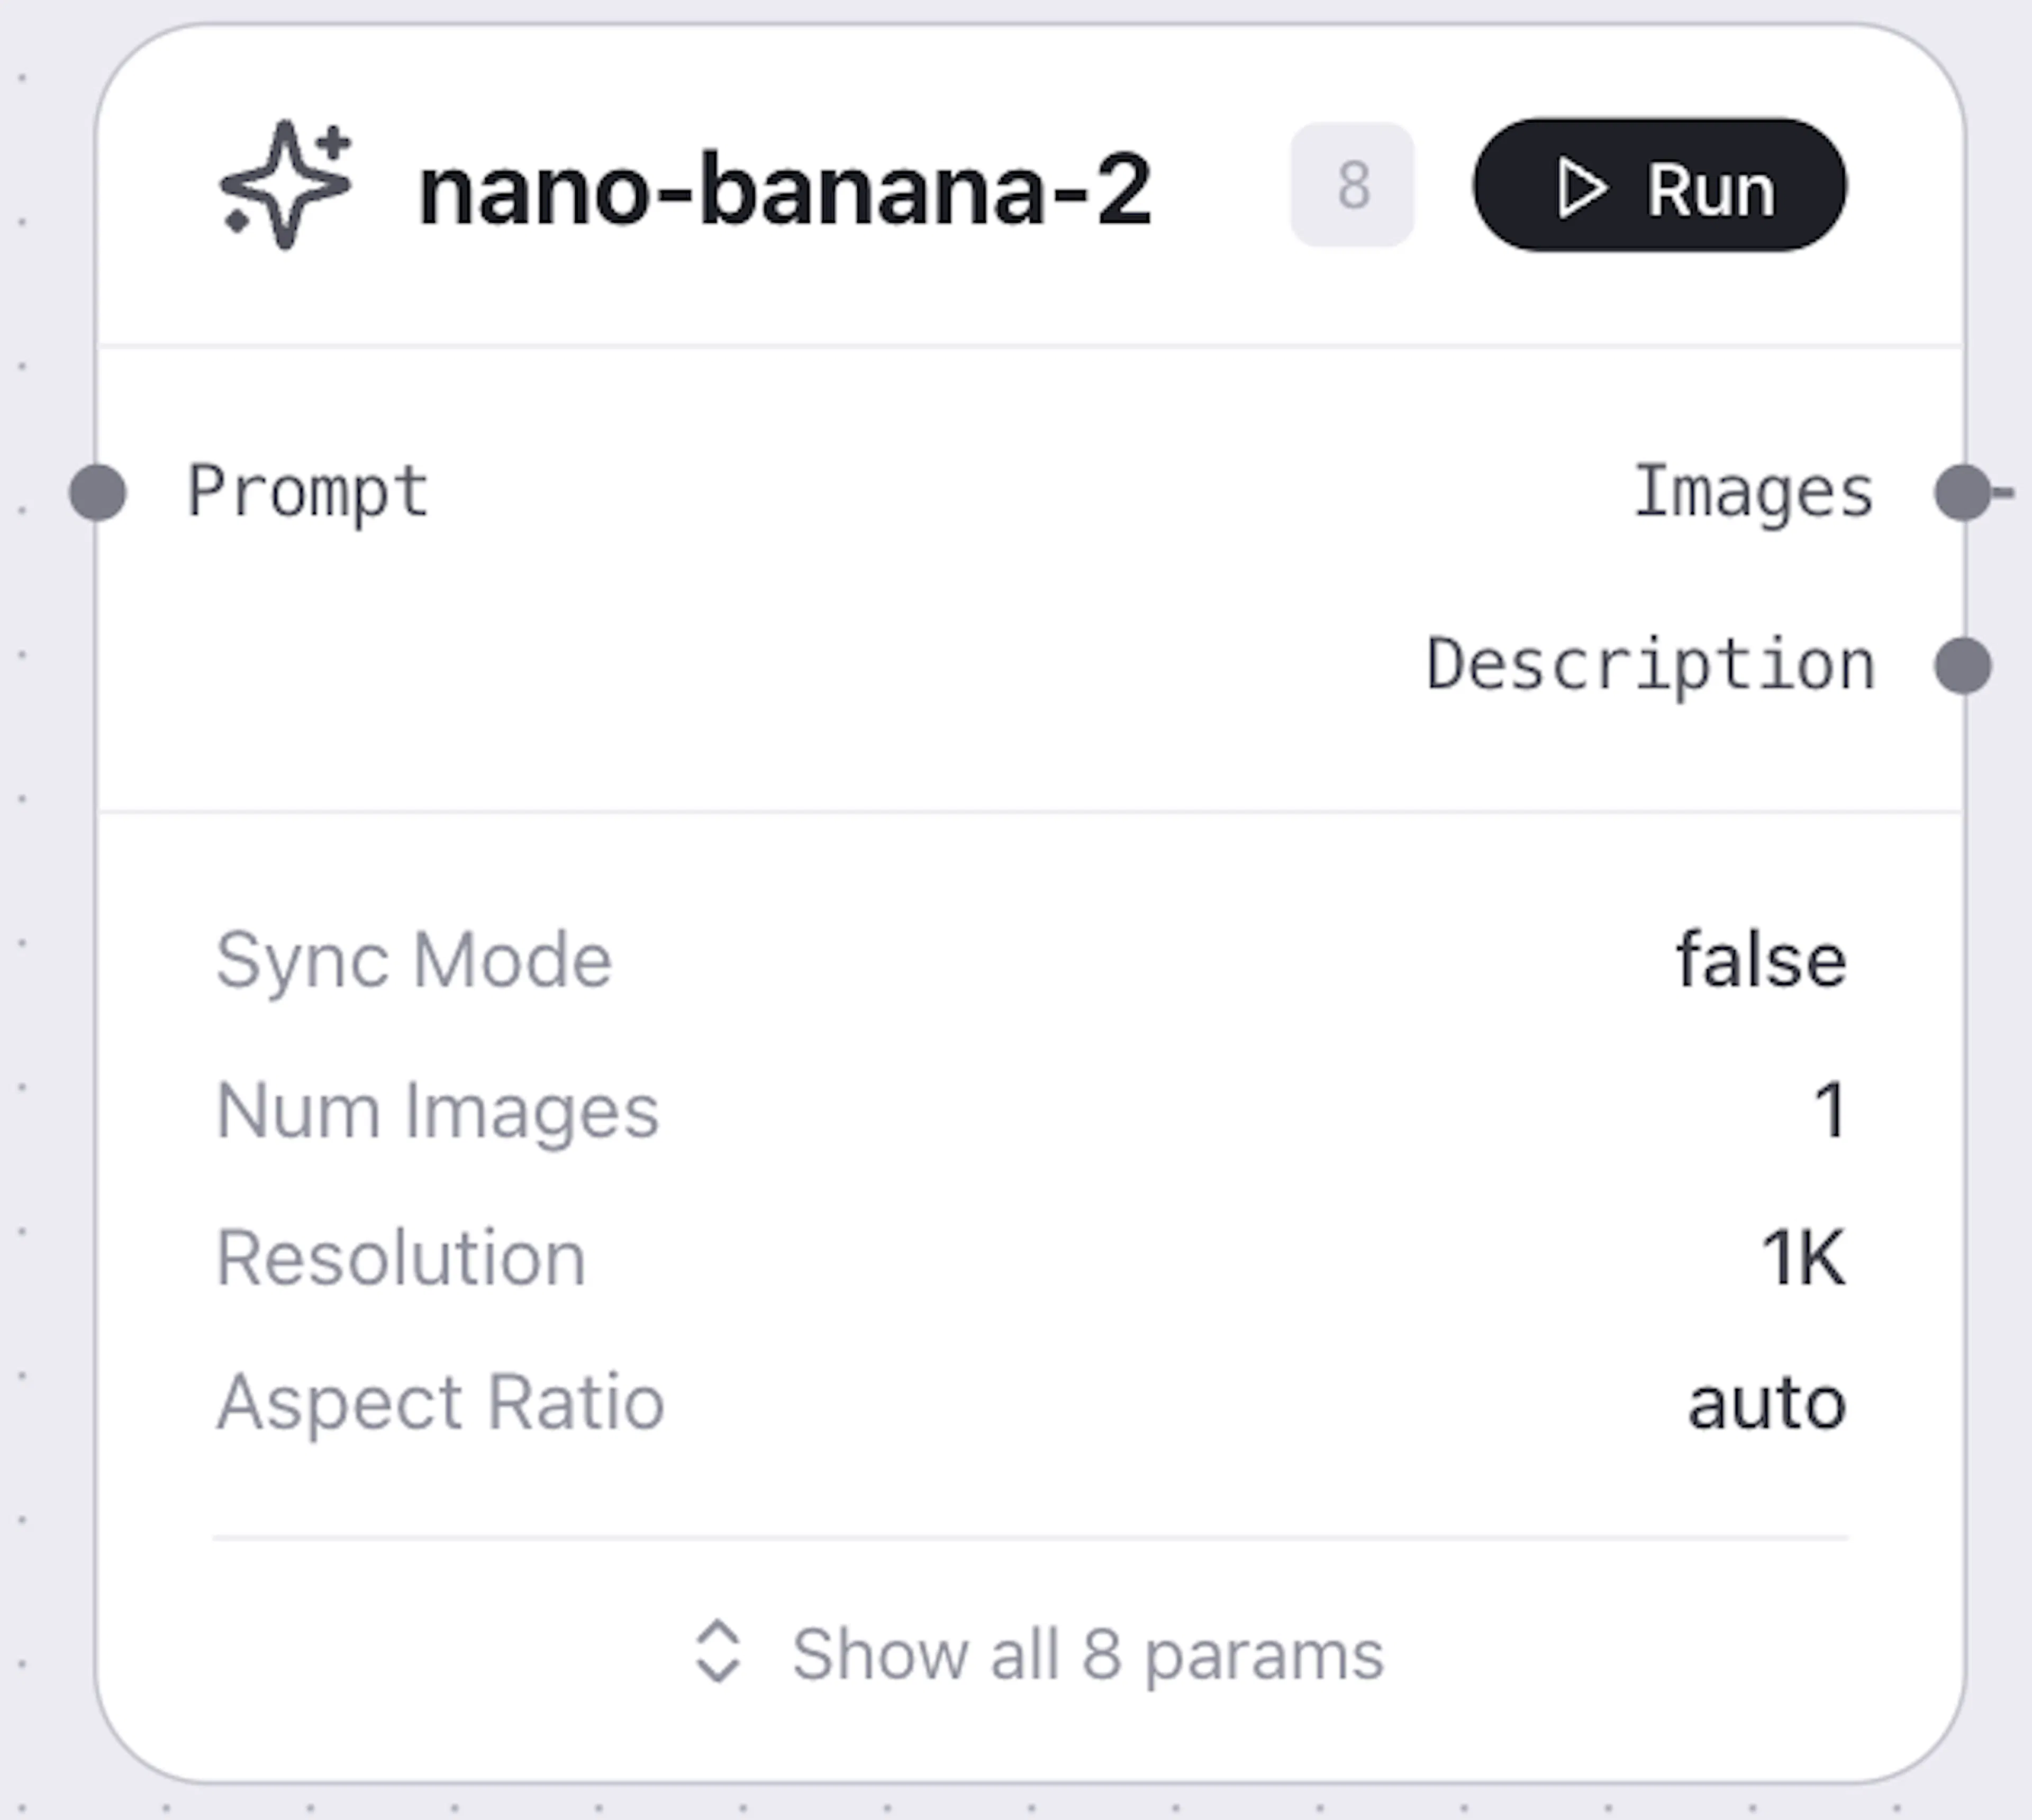
Use this to verify your prompts and settings before committing to a full run.
Run the full workflow
Once everything is connected and configured, click the Run button at the top of the canvas to execute all nodes in sequence.
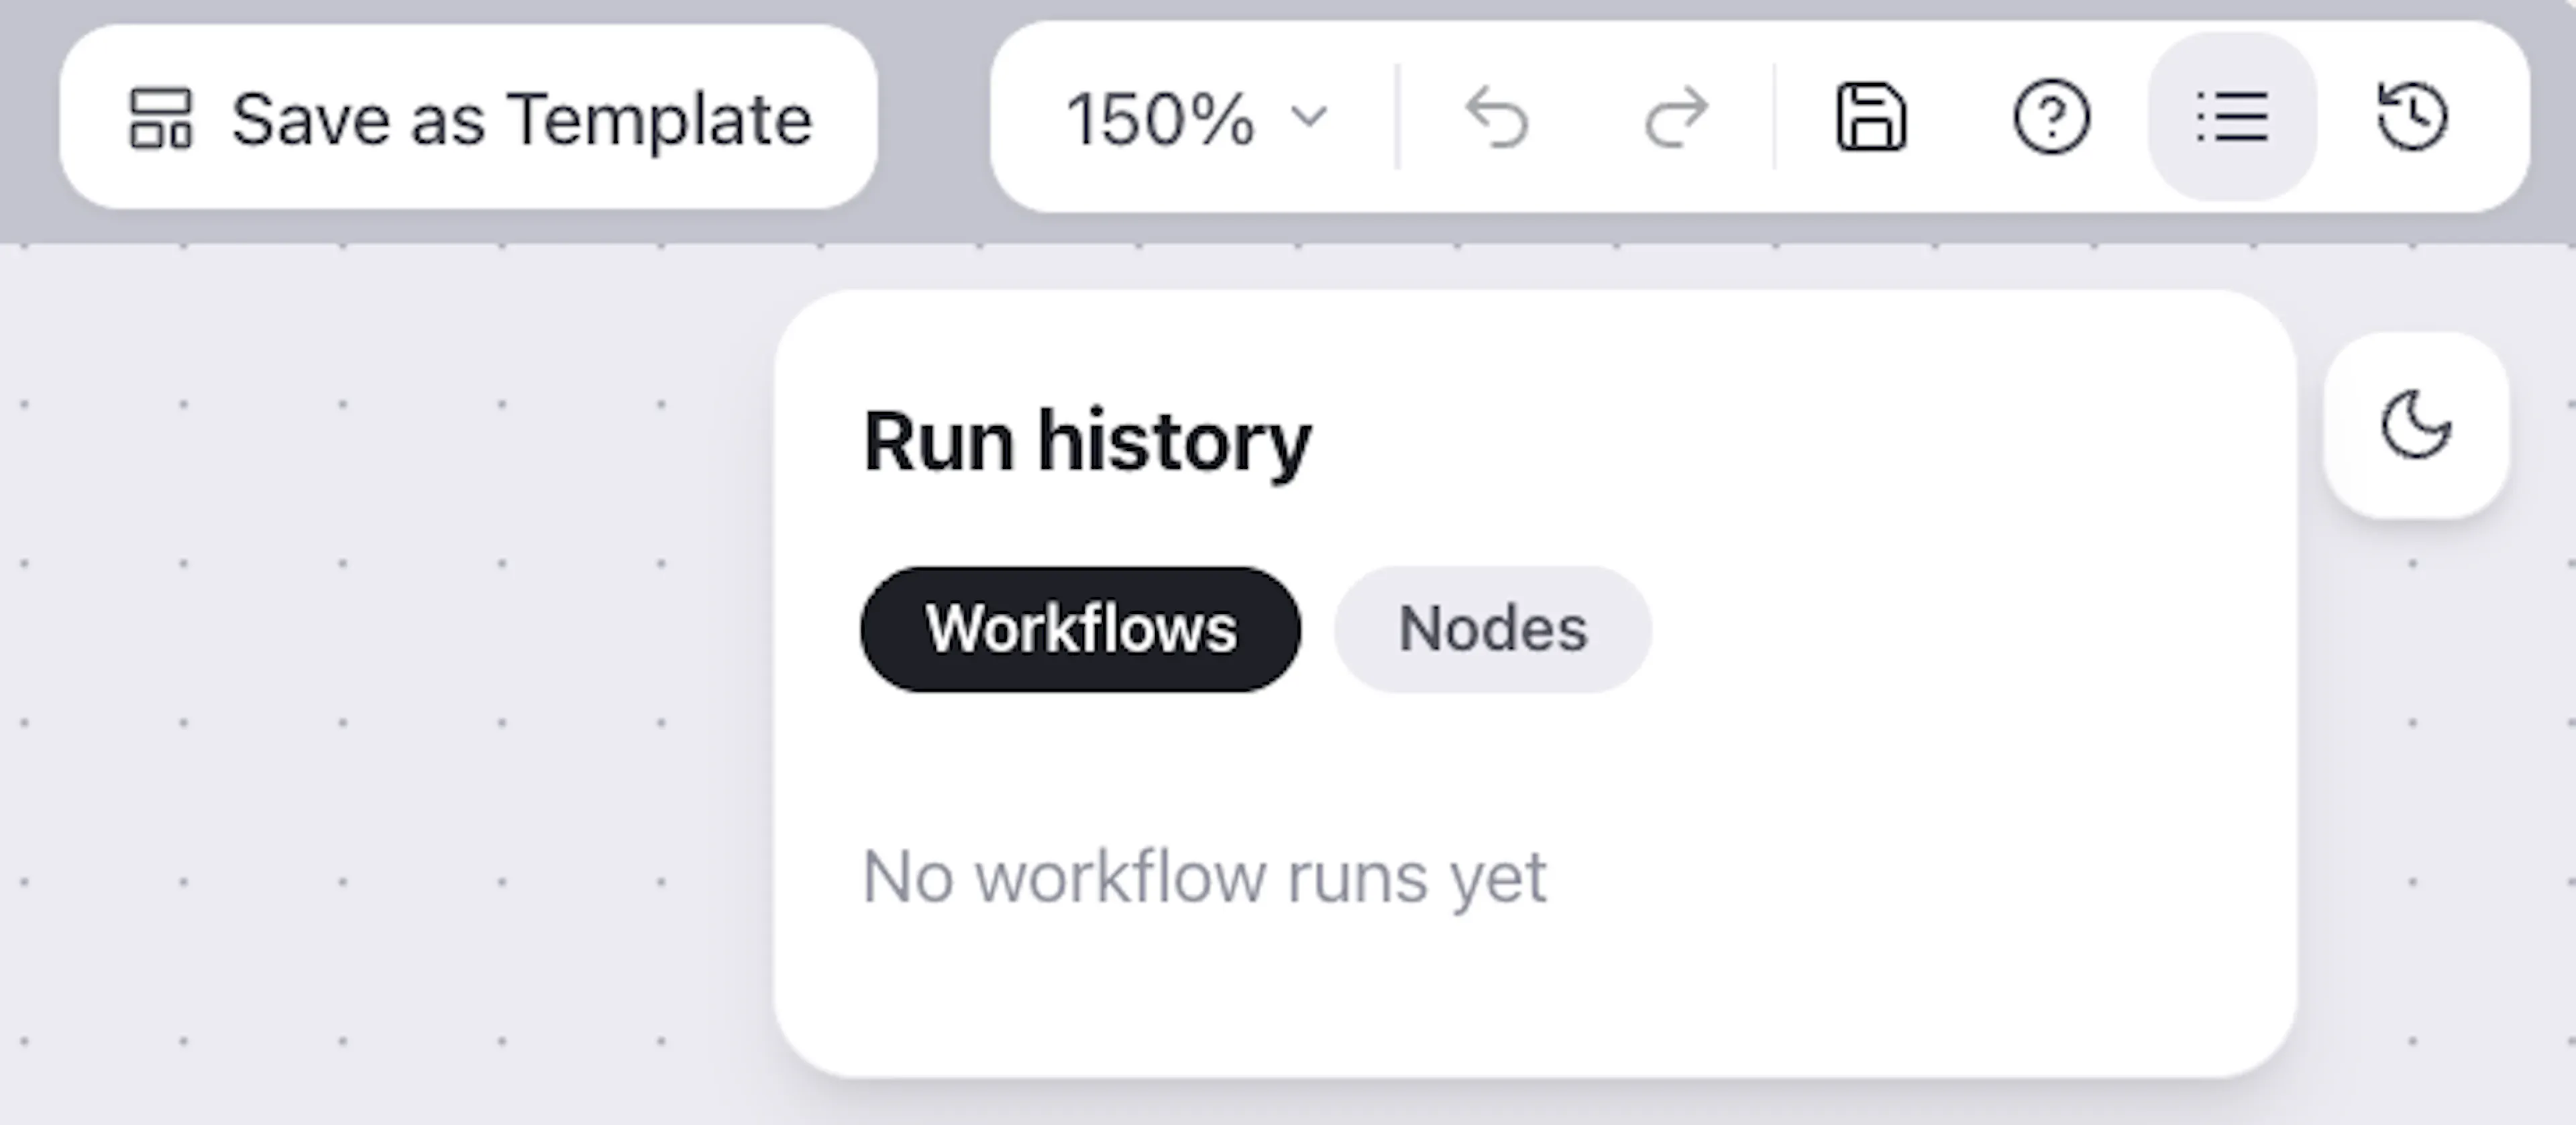
You'll see a new entry appear in Run History. Click into it to view each node's output, preview the final video, or download it.
What's Next?
Now that you have a working workflow, explore:
-
Collections — run your workflow multiple times with different inputs automatically
-
Run History — re-run failed nodes, revert to previous versions
-
Editor — dive deeper into timeline layers and dynamic durations