
Collections
Collections let you run the same workflow multiple times, each time with different inputs. Instead of editing your prompt and hitting Run over and over, you define a table of variations and Tala generates all of them in one go.
This is how you scale from one video to ten (or a hundred) without any extra manual work.
How It Works
Any text field inside a node can be made dynamic — meaning its value comes from a row in your Collections table instead of being hardcoded. Each row in the table becomes one run of your workflow.
Step 1: Turn On Dynamic Mode for a Field
Find the node field you want to vary (e.g. the Prompt field in a Create Image node). Click the lightning bolt icon next to the field.
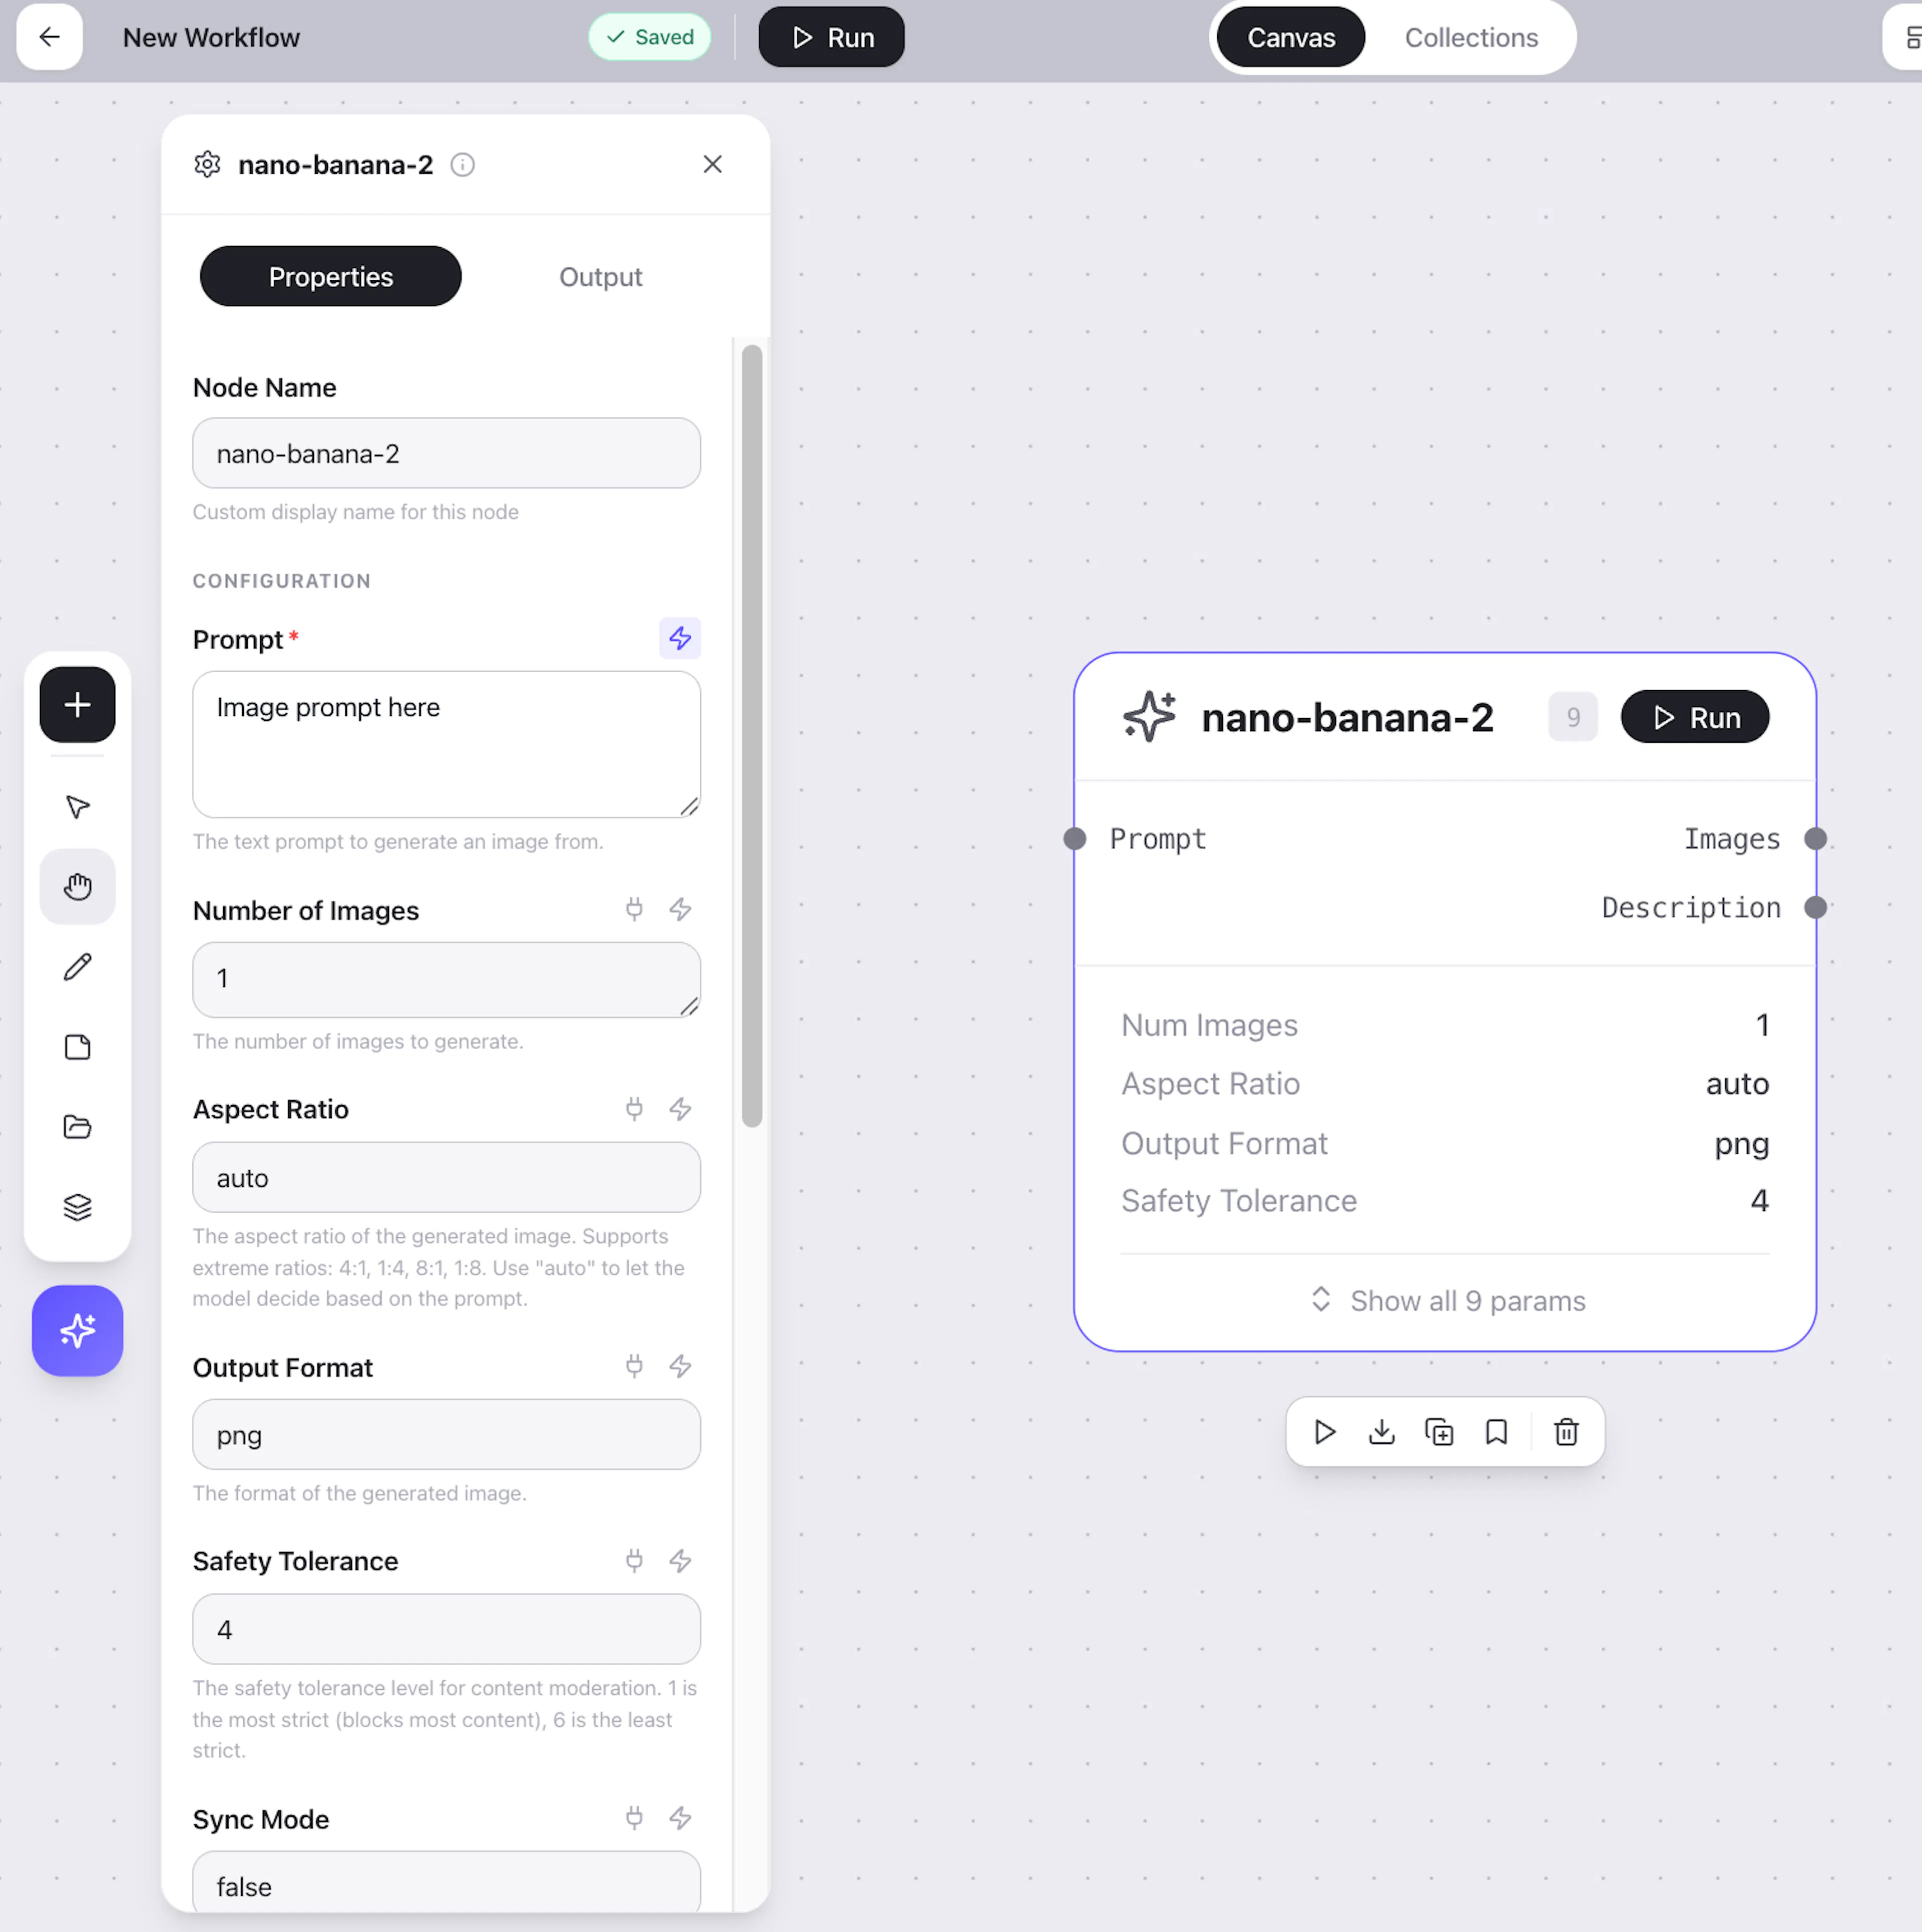
The field turns blue and a corresponding column automatically appears in the Collections tab.
You can make multiple fields dynamic across multiple nodes. Each one becomes its own column in the Collections table.
Step 2: Add Variations
Open the Collections tab. You'll see a table where each row is one variation and each column corresponds to a dynamic field you enabled
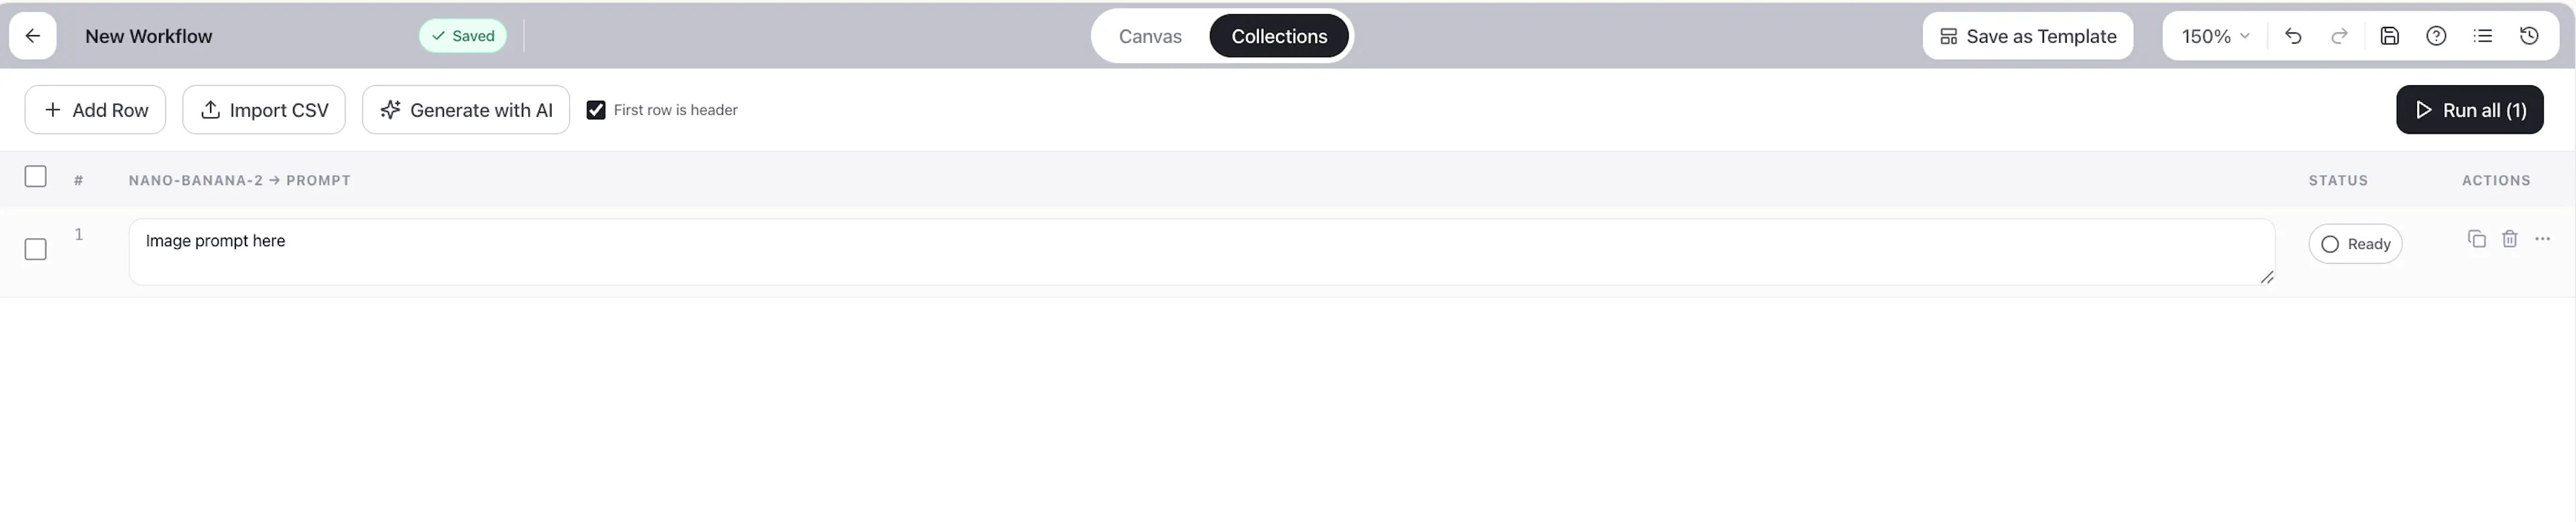
You have three ways to fill the table:
Option A: Add Rows Manually
Click Add Row to insert a new row and type your values directly into each cell.
This is great when you have a small number of specific variations in mind — different character descriptions, backgrounds, product names, etc.
Option B: Import from CSV
Click Import CSV to upload a spreadsheet of variations.
A few things to keep in mind:
-
Each column in your CSV maps to a column in the Collections table
-
Column order matters — make sure your CSV columns are in the same order as the table columns
-
No header row matching is required — the import maps by column position, not by name
-
Each row in your CSV becomes one workflow run
The CSV import dialog — columns are matched by position.
Option C: Generate Variations with AI
Click Generate with AI and describe what you want to vary. The AI will create multiple rows for you automatically.
For example, type something like:
Generate 5 variations. Change the couple's appearance — different hair styles, clothing, and seating locations each time.
The AI will fill in rows with distinct, realistic variations — changing only the parts you asked about while keeping the rest of the prompt intact.
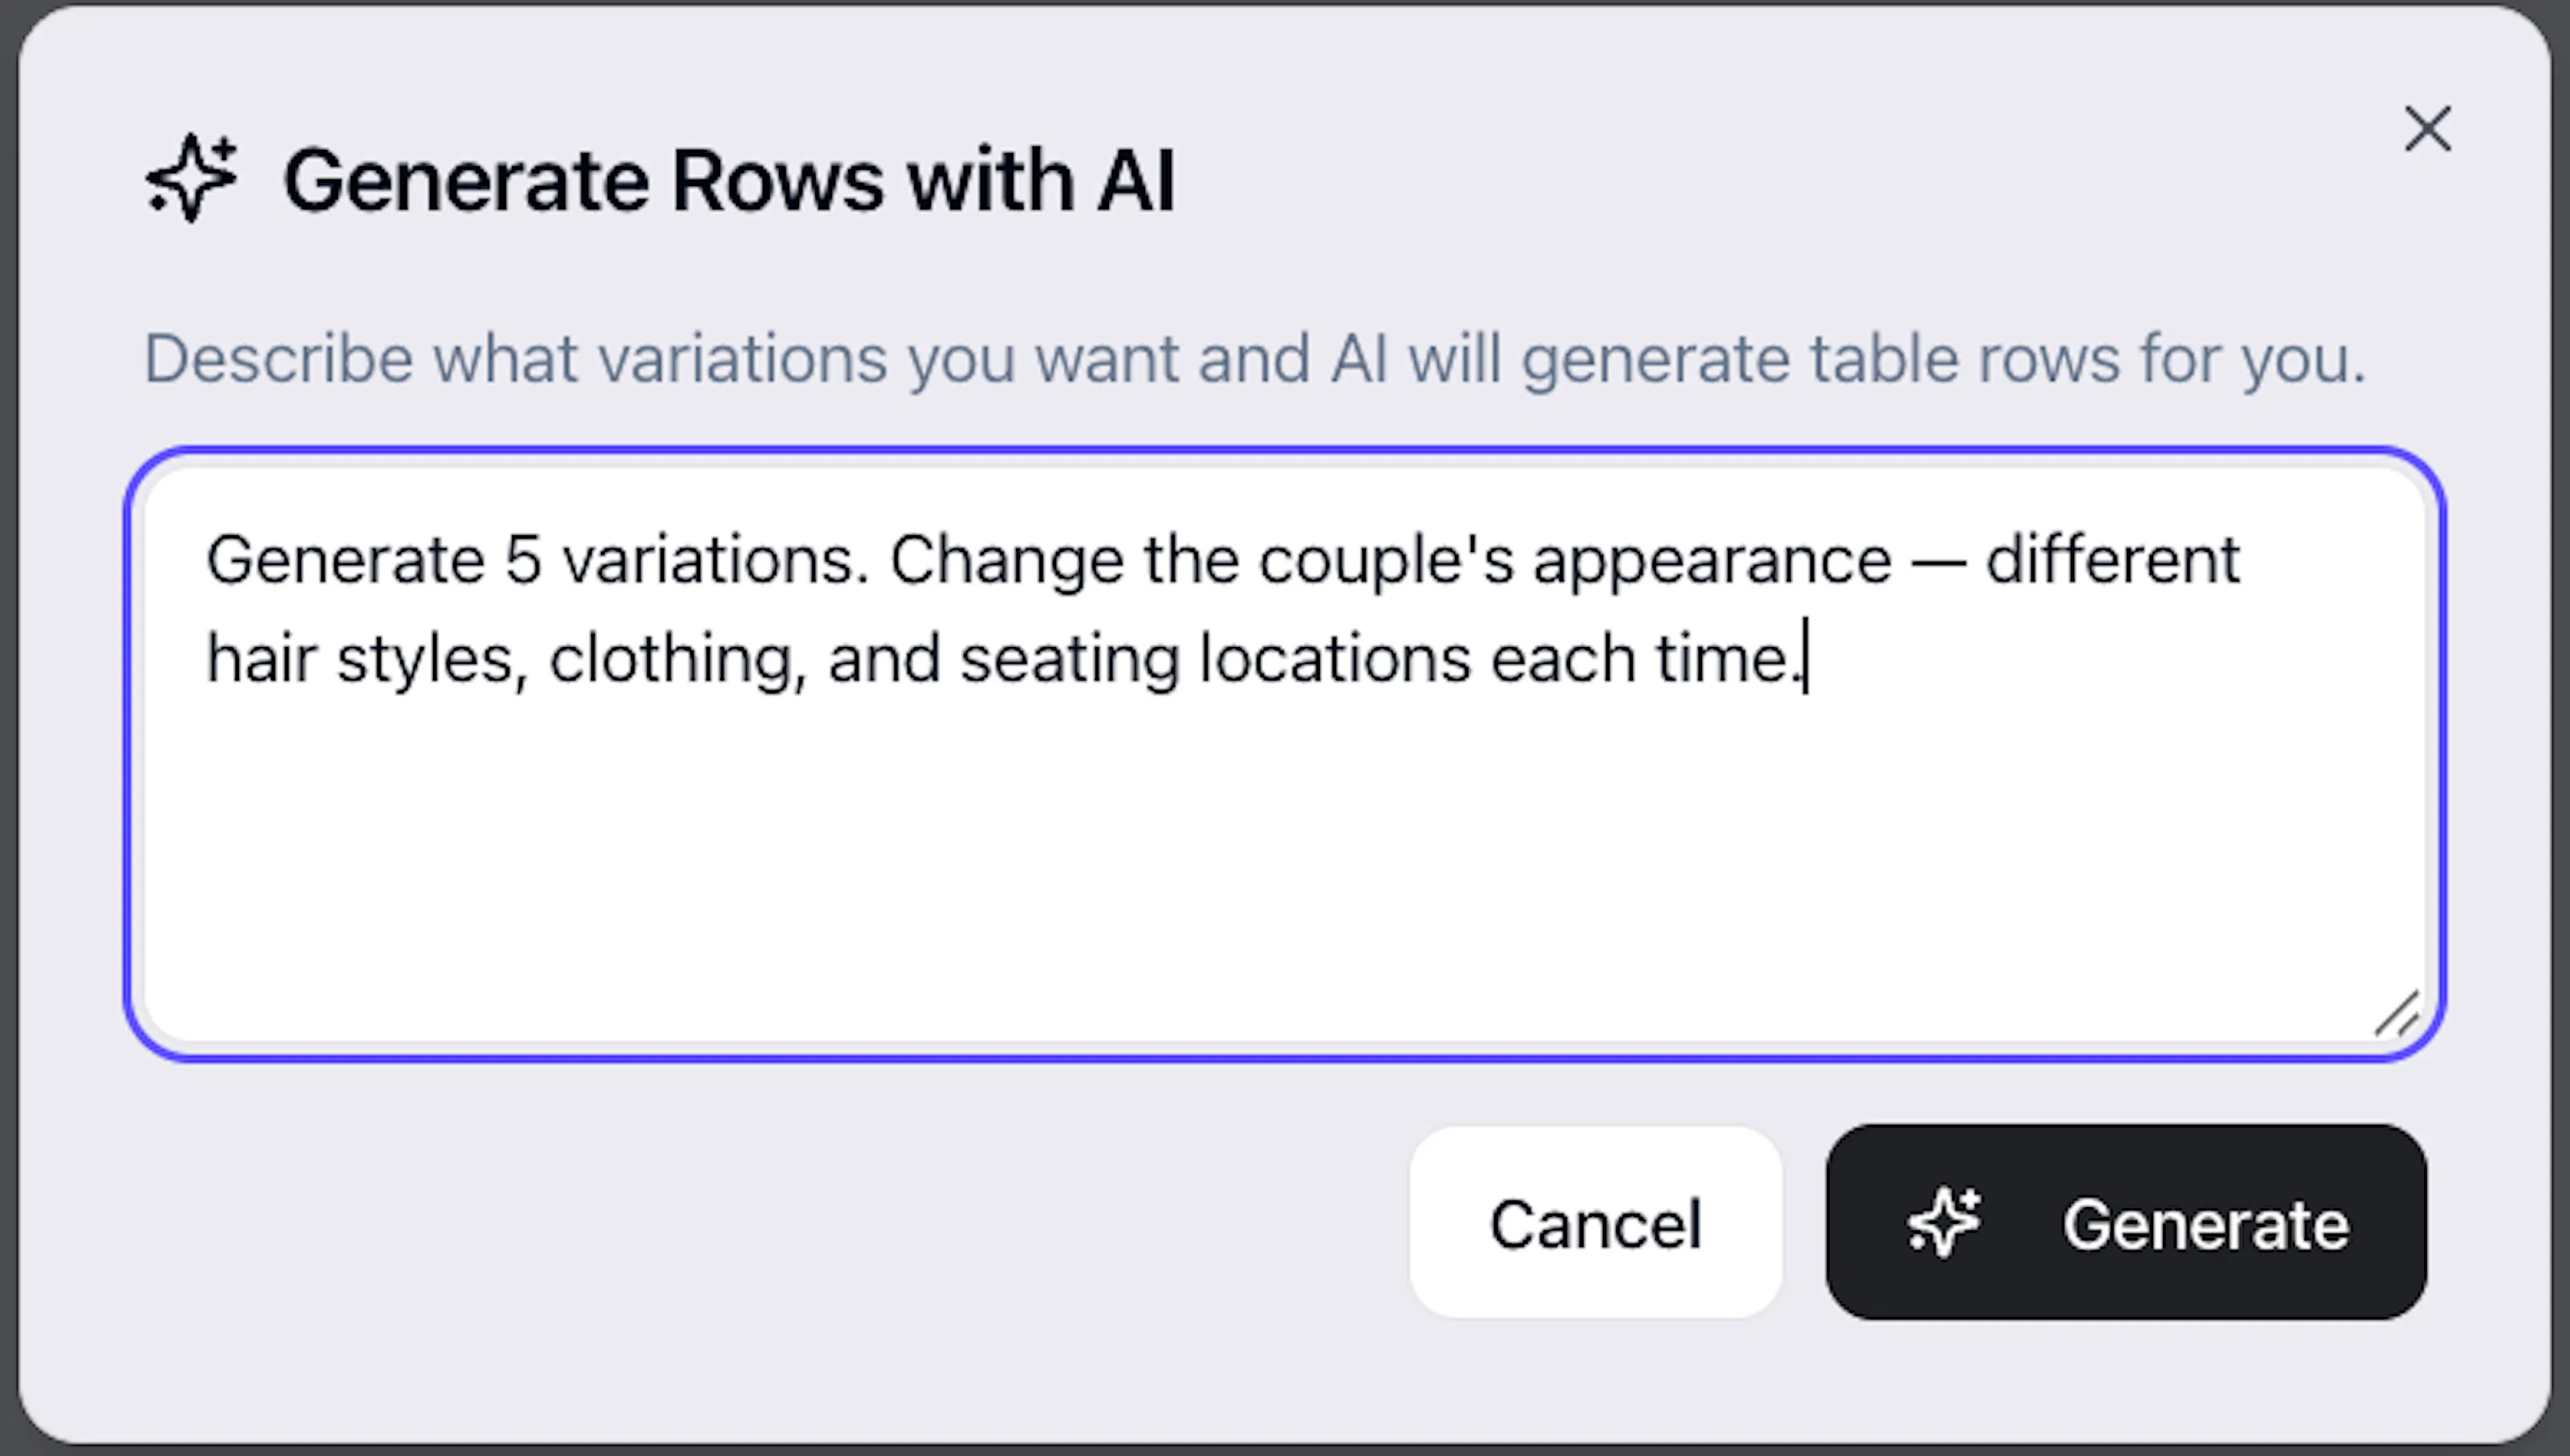
Review the generated rows before running — you can edit any cell manually if something needs adjusting.
Step 3: Run All Variations
Once your table is ready, click Run All at the top of the Collections tab.

Tala will kick off one workflow run per row simultaneously. All runs appear in Run History, where you can track their progress, preview results, and download outputs.
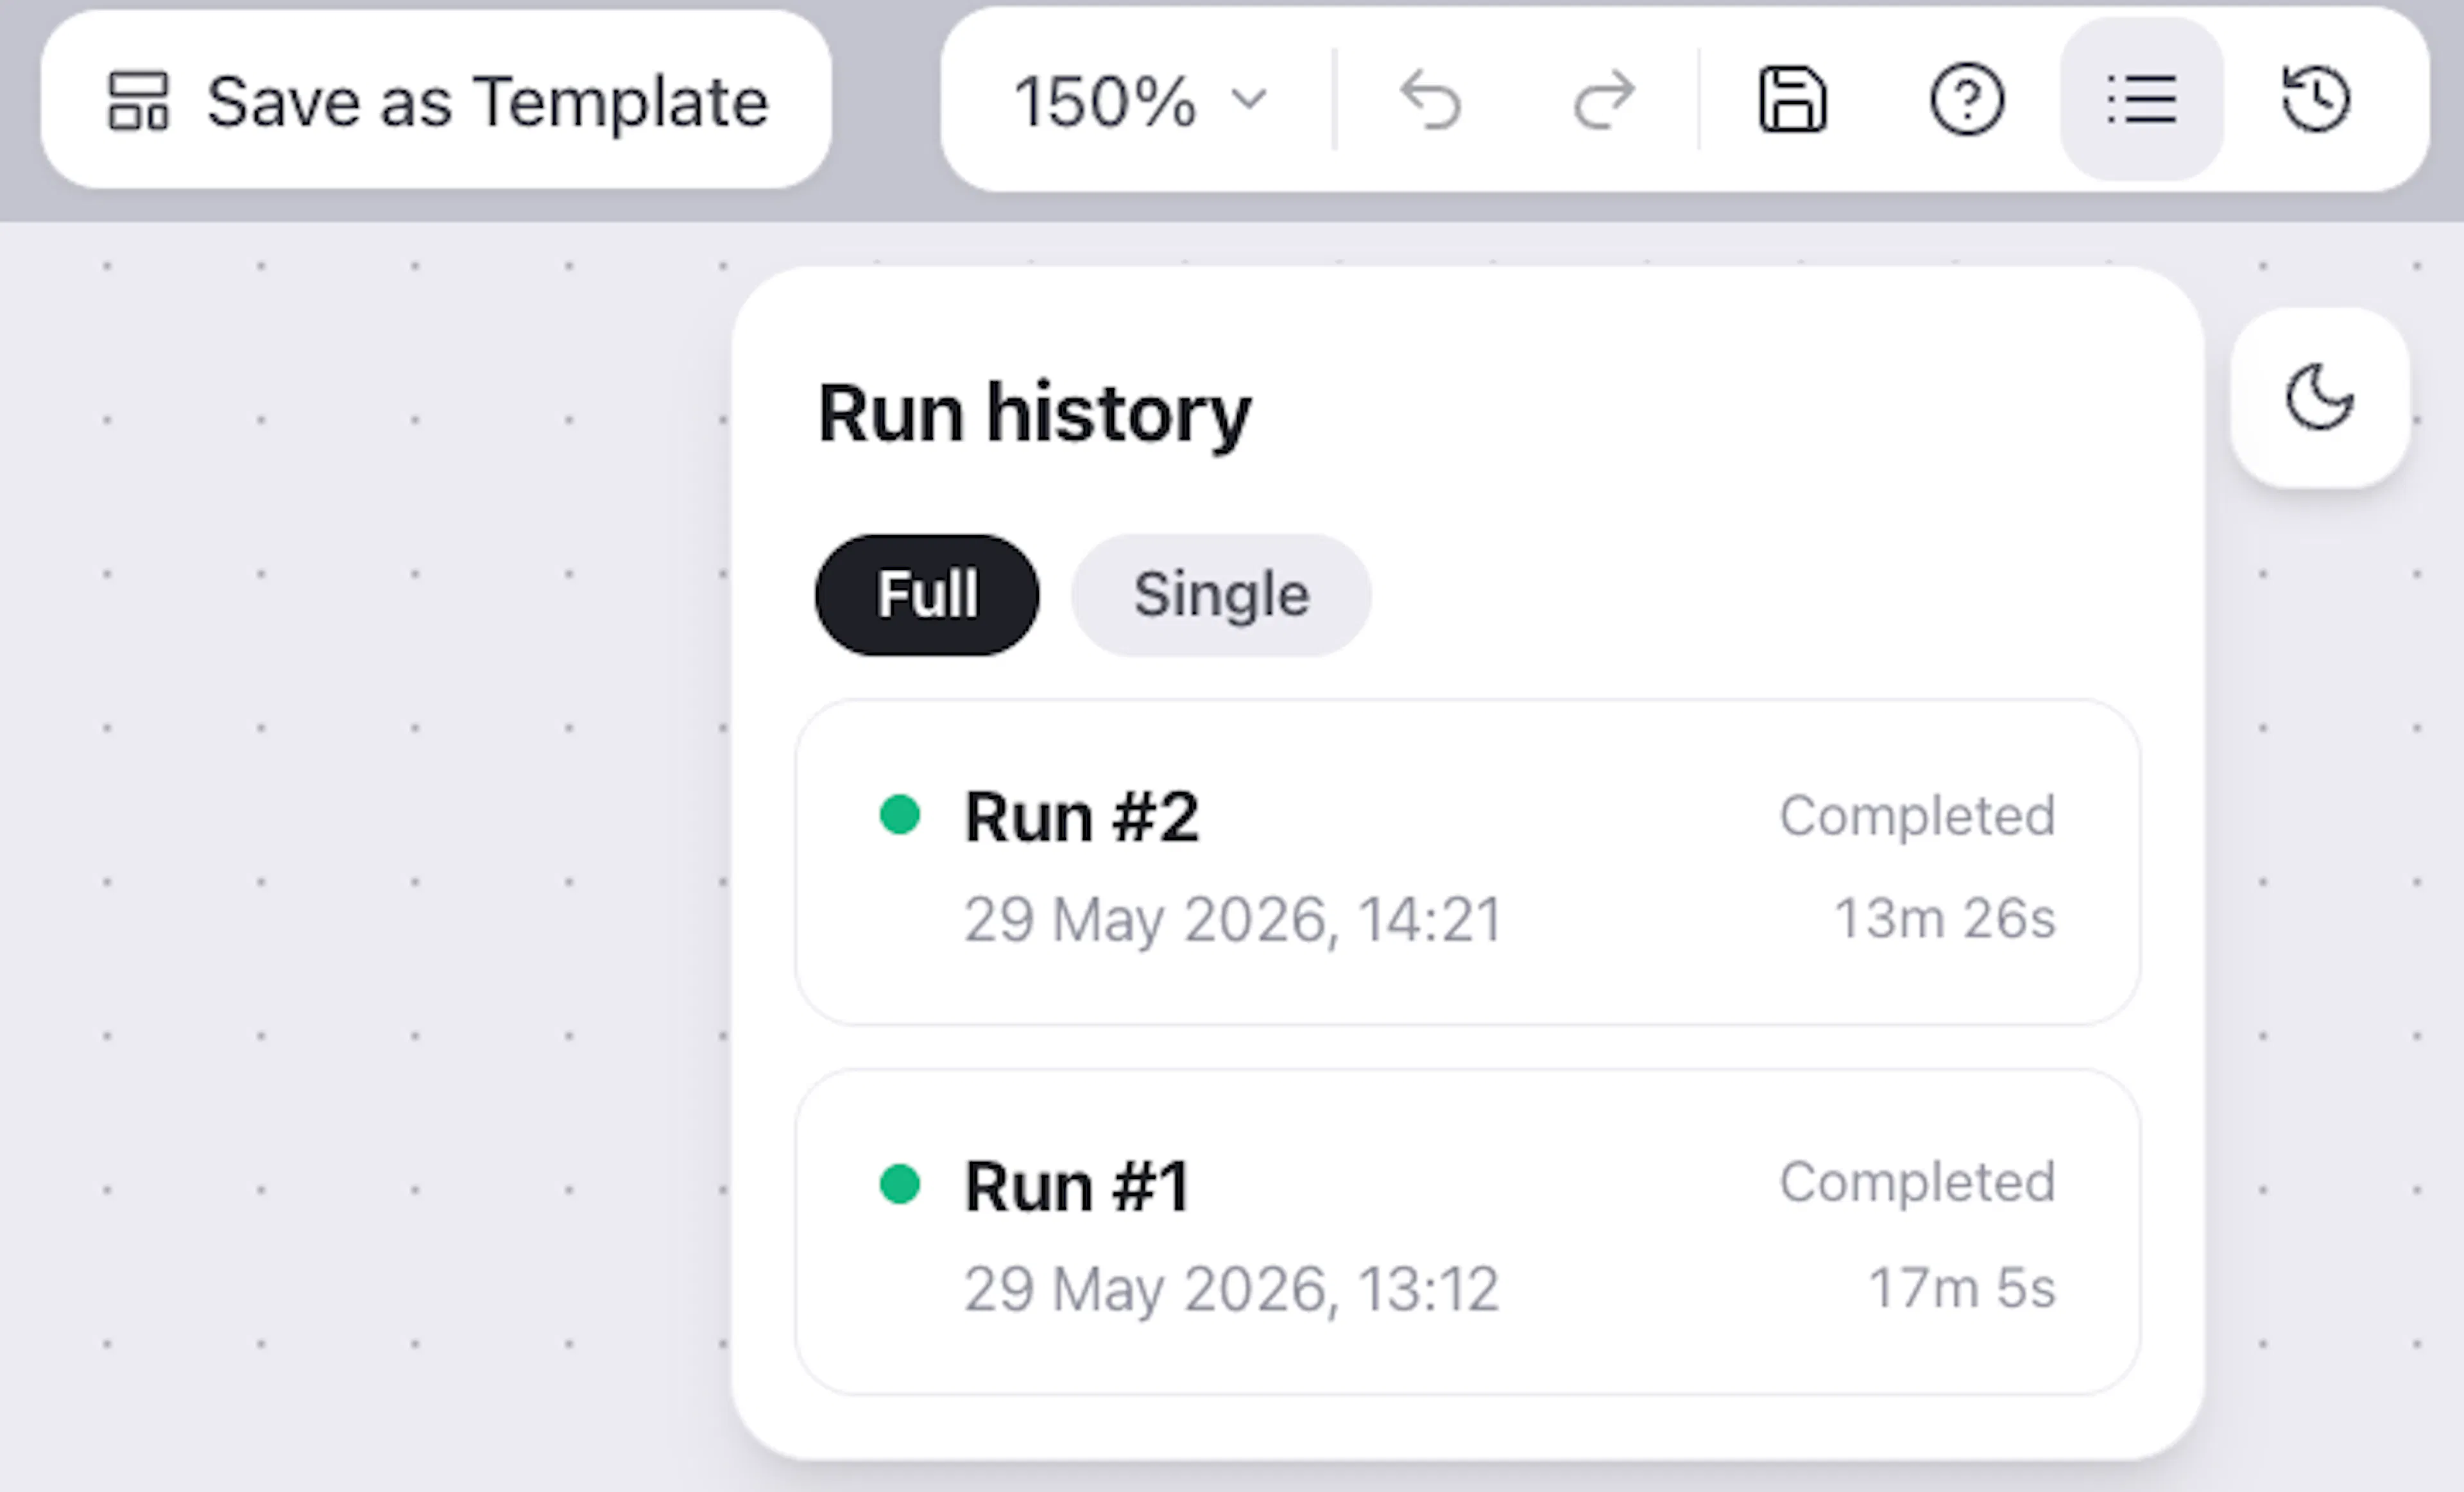
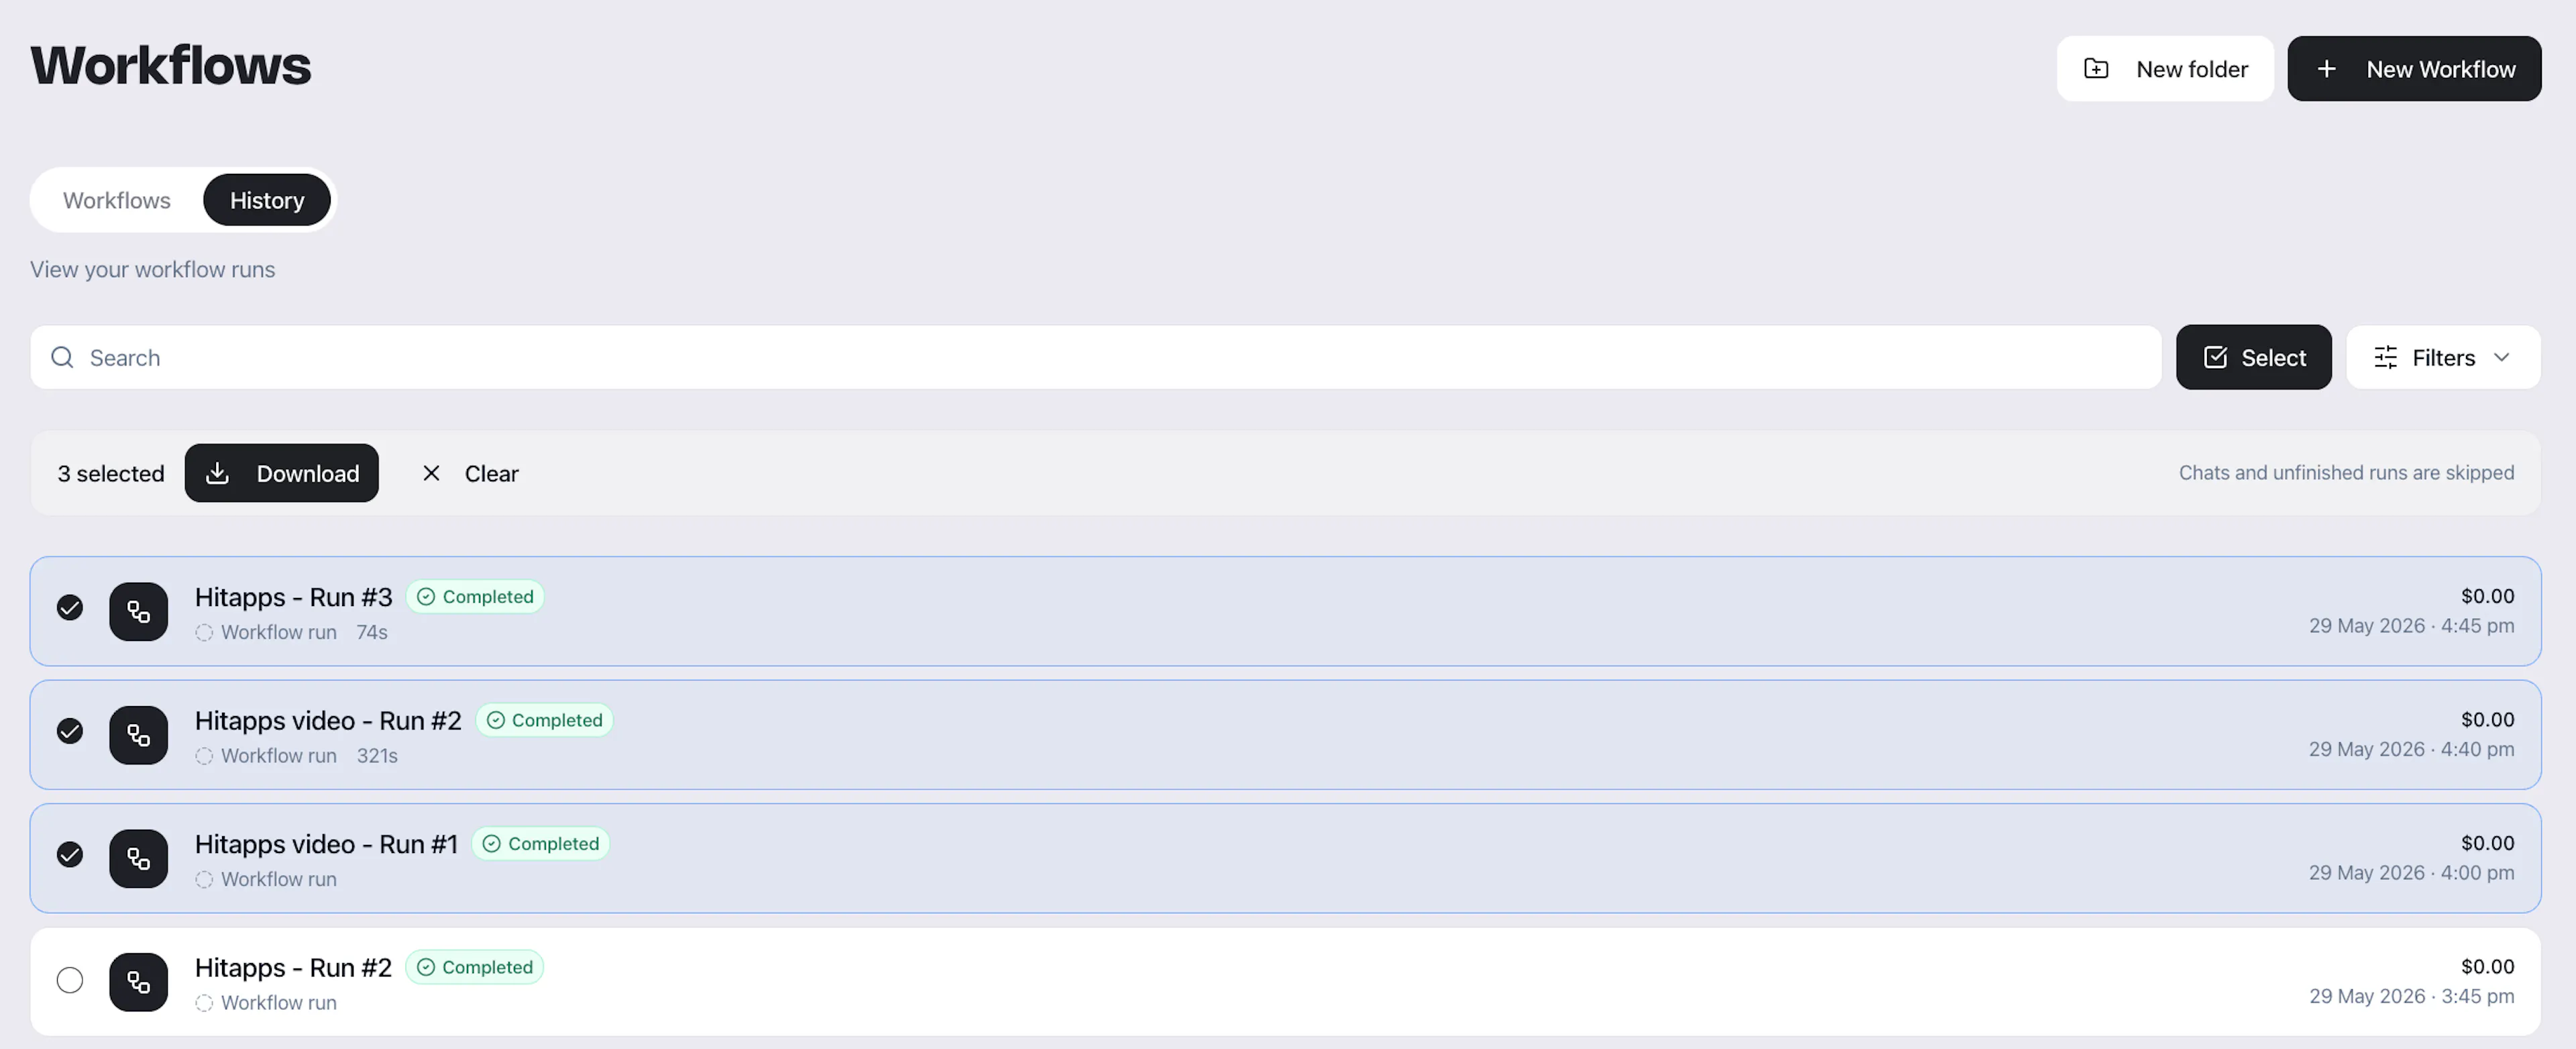
To download all results at once, go to Run History, select multiple runs using the checkboxes, and click Download. Tala will package the final output from each run into a single download.
What's Next?
-
Run History — re-run failed nodes, revert to previous versions
-
Editor — dive deeper into timeline layers and dynamic durations