
Animation Editor
The Animation Editor lets you create animated overlays through a chat interface — no design tools needed. Describe what you want, and the AI generates it as a live animation running in the browser.
Common use cases include lower thirds, animated text cards, callout bubbles, countdown timers, logo animations, and any kind of motion graphic you'd normally overlay on top of a video.
Once created, animations export as transparent WebM files that can be layered directly on top of your video clips in the Editor.
Opening the Animation Editor
Add an Animation Editor node to your canvas from the node menu. Click Edit Template to enter the chat interface.
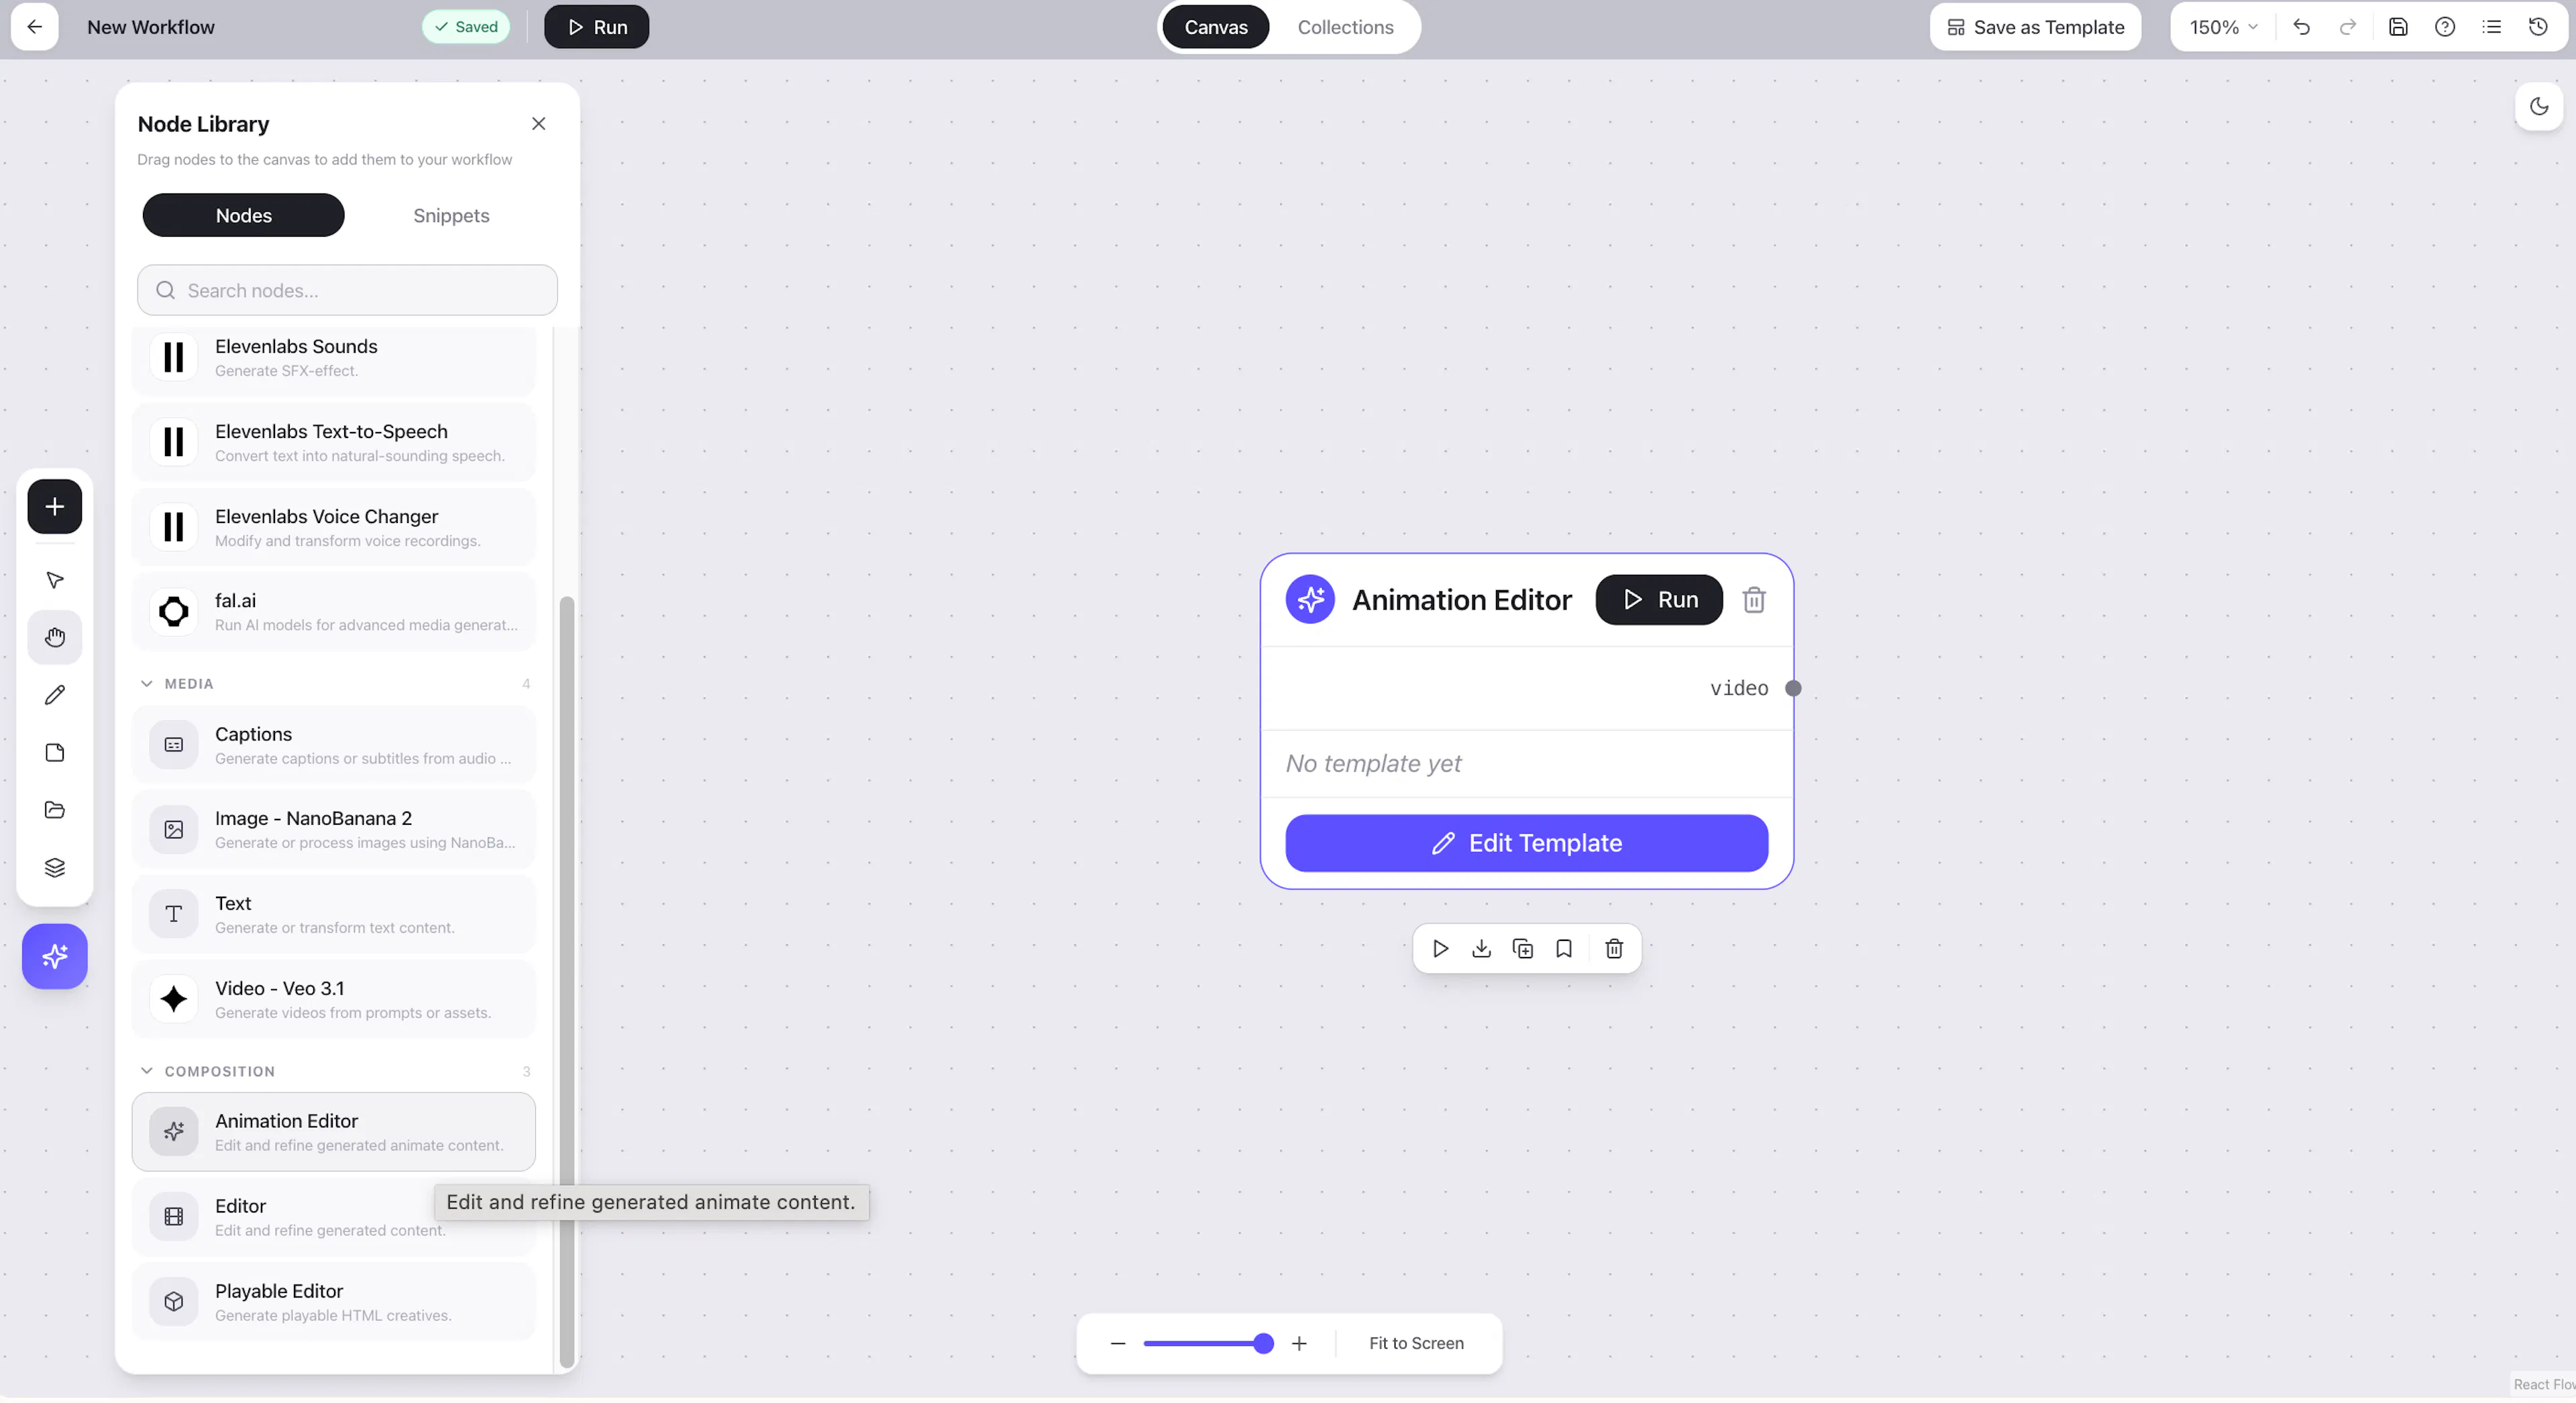
Generating an Animation with AI
Type your request in the chat panel. Be as specific as possible about what you want — layout, colors, text content, animation style, timing.
Required settings for any animation is Layout size (e.g. 9:16) and duration of animation.
For example:
Create a lower third with a white name tag that slides in from the left at 0.5 seconds. The name is "Sarah Chen" in bold, with "Head of Product" in a smaller subtitle below. Fade out at 4 seconds.
The AI generates the animation and renders it live in the preview panel. You can keep chatting to refine it — ask for color changes, different timing, new elements, or layout adjustments.
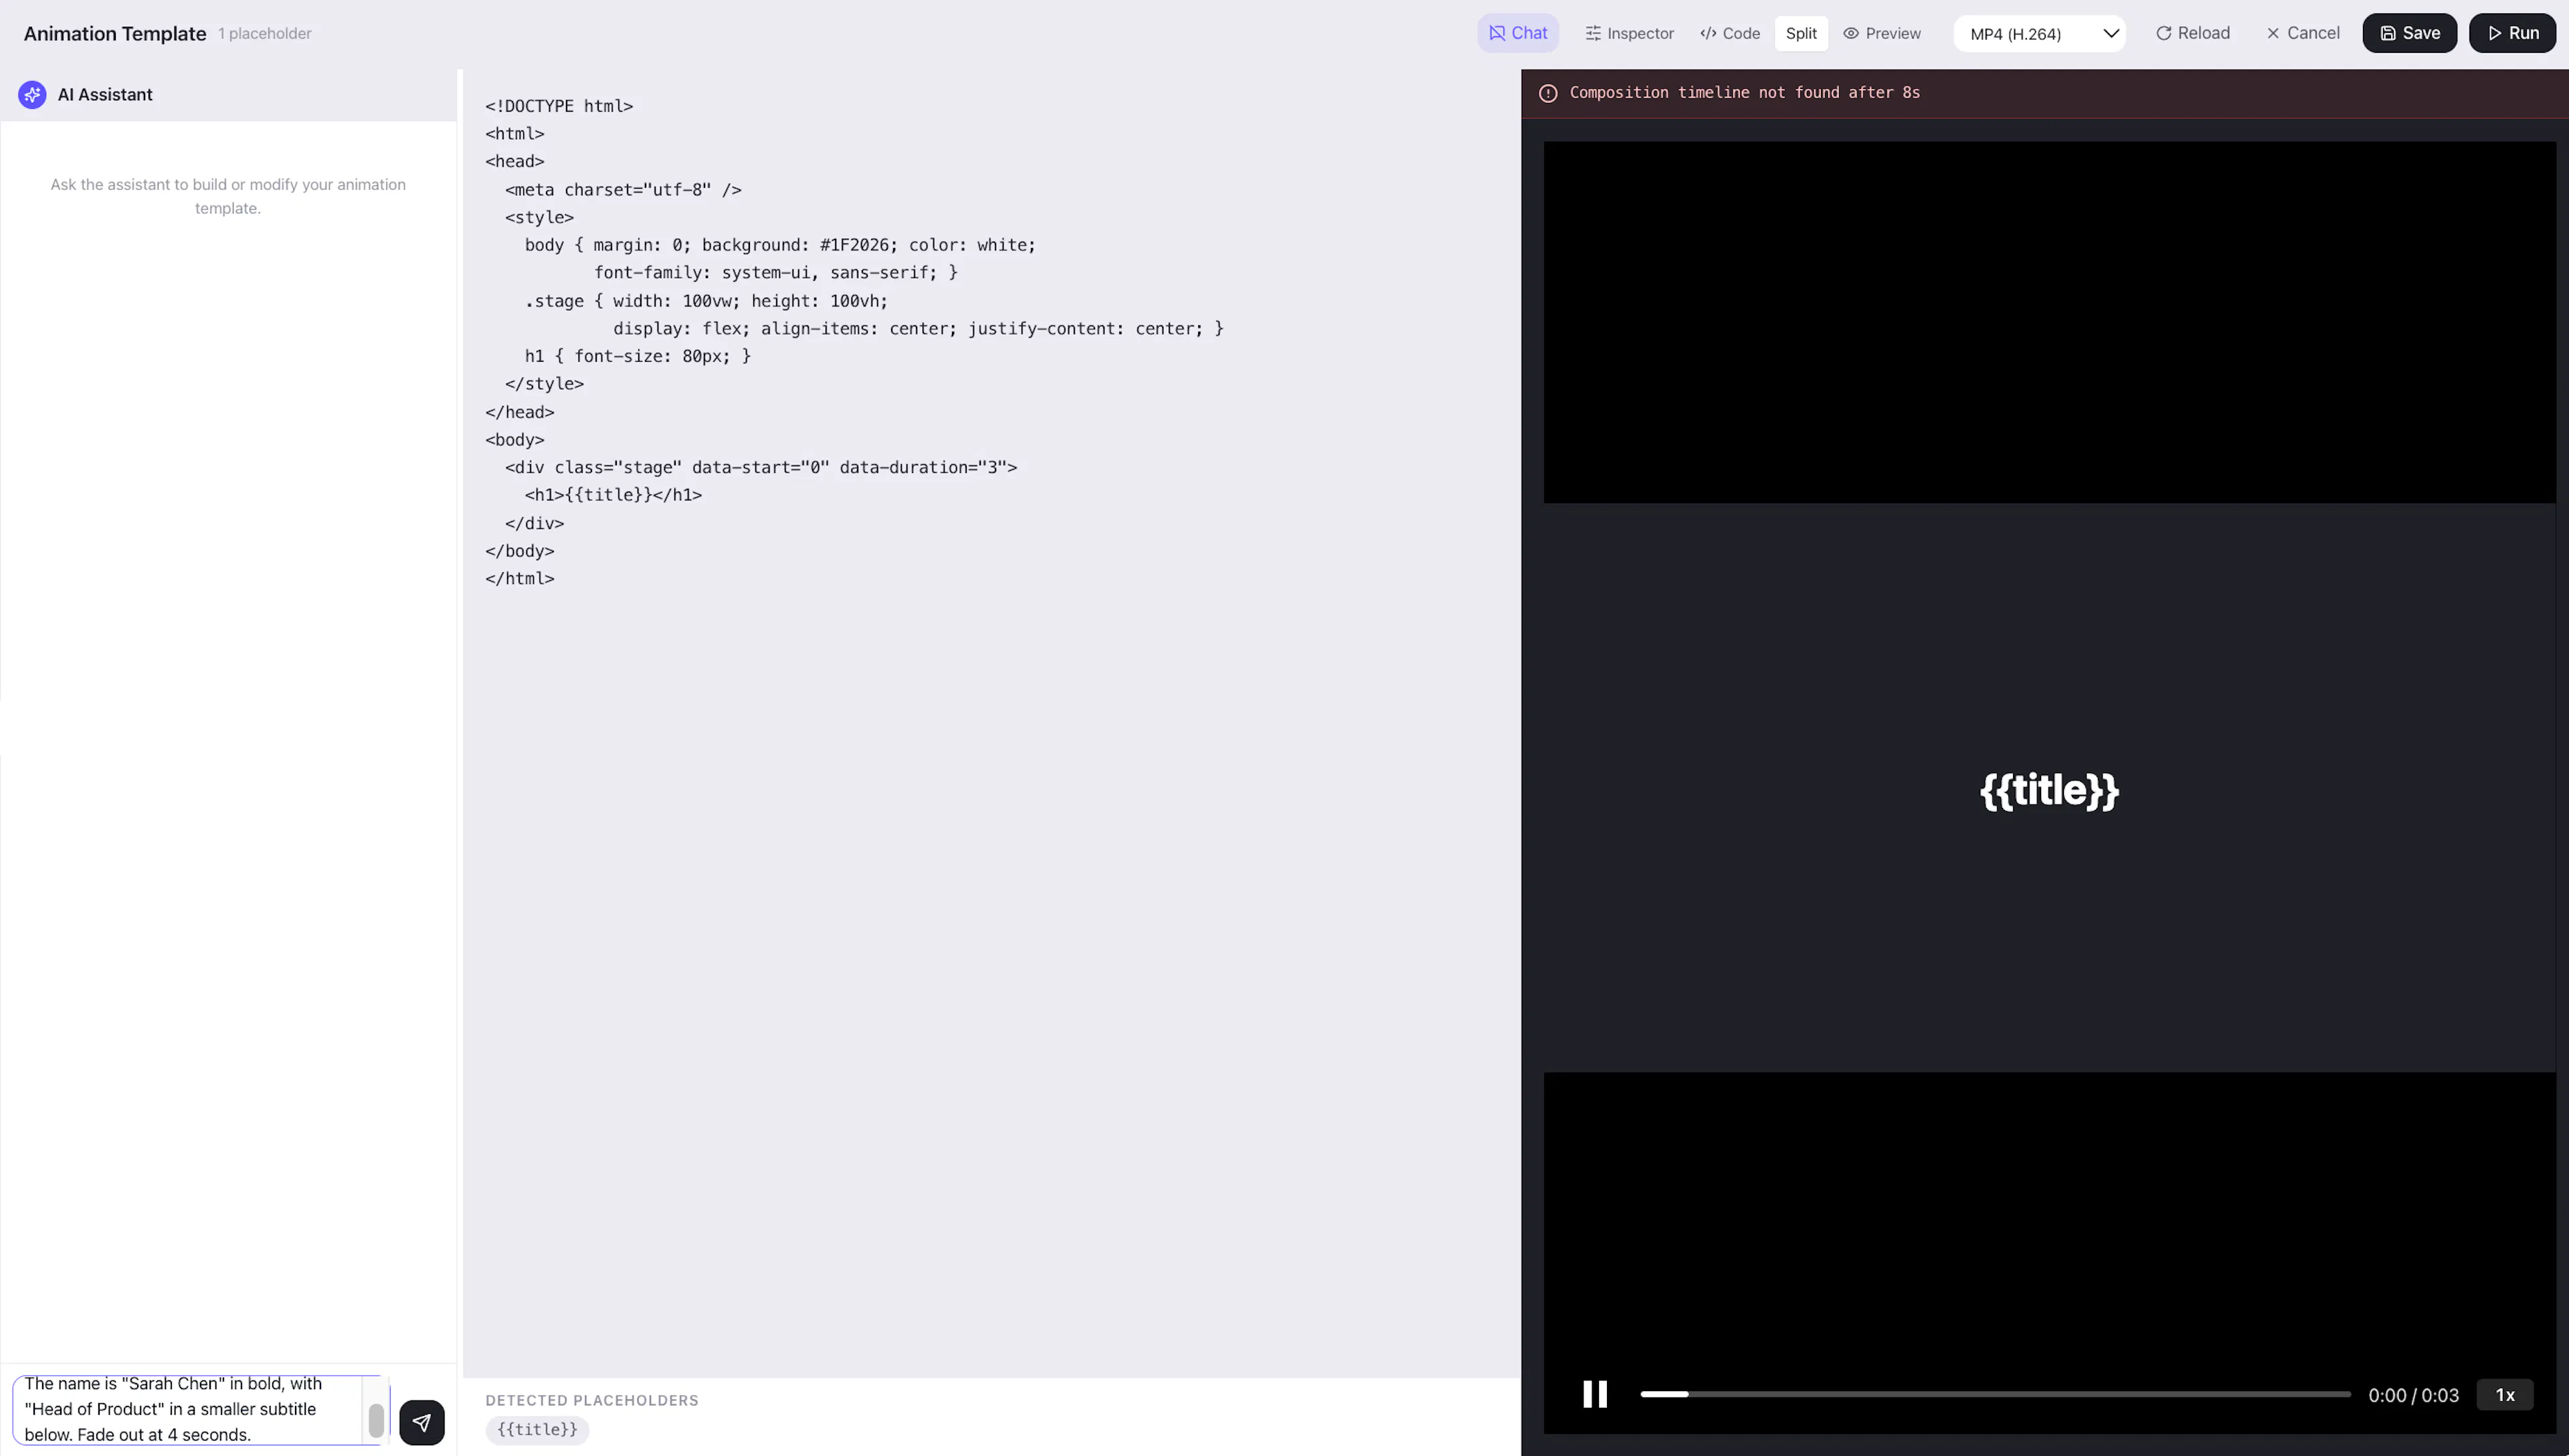
Switching to WebM Mode (Transparent Background)
By default, animations render with a solid background. To make the background transparent — so the animation can be layered over video without a colored box behind it — you need to switch the export mode to WebMand ask AI to make transparent background in animation.

Using the Element Inspector
You don't have to ask the AI for every small change. The Element Inspector lets you directly edit individual elements in your animation — no chat needed.
The inspector panel shows animation properties:
-
Text content — edit copy directly, mark a field as dynamic (see below)
-
Colors — change fill, stroke, background
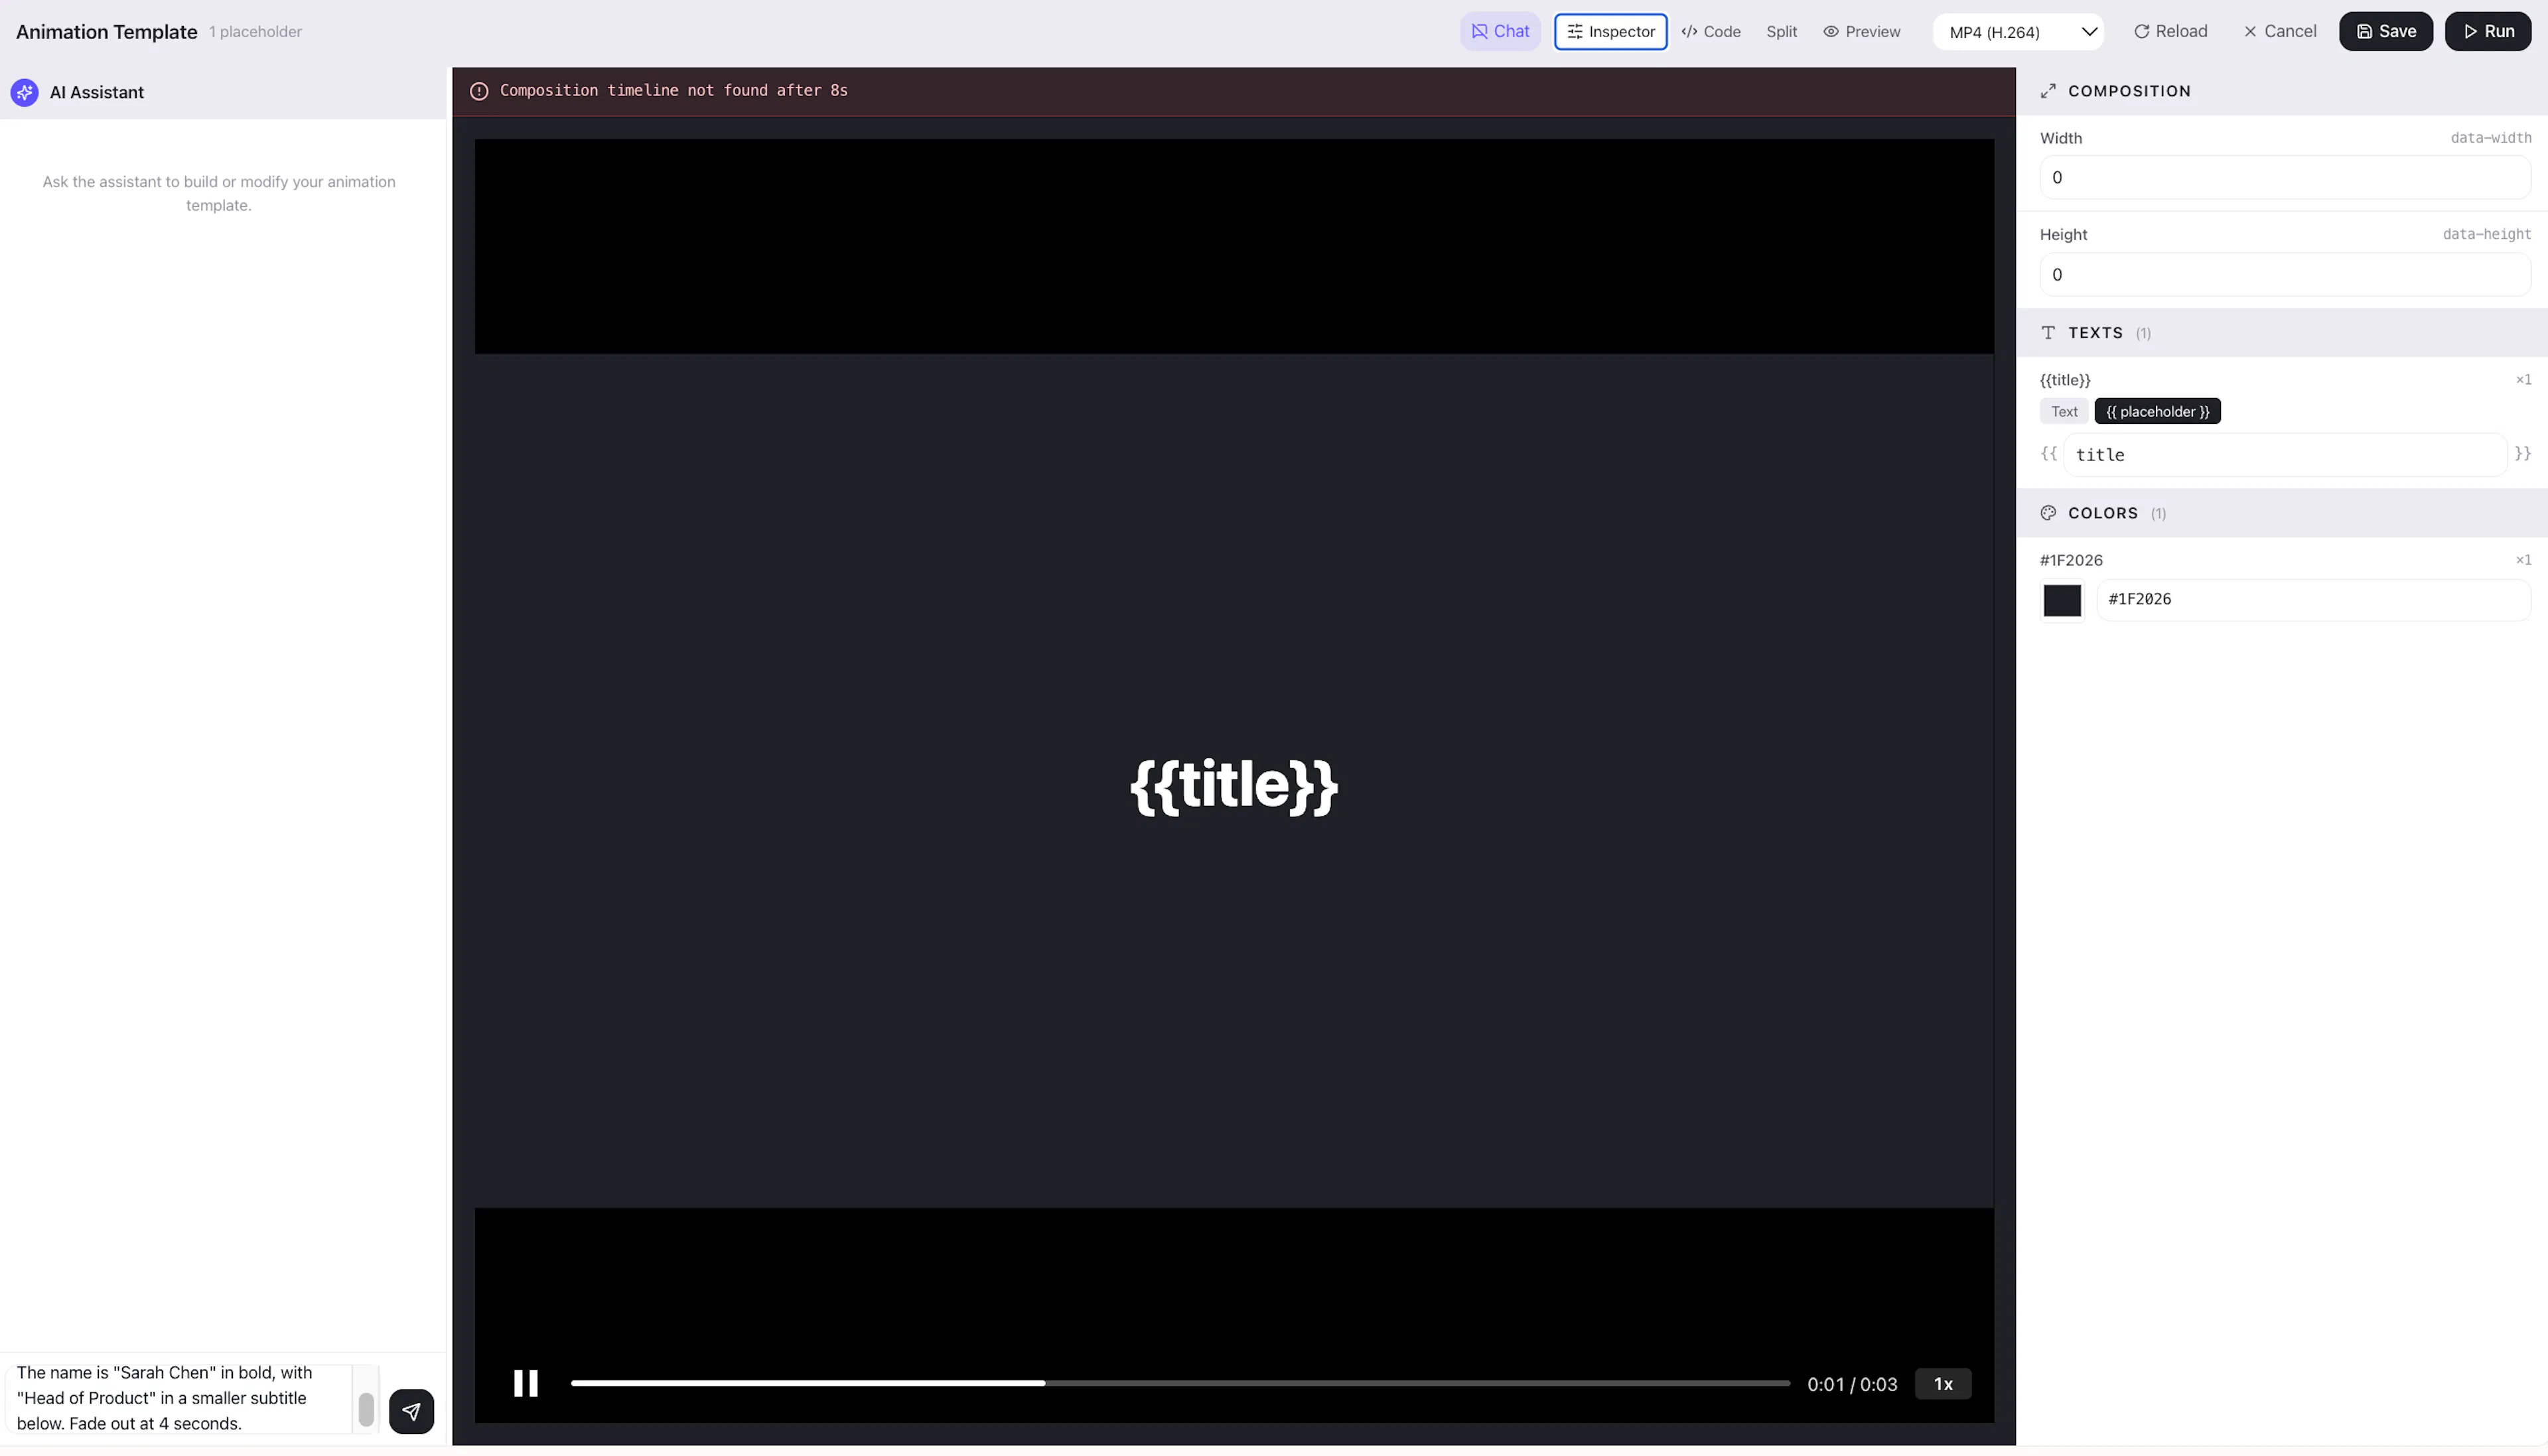
This is much faster than going back and forth with the AI for simple tweaks like changing a hex color or adjusting the text.
Adding Placeholders in the Animation Editor
Just like in the main Editor, you can make fields in your animation dynamic — so they get filled with real data from your workflow at runtime.
This is useful when the animation contains text that changes between runs — names, stats, product titles, prices, etc.
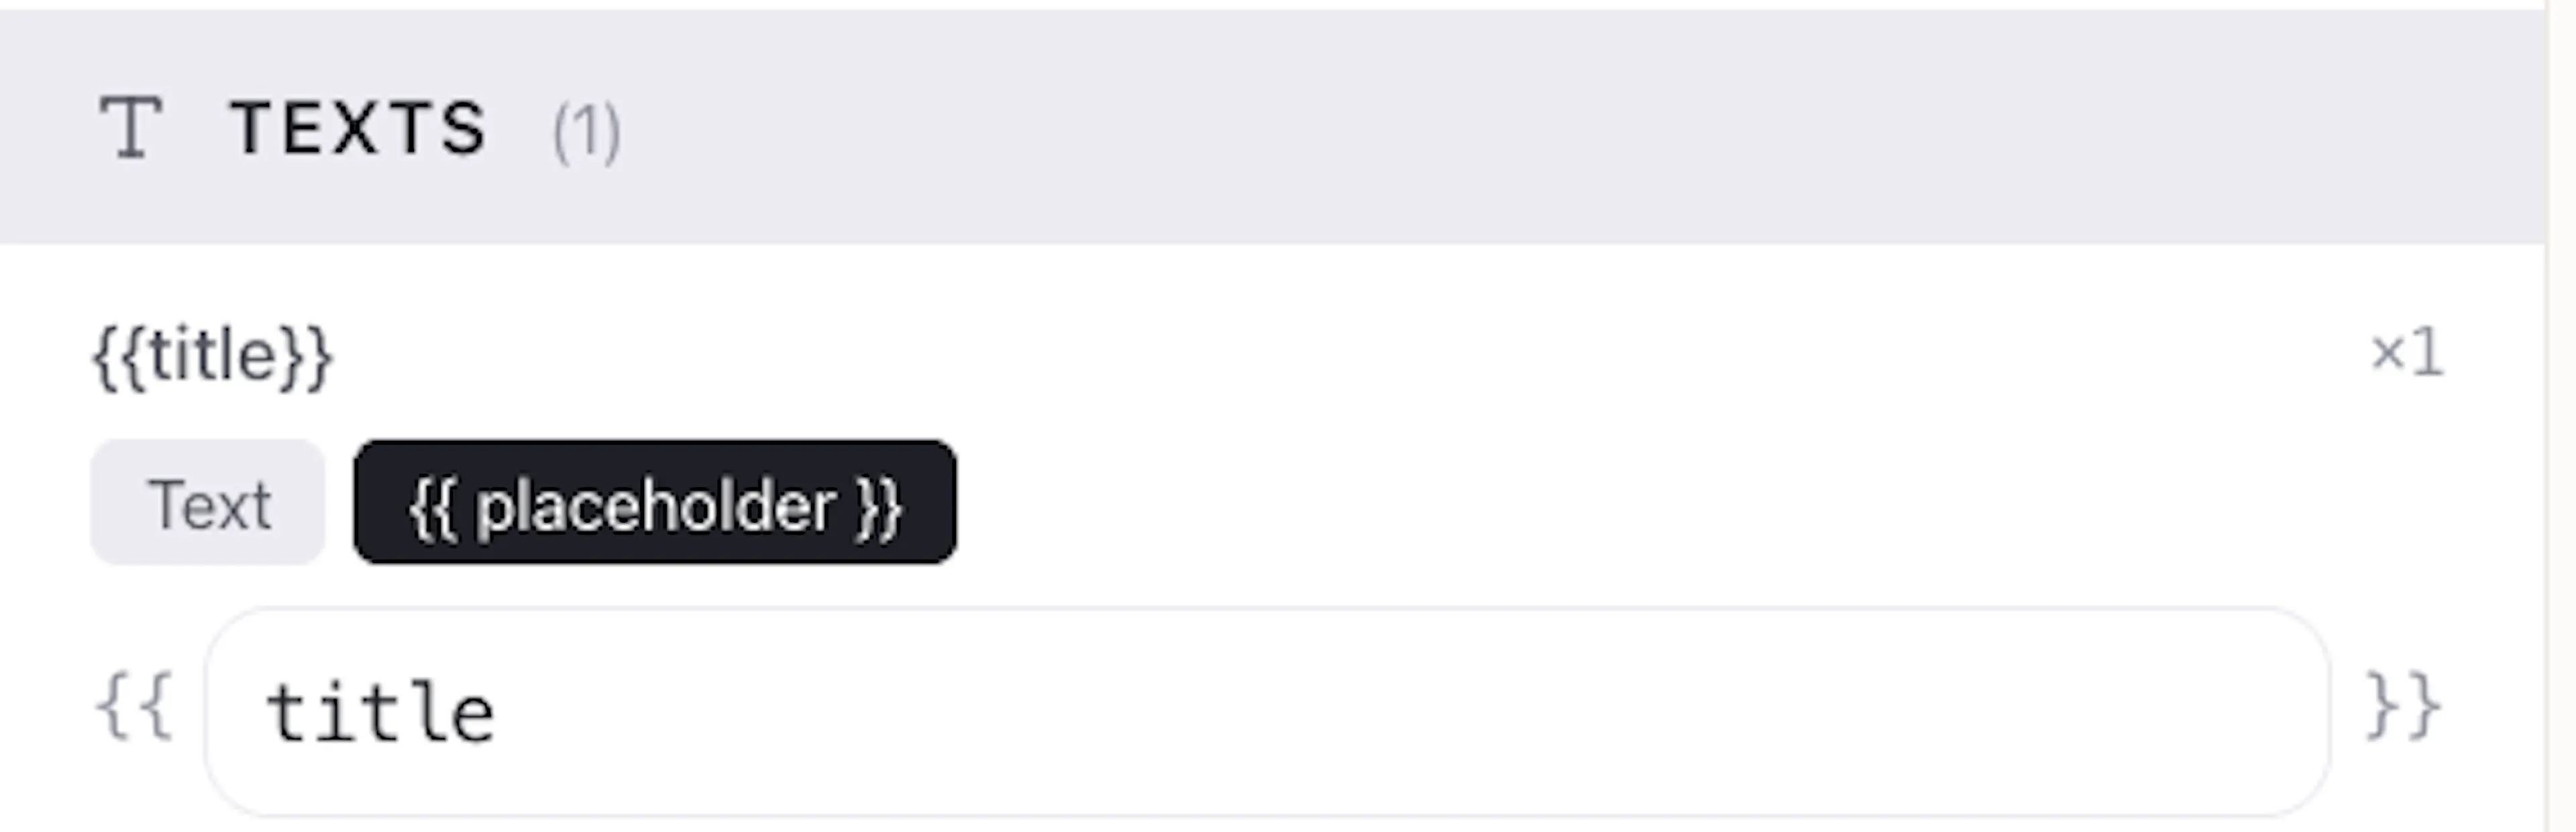
How to add a placeholder
-
Find the text field you want to vary.
-
Click Placeholder on that field.
The field will be marked as a placeholder input. When you return to the canvas, the Animation Editor node will show an input handle for that placeholder — connect it to any upstream node output or Collections column.
You can add placeholder to any elements including duration asking AI.
Exporting and Using in a Workflow
Once your animation looks right:
-
Make sure WebM mode is on (if you need a transparent overlay)
-
Click Save to finalize
-
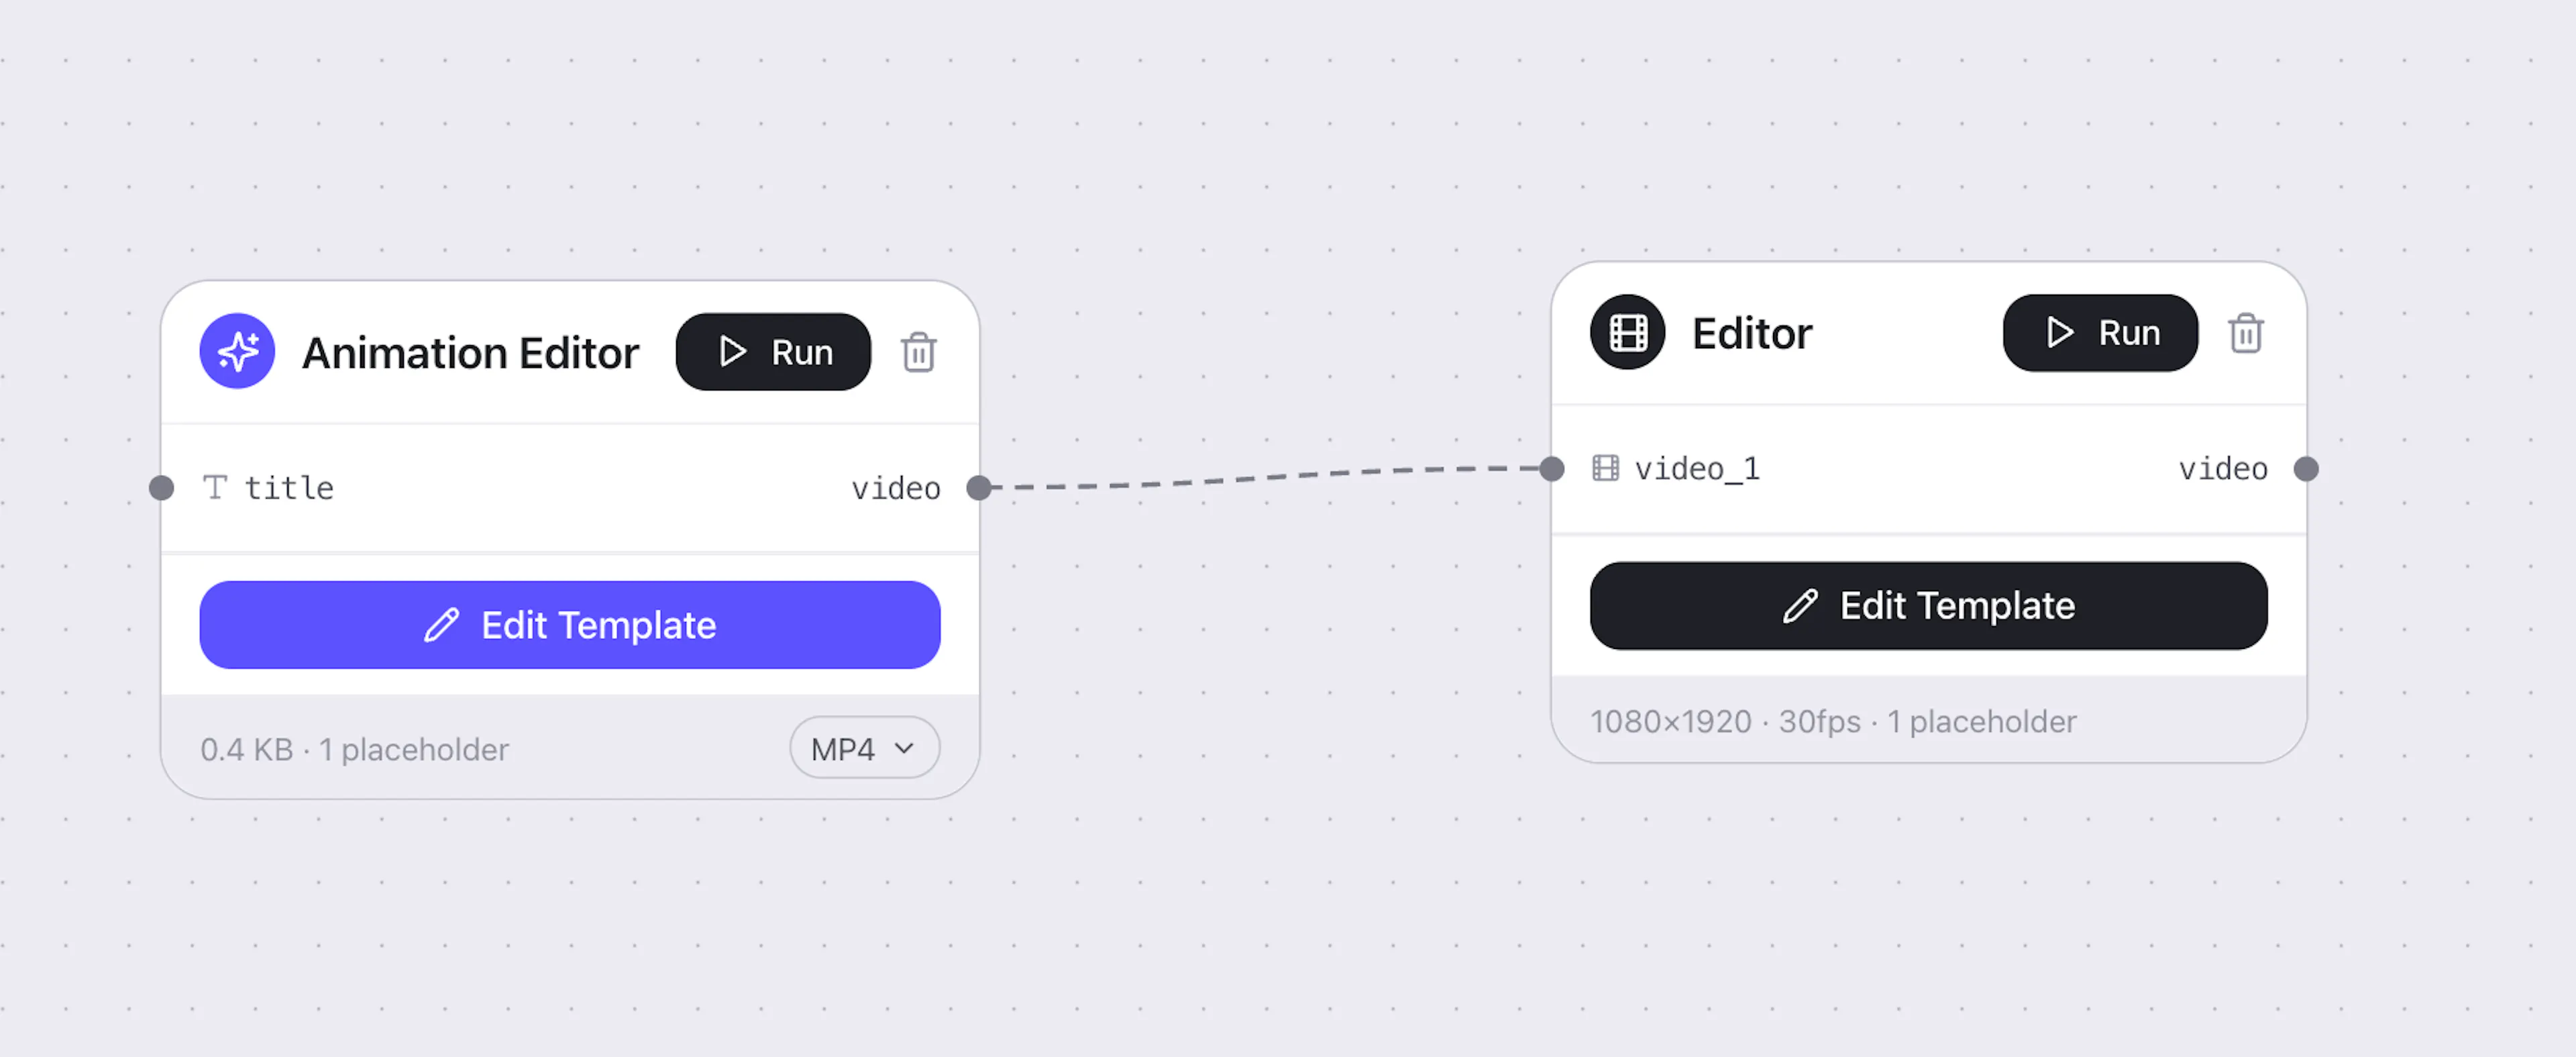
Return to the canvas — the Animation Editor node now has an output
-
Connect its output to an Editor node input (via a placeholder in the Editor timeline)
-
In the Editor, position the animation layer above your video clips
What's Next?
-
Editor — layer your animation on top of video clips in the timeline
-
fal.ai Integration — connect your fal.ai account to enable AI generation nodes
-
Best Practices — tips for dynamic animations and reusable templates